If this editor looks unfamiliar, you're likely using the previous version.
Access the right documentation by clicking on the button.
Effortlessly kickstart your journey with our beginner-friendly guides!
This feature will allow you to personalize your demos at scale. You can tag some of your demo's elements as variables, and substitute their values by modifying the demo URL.
Mass-personalize demos for your customers, allow your sales reps to make changes without logging into Demoboost & more!
Step 1:
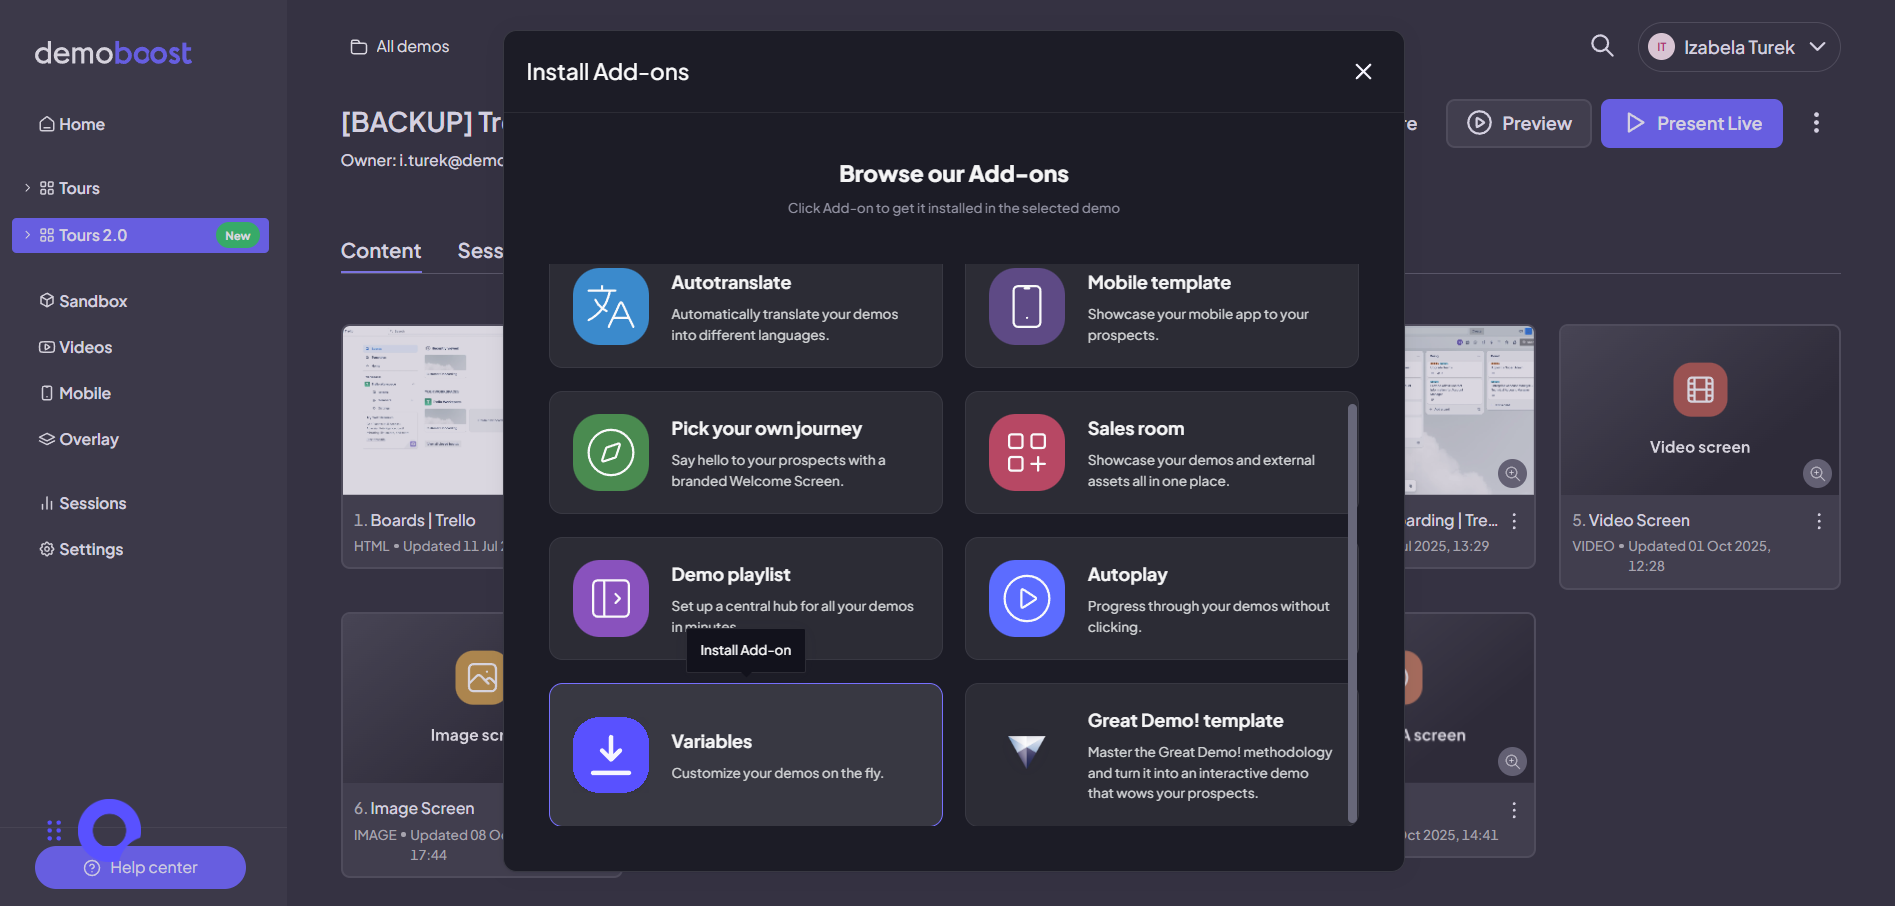
As with all add-ons, you will find them in the "Add-ons" section. Choose the feature you want to install. Open the screen to start editing.
Step 2:
Click on the screen element that could be personalized with a variable.
Note the new button in the ribbon - click to see more. There are no saved text variables in this demo yet.

Click to create the first one. Specify what the variable will stand for,and click to save.

Step 3:
Now you can choose this new variable. Click on it to apply it.

Step 4:
You can do the same with an image on your screen. Just click on the image and click create the variable.Name your image variable and save it. And again, after you've saved it - you can click on it to apply it.

Step 5:
Note that the variables you've applied will be highlighted in orange.If you want to turn off a variable, just click on it and find the option in the ribbon.

Step 6:
Let's have a look at another type of variables - computed ones. It means they are not specified by you every time, but changed based on the condition you set up once.
The best example here is dates.
Click to apply the variable. Choose a date variable and format. Click to apply.

Step 7:
Let's have a look at how you'll define the variables and use them.
Click to open variable sharing settings.
Fill in the text variable, upload the image variable.
Note that the date variable will be computed automatically.

Step 8:
You can also leverage data captured from a lead form and dynamically insert it into your demo content, follow these steps to map the form fields to internal variables. This configuration is essential to ensure every viewing experience is instantly personalized.
Step 9:
Navigate to the Demo Details screen. Click the Share button to open the necessary configuration panel. In the sharing options, select the deployment method: "Public from a Lead Form." Confirm and save the updated sharing options. This action applies the required lead form gating to your demo's public link.
Step 10:
From the Demo Details screen, click the Edit Demo to switch into the content modification mode.
Step 11:
Click on any content element (e.g., a header, button text, or paragraph) where you want the captured form data to be inserted. In the element's settings panel locate the Variables tab or option.
Step 12:
Select the desired input field from your lead form (e.g., the prospect's first name). Once saved, the variables will dynamically populate the element for every new prospect who completes the form.
Now you have a shareable link with specified variables.
Use it to send to a specific client who will appreciate the customized variables.
Note that the variables are actually built into the link.
So you can just make a spreadsheet where you'll change the URL without opening Demoboost editor.
Reach out to our team to see the examples.