Considering demo automation? Test drive Demoboost for free!
Start Your Trial
Thank you! Your submission has been received!
Oops! Something went wrong while submitting the form.
How to Share and Embed Demos from a Specific Screen
Great demo add-on
How to Create and Use Folders
How to Use AI editing on screen elements
How to Editing Screen Elements
Branding -Custom Themes
How to Add Tour Navigation to your Demo
How to Add Video Screens
How to Add Image Screens
How to Add Voiceover
How to Add Floating Button
How to Use AI refine in your guides
Comprehensive Technical Troubleshooting Guide (Before Contacting Support)
Unable to Capture Locally Hosted Pages
Internal Linking vs. External Linking
Shared Link Not Opening ("You Don't Have Access..." Error)
Images Captured with Incorrect Size or Aspect Ratio
Demoboost Application Not Loading
Captured HTML Elements Are Missing or Broken
Unable to Save Screens in the Editor
Why Can't I Select or Edit a Disabled Element in the Editor?
Why Can't I Add an Image or Video Screen to an Empty Demo?
Unable to Log In to Demoboost
Why Do I Need to Refresh My Page After Installing the Extension?
Variables
How to Add AI Narration to your Demos
Autoplay
Auto translate
Sales Room
Demo playlist
Ending/CTA screen
Pick Your Own Journey Screen
Performing key operations on screen
Integrating Marketo with Demoboost: A Step by Step Guide
Integrating 6sense with Demoboost: A Step by Step Guide
How to Build a Sandbox Demo
Knowledge Base Documentation
New Feature Explanations
Product Marketing Announcements
Website Conversions
Channel Partner & Reseller Demos
Conferences/Trade Shows
Digital sales rooms for customers
Sales Leave-Behinds
Live Demos
“Great Demo!” Training for Sales Teams
Sample Article
How to Replace images
How to Assign a Variable
How to Select or Create an Overlay
How to download the extension?
How to present Mailchimp to Tim Cook
How to Clear Your Browser Cache
How to Install Microsoft Clarity on Your Demos Using Google Tag Manager
Integrating Google Tag Manager with Demoboost: A Step-by-Step Guide
How to Translate Screens
Troubleshooting Saving Errors
How to Capture Local Web Pages
Advanced Guide Cutomisation
How to Edit Elements Behind Overlays
How to Export Data from Demoboost
Analytics Overview
Playback Settings
Live Demo Settings
Demo Email Notifications
How to Share Demos
How to Embed Demos on Your Website
How to Share With Presenters and Channel Partners
How to Duplicate Demos
Inspector Introduction
Creating Mobile App Demos
How to Add Speaker Notes
How to Add Video Narration
How to Create and Manage a Guide
How to Link Screens
How to Capture Screens
How to Create Demos
How to Add Extension
If this editor looks unfamiliar, you're likely using the previous version.
Access the right documentation by clicking on the button.
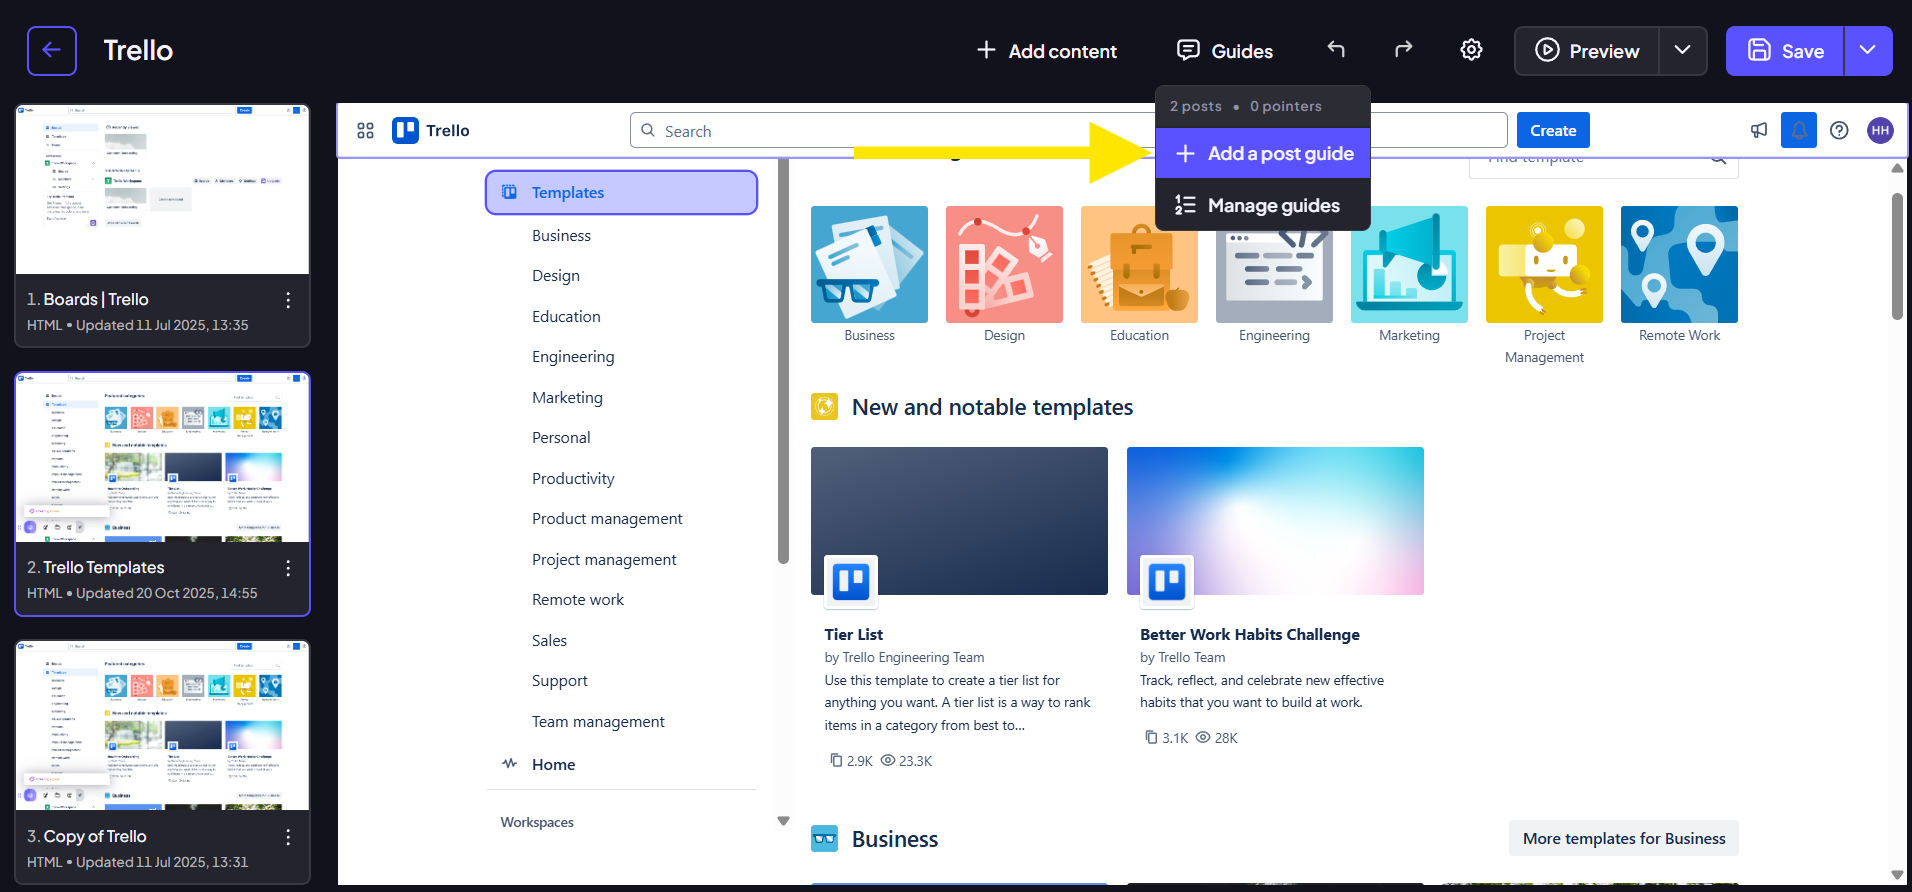
How to Use AI refine in your guides

Step 1:

To begin, you can create a guide in one of two ways. You may click an element on the screen where you wish to anchor your guide, establishing the visual and contextual starting point. Alternatively, you can open the guide editor to create a Post Guide that is not anchored to a specific element. Once you are in the editor, click the 'Guide' button to start composing your content.
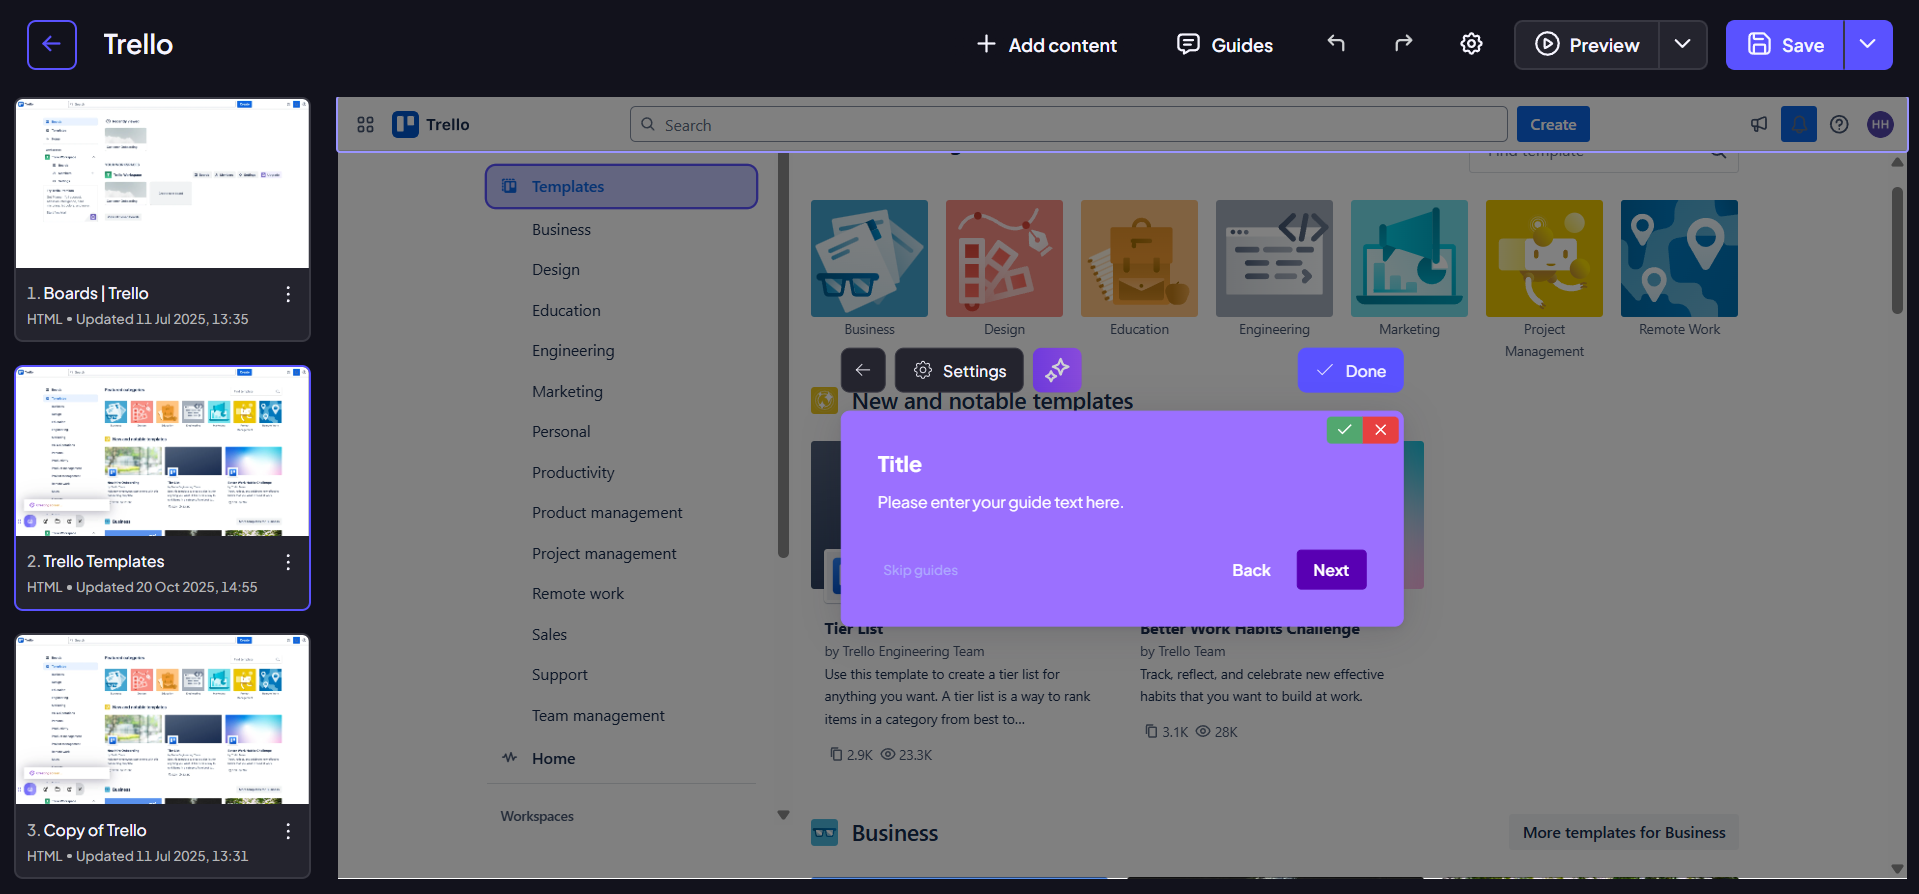
Step 2:

Write the initial draft of your guide in the text field. At this stage, you can focus primarily on conveying the necessary information. After your draft is complete, click 'Refine with AI' to analyze your text and present the available enhancement options.

Step 3:

The AI will present several targeted options to help you enhance your text for a specific goal. You need to select the option that best suits the purpose and audience of your guide:

  • Proofread: Automatically corrects spelling, grammar, and punctuation errors, ensuring flawless, error-free text.
  • Shorten: Condenses your text down to its most essential points, making your instructions concise and easier to read.
  • Professional: Rewrites the guide using formal language and an official tone, perfect for documentation and formal communications.
  • Friendly: Rephrases the text in a casual and conversational style, creating more inviting and approachable in-app guidance.

Step 4:

Once you select your desired option, the AI will generate and present the revised text. Review the changes carefully to ensure the refined version meets your approval and accurately conveys your intended message. Finally, click 'Accept' to replace your original text with the newly refined version.

Step 5:

Your comprehensive and polished guide is now complete and ready for deployment!