If this editor looks unfamiliar, you're likely using the previous version.
Access the right documentation by clicking on the button.
Effortlessly kickstart your journey with our beginner-friendly guides!
In this Tutorial, you'll learn about creating guided and well-defined demos for mobile apps using Demoboost.
Note that the template will be based on your static image screenshots of the mobile app - they need to be prepared in advance.
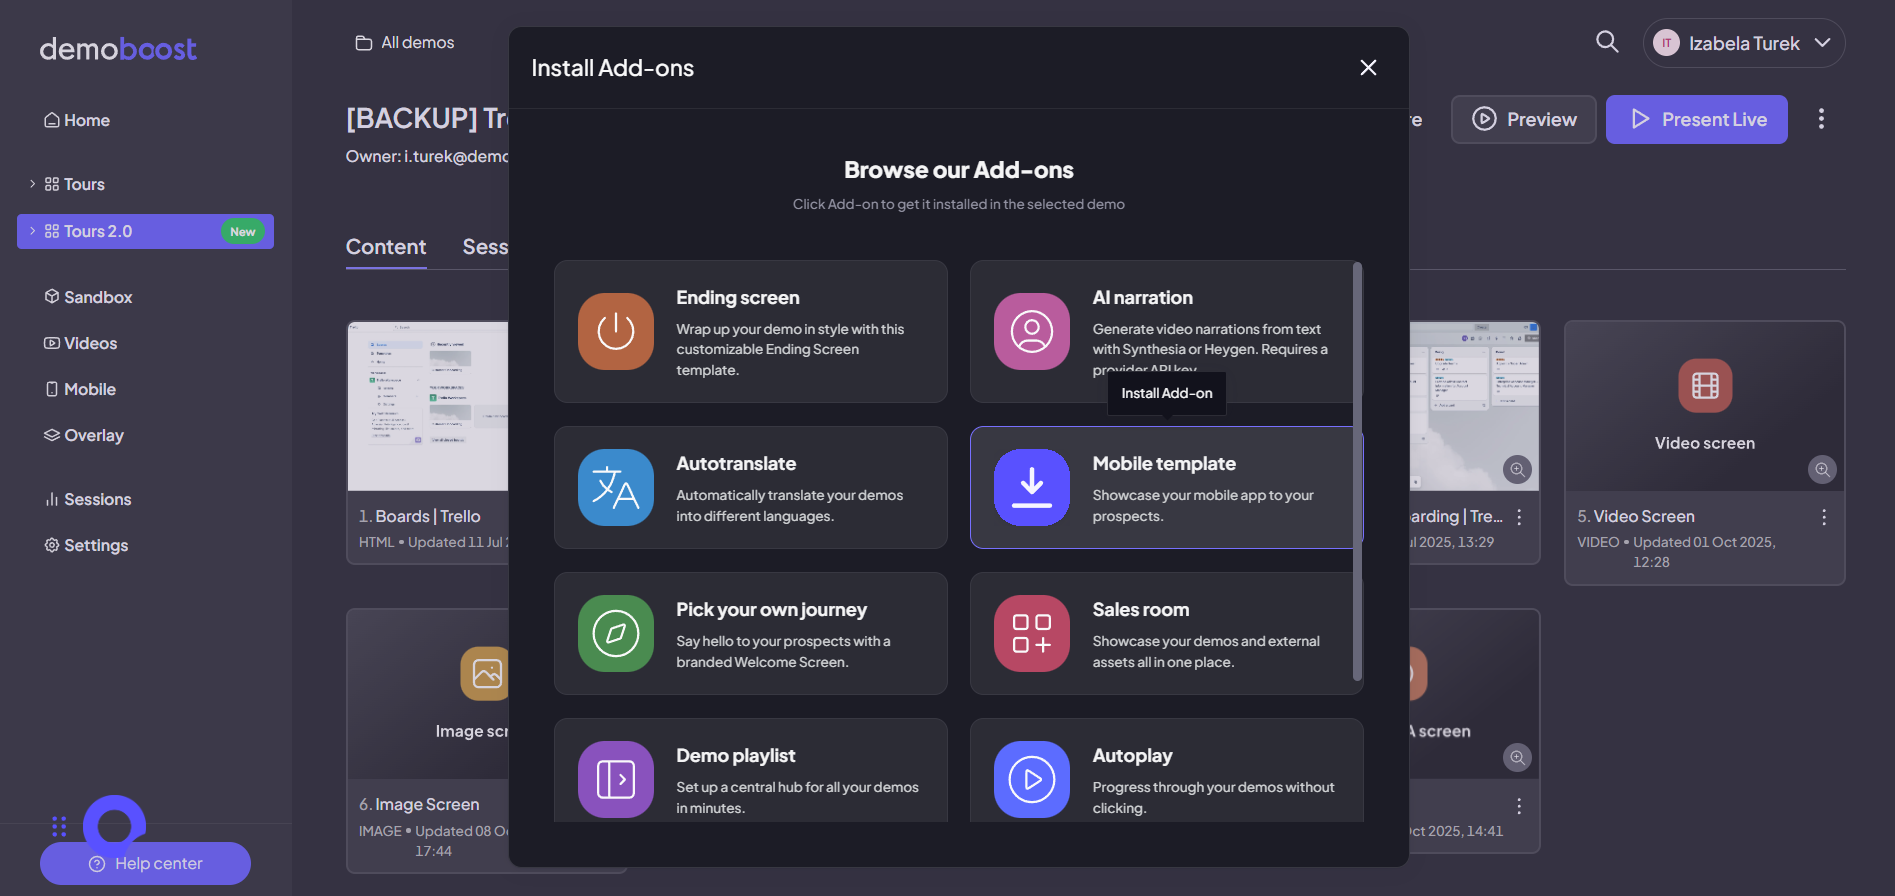
Step 1:
As with all add-ons, you will find them in the "Add-ons" section.Choose the feature you want, and click to install.
Step 2:
Open the new screen and personalize it.
There are a few base options of the template.
You can select a device type, customize the background colours or upload your own image. You can also change the caption.

Step 3:
Now let's add the image. Just click the Add Image button to start.Upload the needed image,or paste its URL.Once you're done, click Save to proceed.

Step 4:
The image is uploaded!
To add guides and links, we need to create hotspots. To do that, simply click on the image, position, and resize the hotspot accordingly. Now, you can add a link or a guide to it. To remove it, simply click the Remove button.

If you need a demo that's optimized for mobile screens or a fully HTML demo, please reach out to your support team for assistance.