If this editor looks unfamiliar, you're likely using the previous version.
Access the right documentation by clicking on the button.
Option 1:
If you need to quickly reach an element blocked by a popup, follow these 5 steps using the edit toolbar:
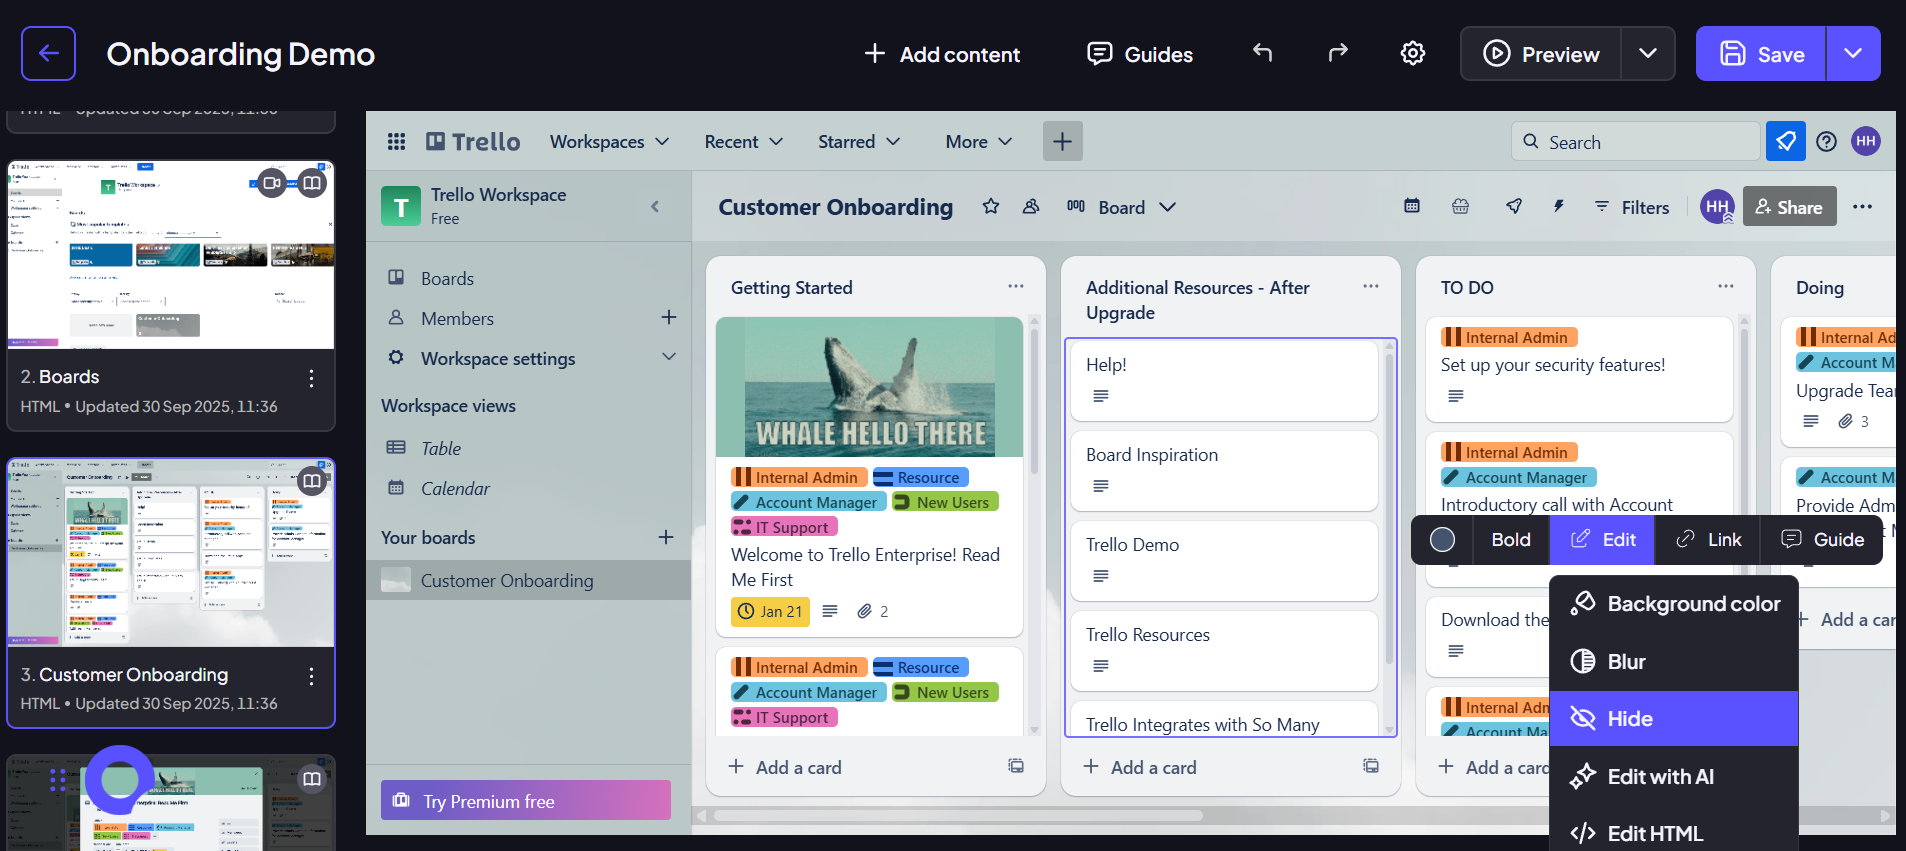
Step 1
Select the element that is blocking your view.
Step 2
The edit toolbar will appear for that element.
Step 3
Click the Hide icon within the tool to make the overlay invisible.
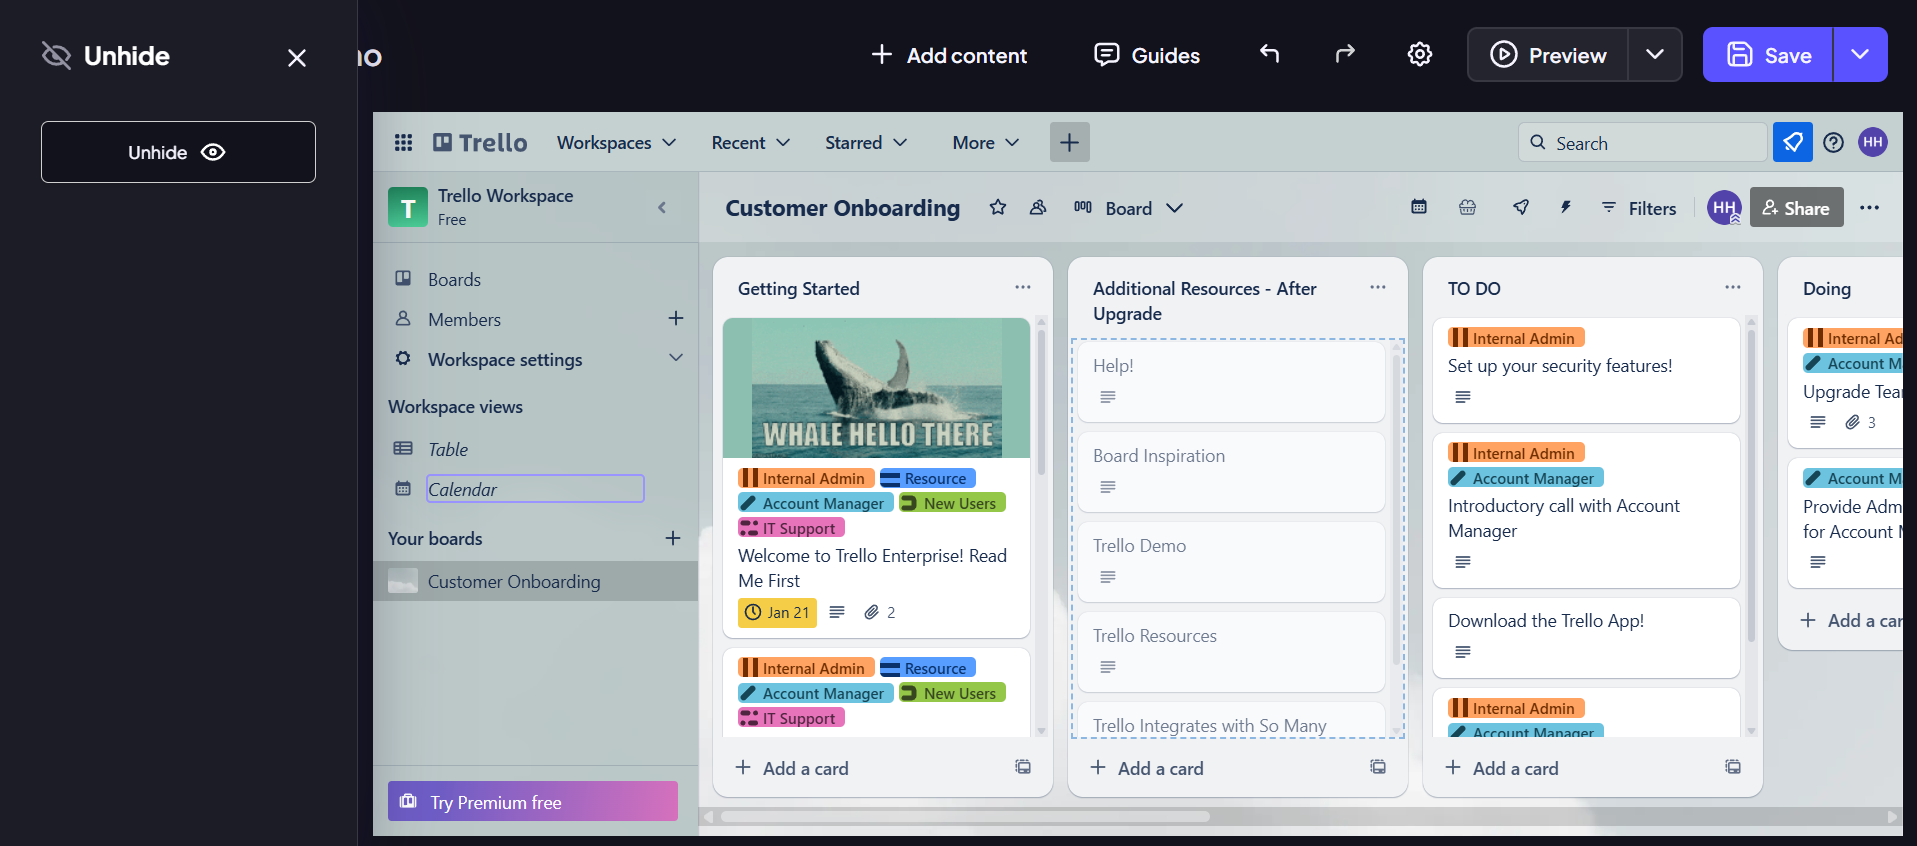
Step 4
Now, that the overlay is gone, click and edit any elements behind it as much as you want.
Step 5
Click on the Settings icon, you will find Hidden Elements there, to unhide the overlay and restore the original look of your screen click on the element displayed on the list. Save the screen.
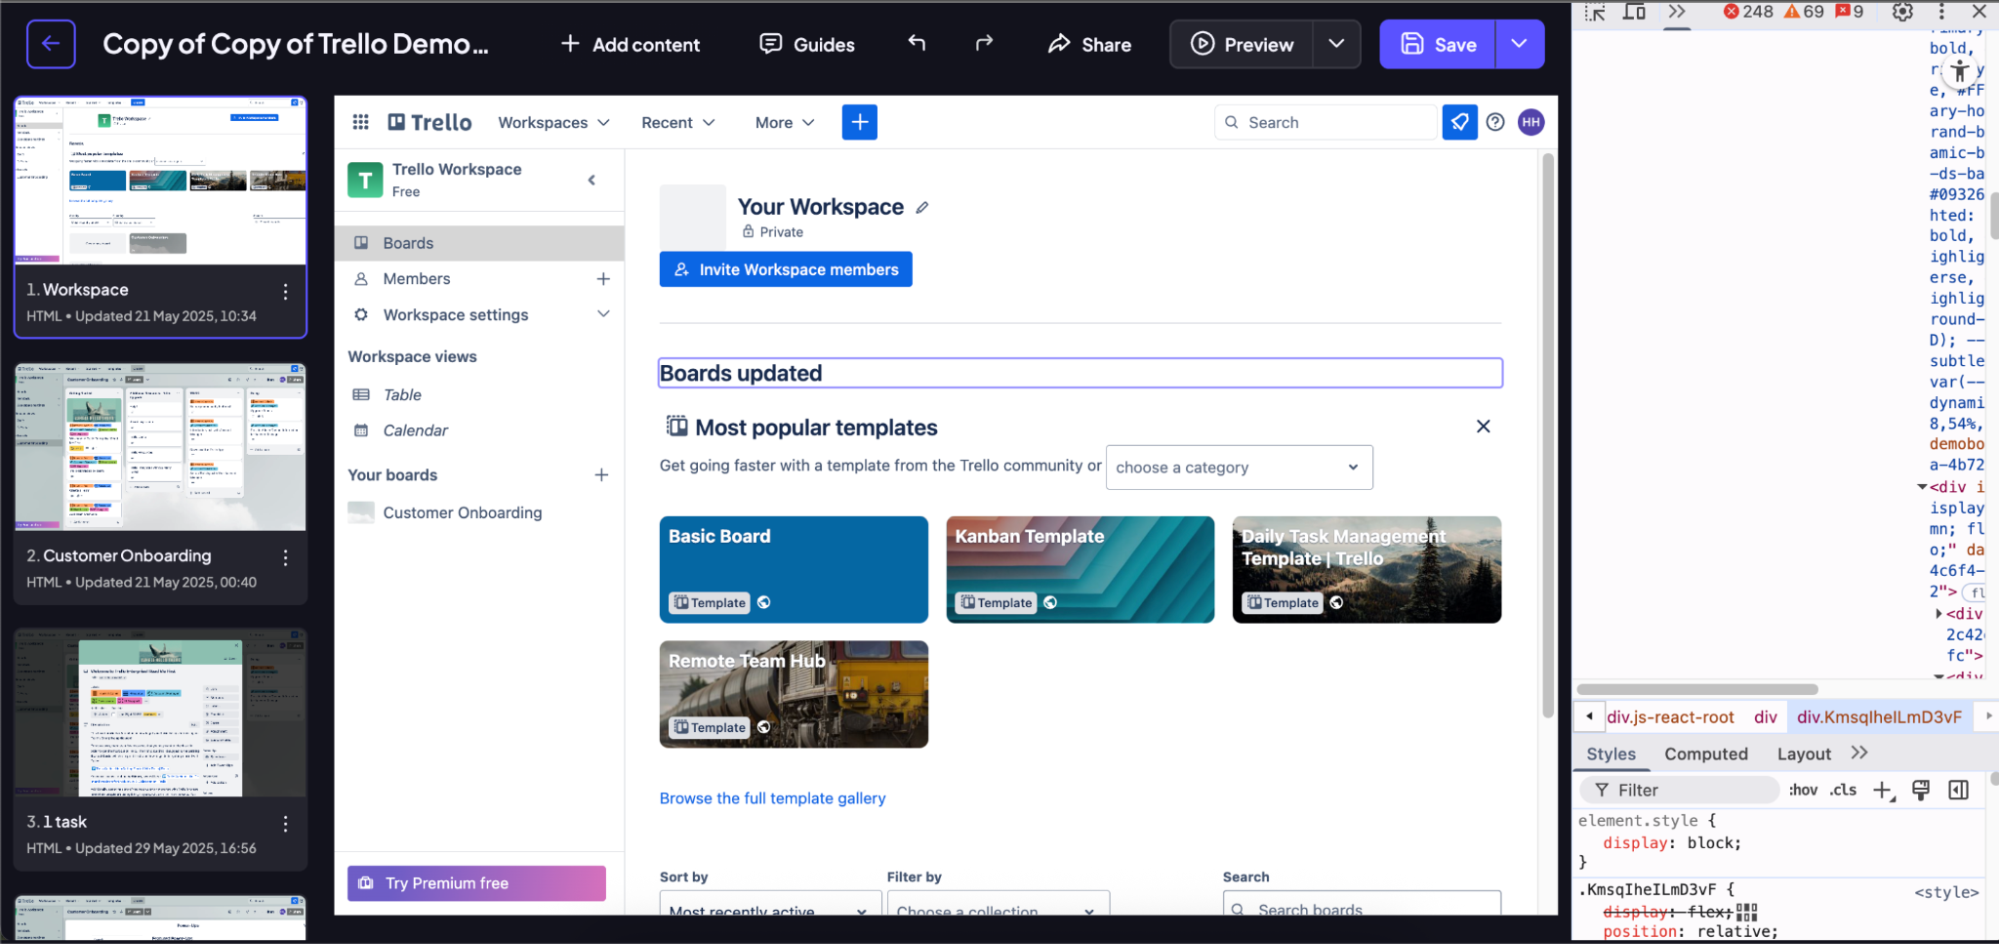
Option 2:
Step1:
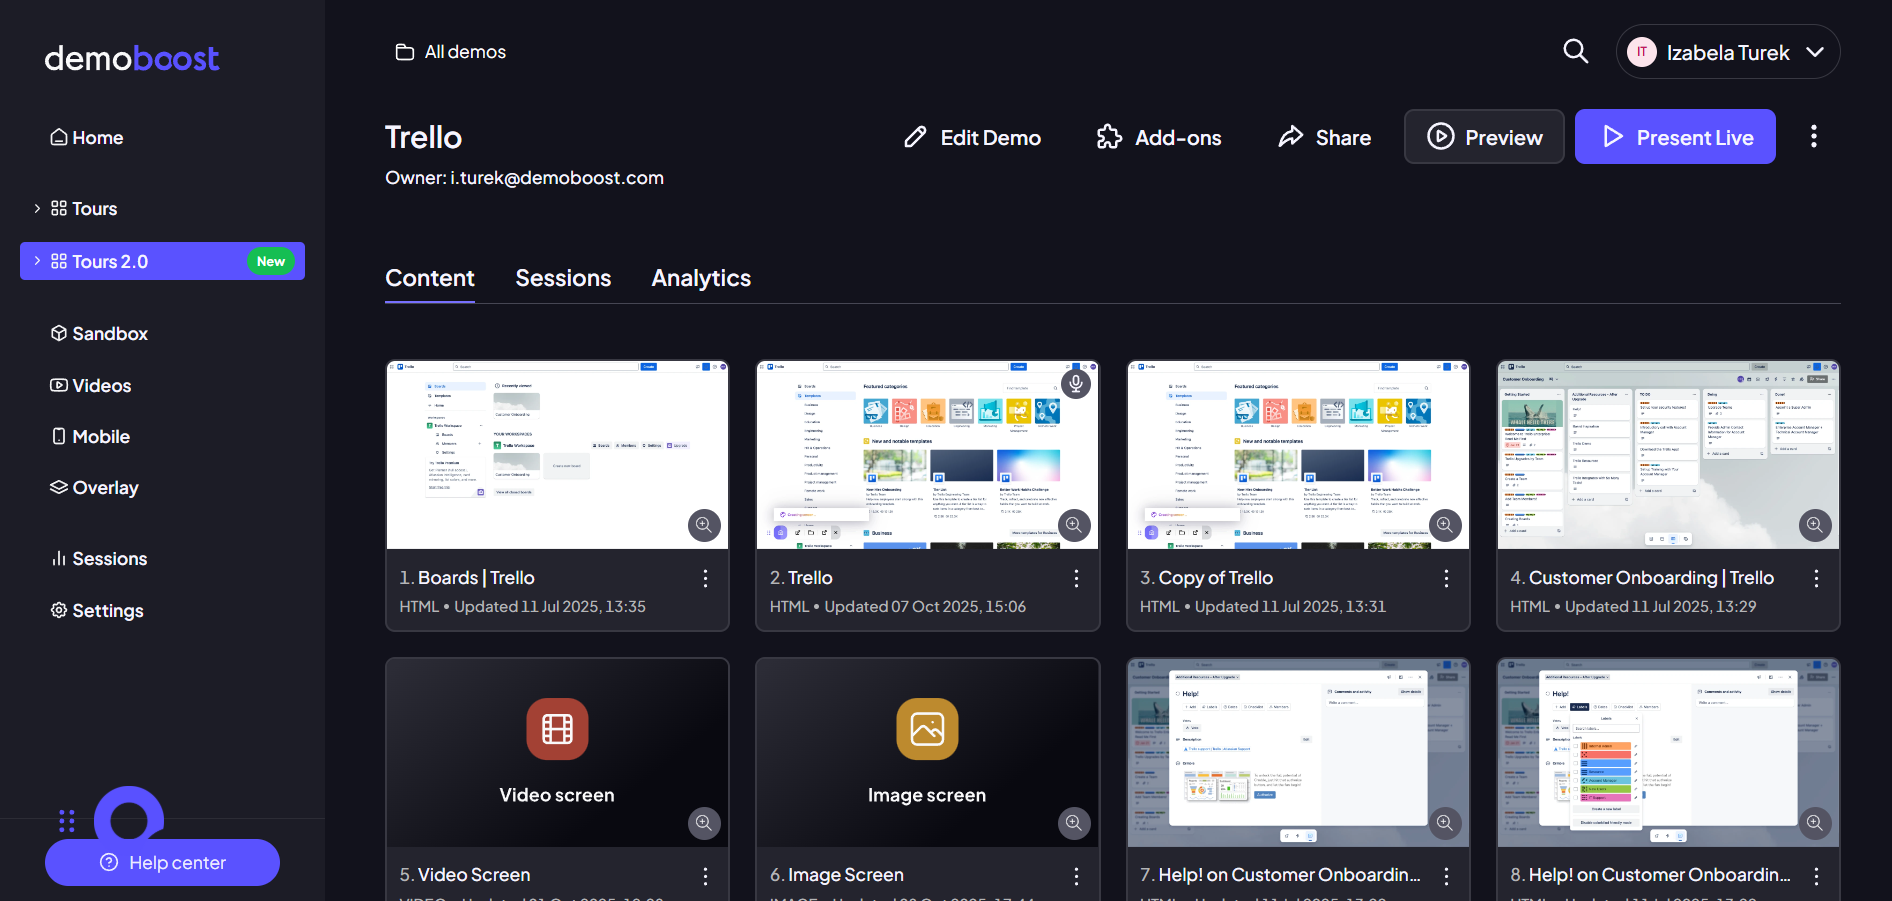
Open your demo and choose a screen to edit.
Step 2:
Click "Inspect" outside the overlay element.
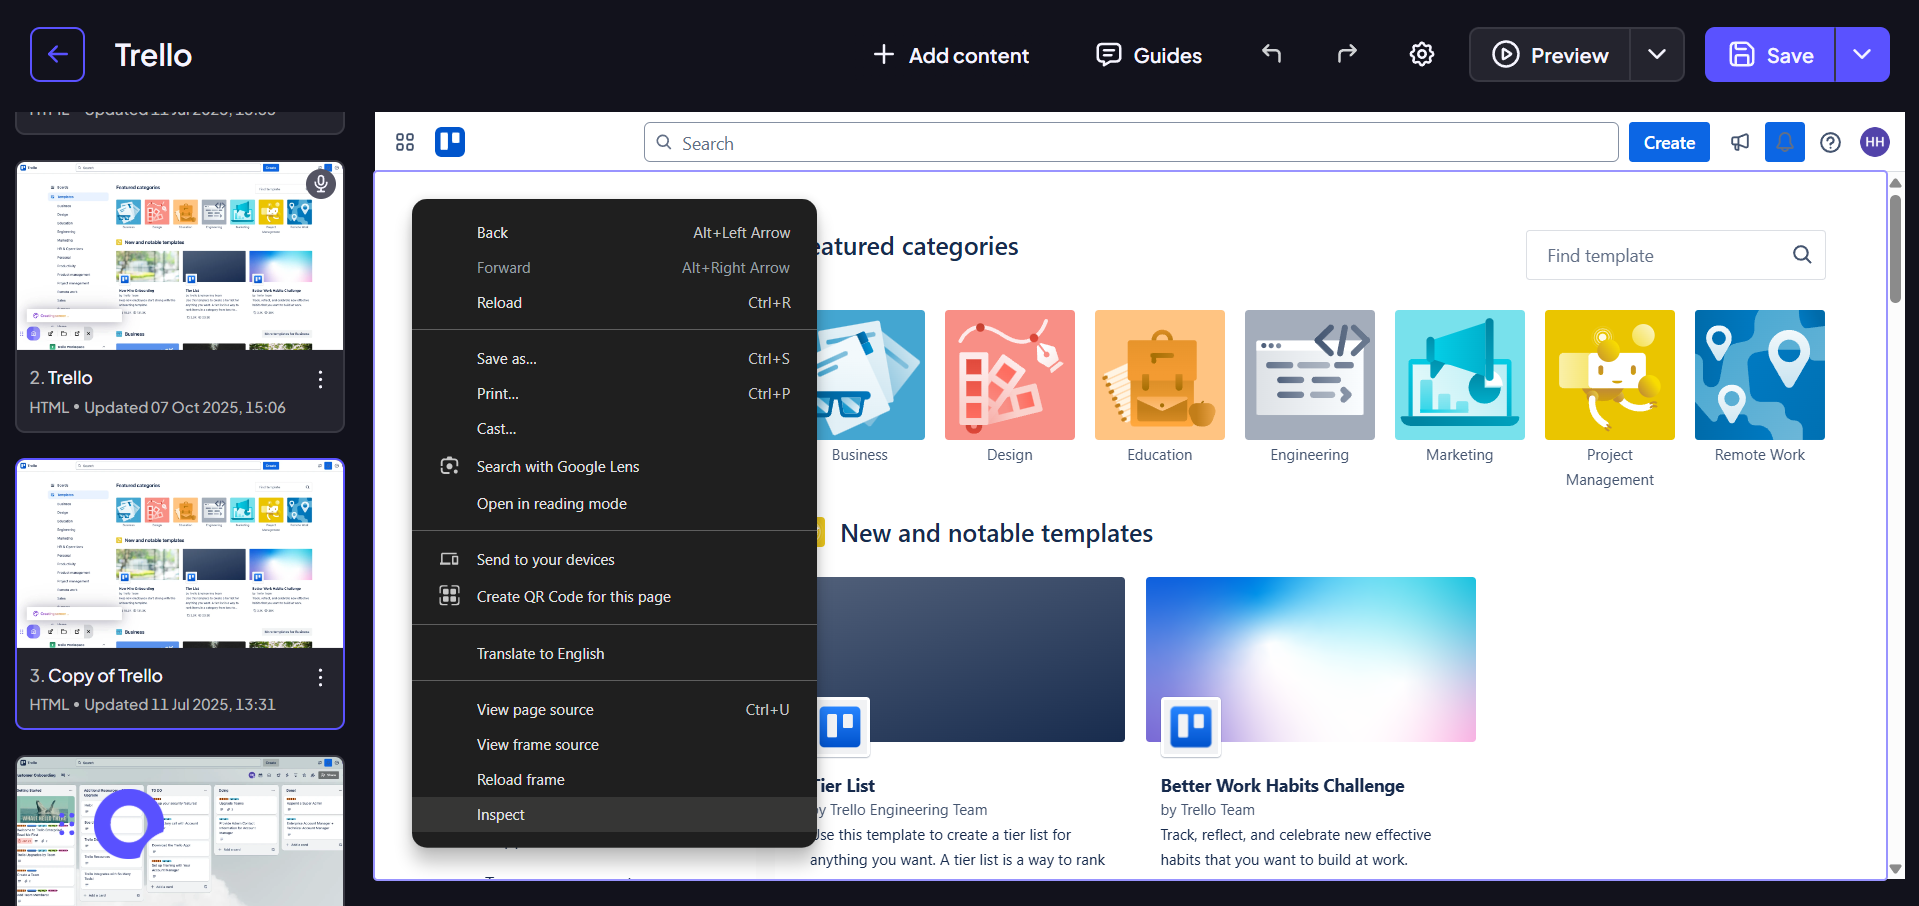
This automatically highlights your element.
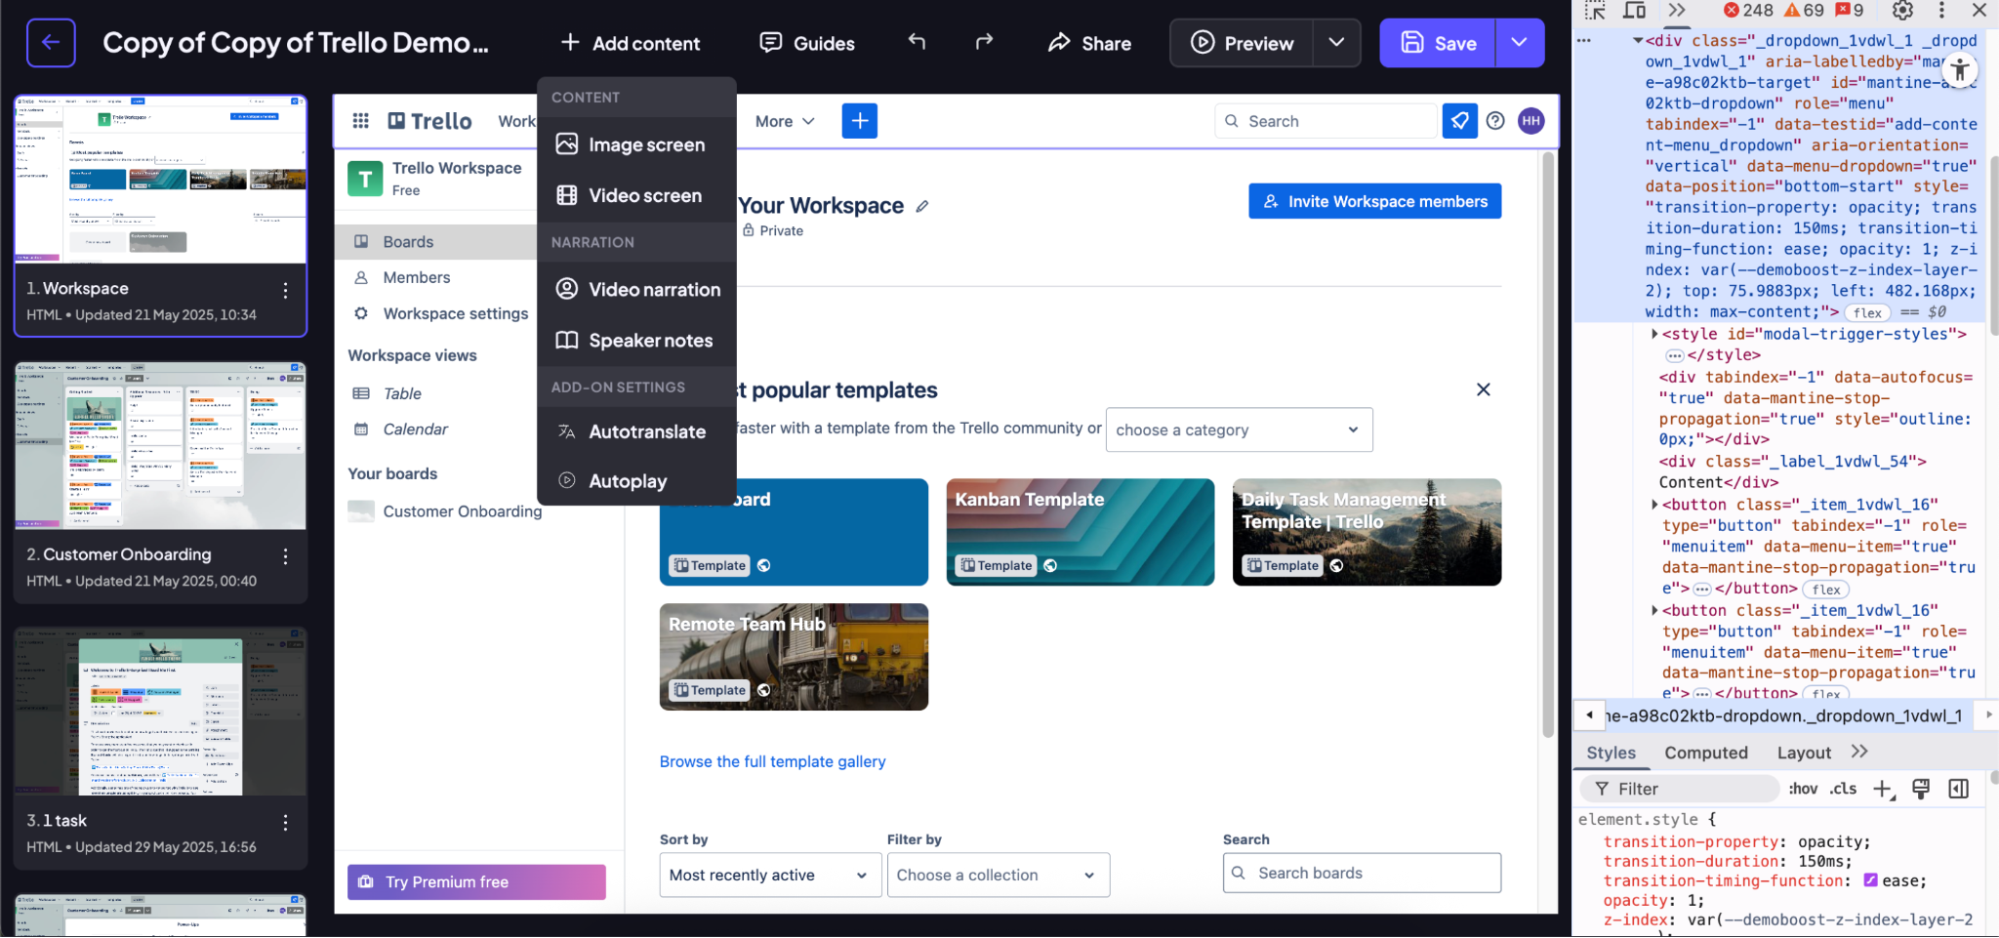
Step 3:
Add a new line stating display: none to modify the element's display style.
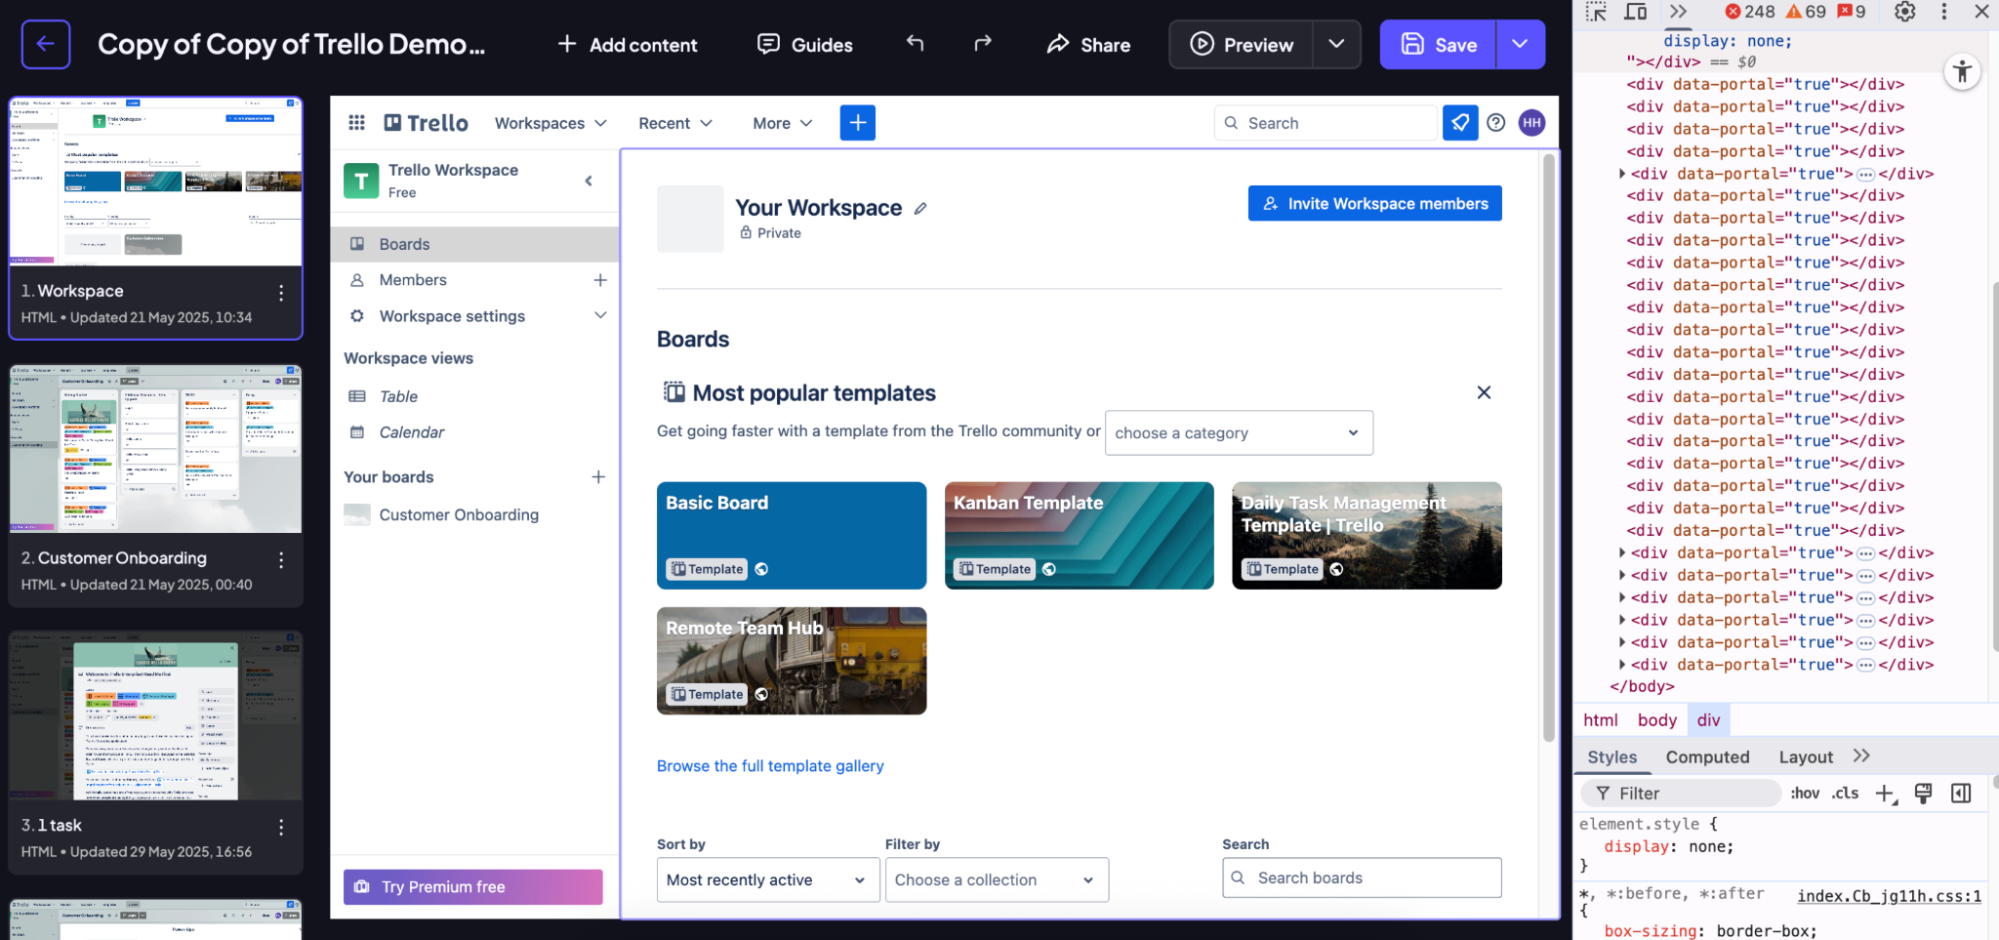
Step 4:
After editing and saving the screen, return to the inspector. There, you should either remove the display: none property or change it to display: block. Finally, save the screen.