If this editor looks unfamiliar, you're likely using the previous version.
Access the right documentation by clicking on the button.
Effortlessly kickstart your journey with our beginner-friendly guides!
Demo playlists allow you to create custom experiences to prospects based on the needs.
Step 1:
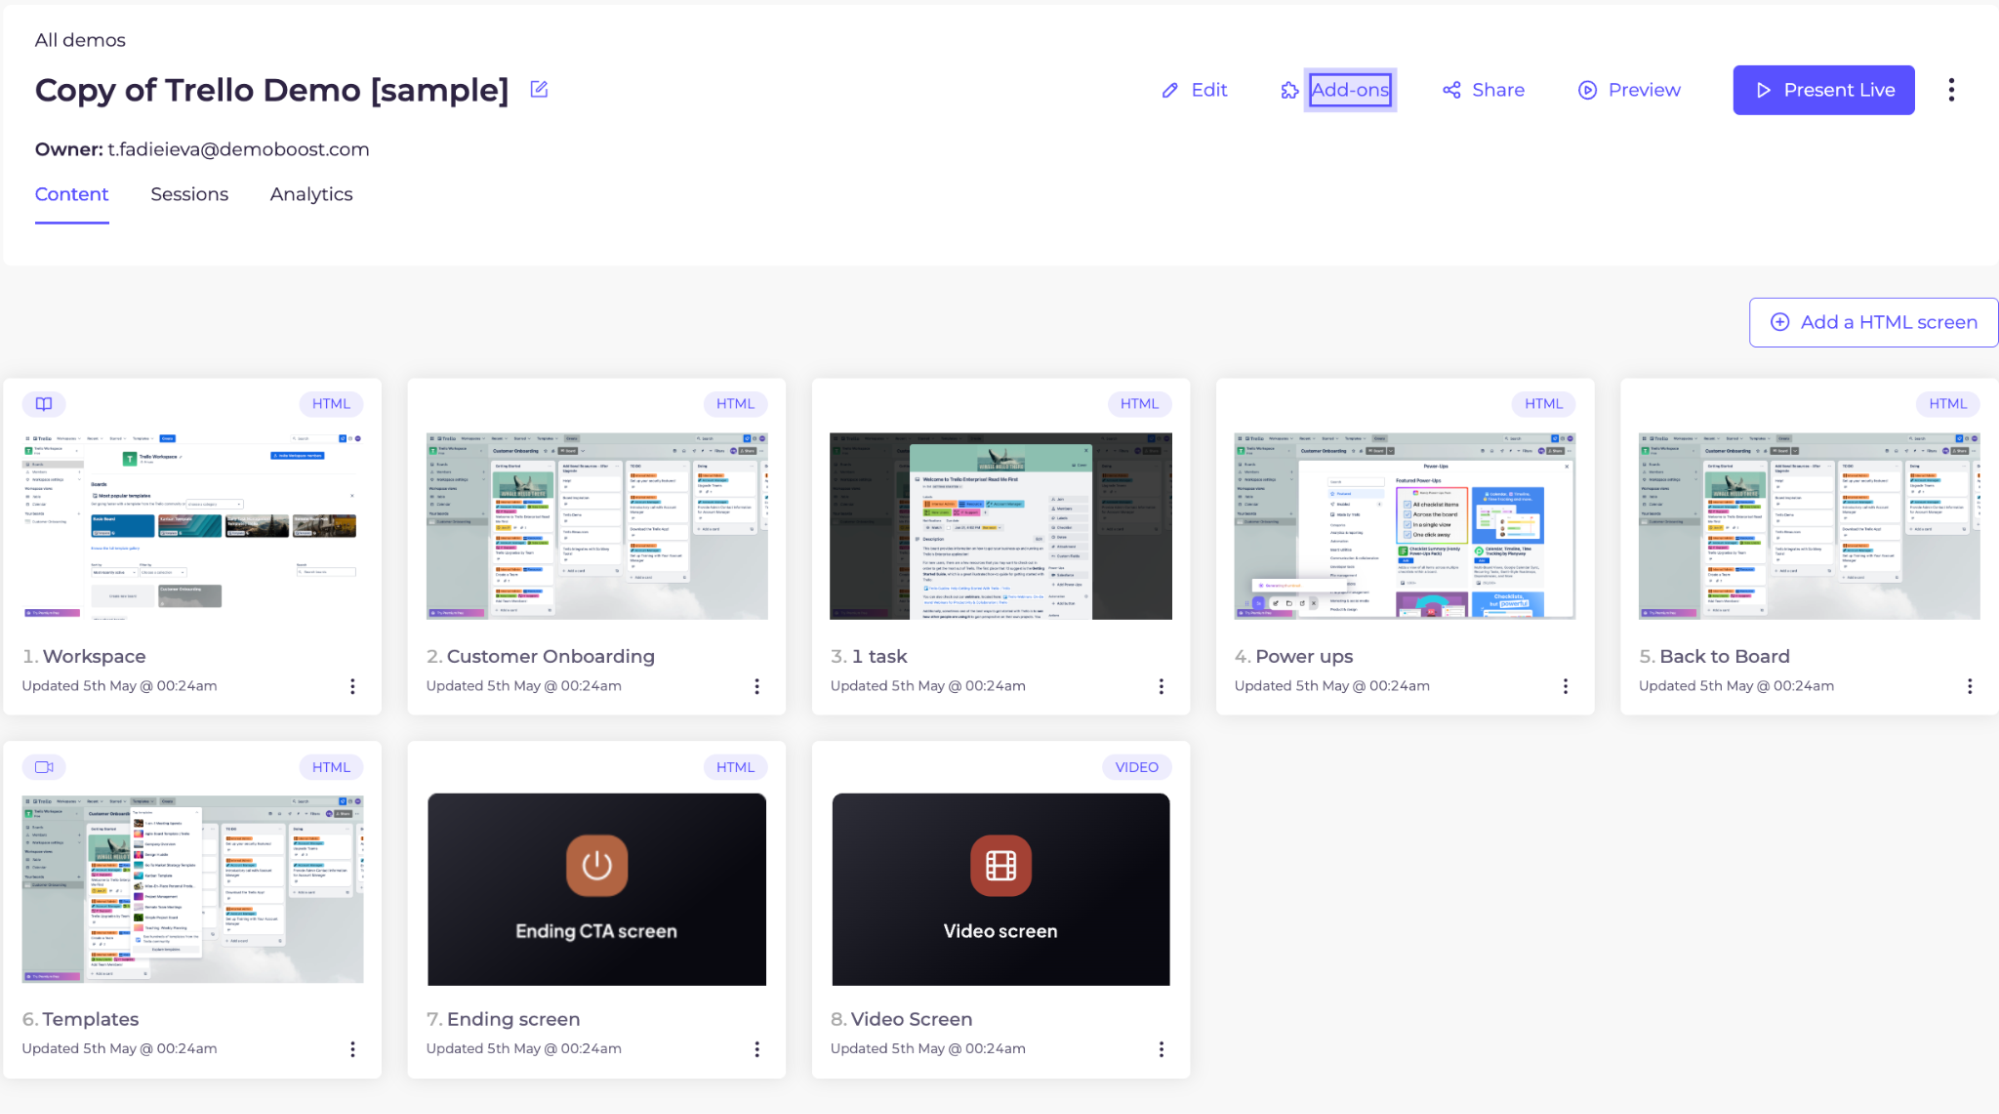
Create a new demo. Click on the ‘Add-ons’ button.
Step 2:
Install the demo playlists add on.

Step 3:
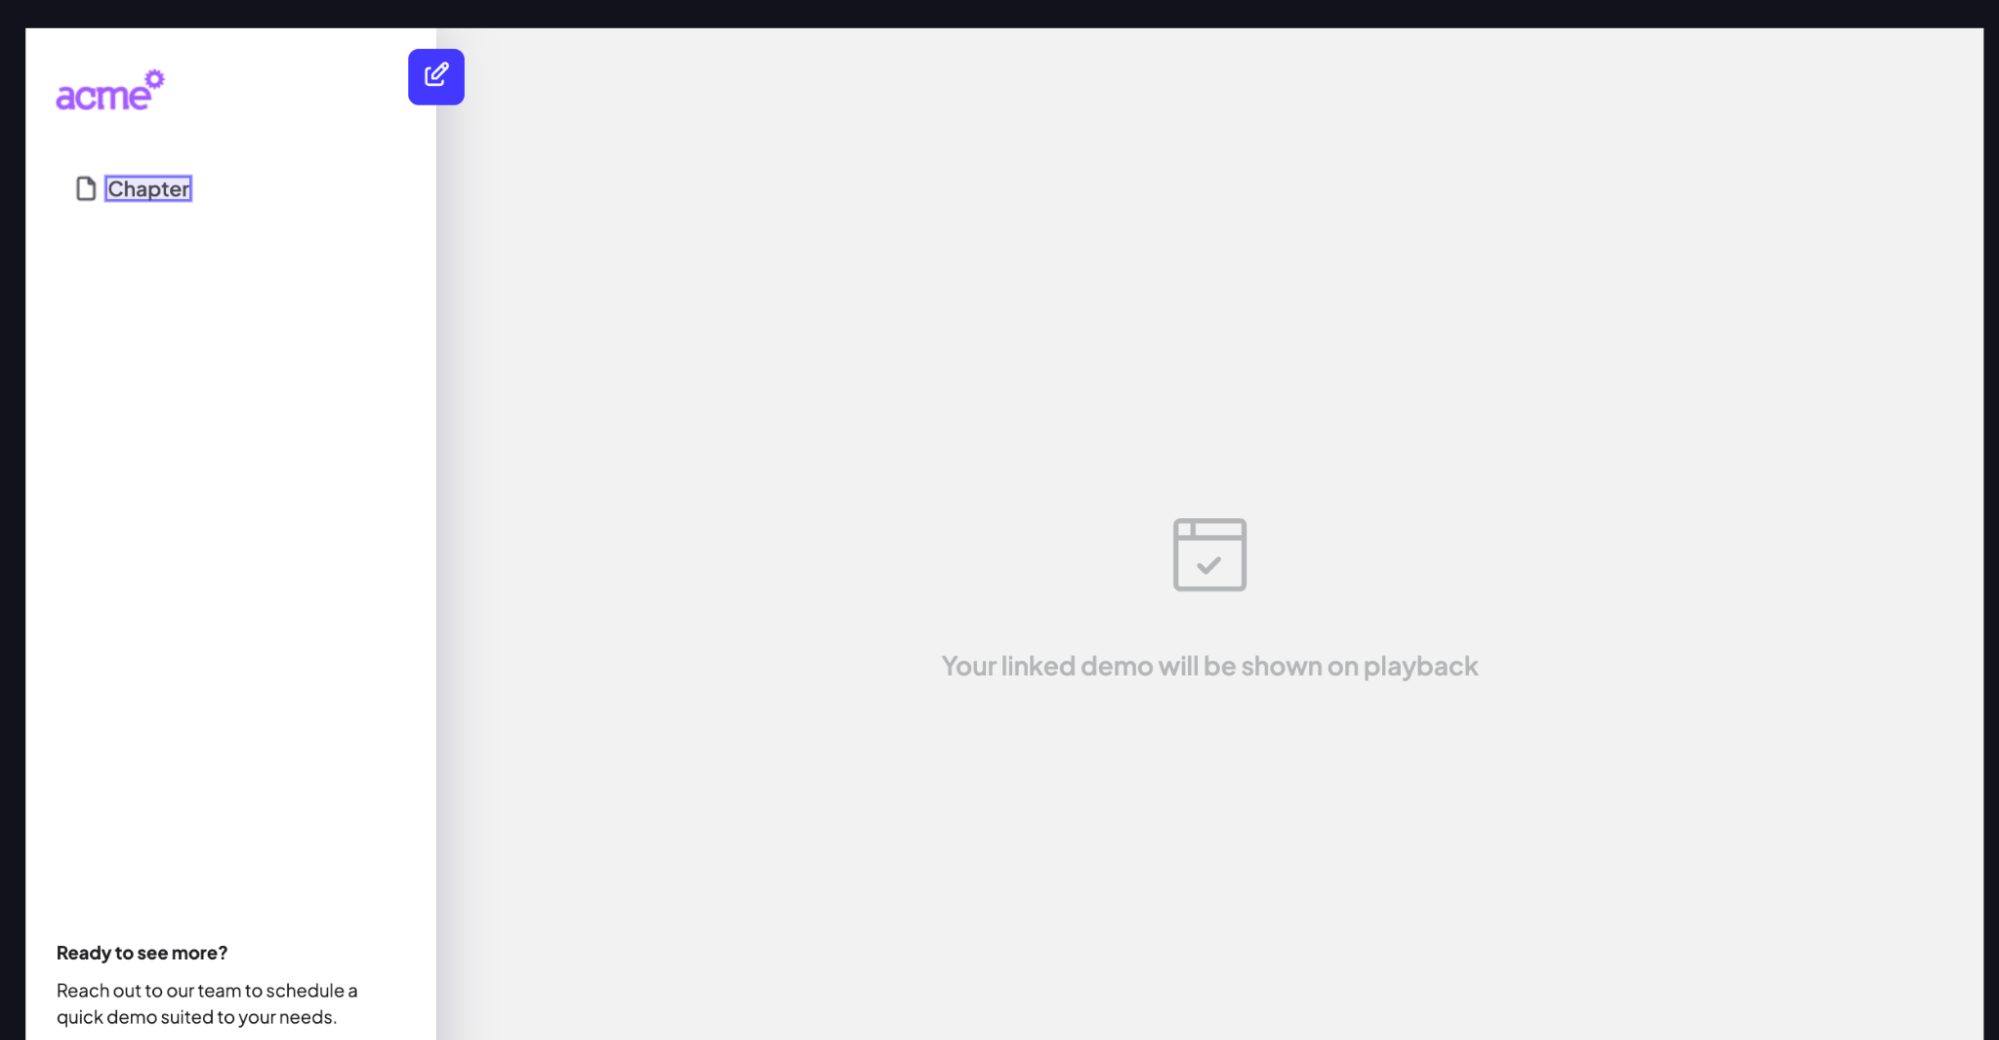
Open the new screen.

Step 4:
Use the ‘add chapter’ button to add another chapter. You can rename the chapter as well, and add subchapter by clicking ‘Add subchapter.’
Step 5:
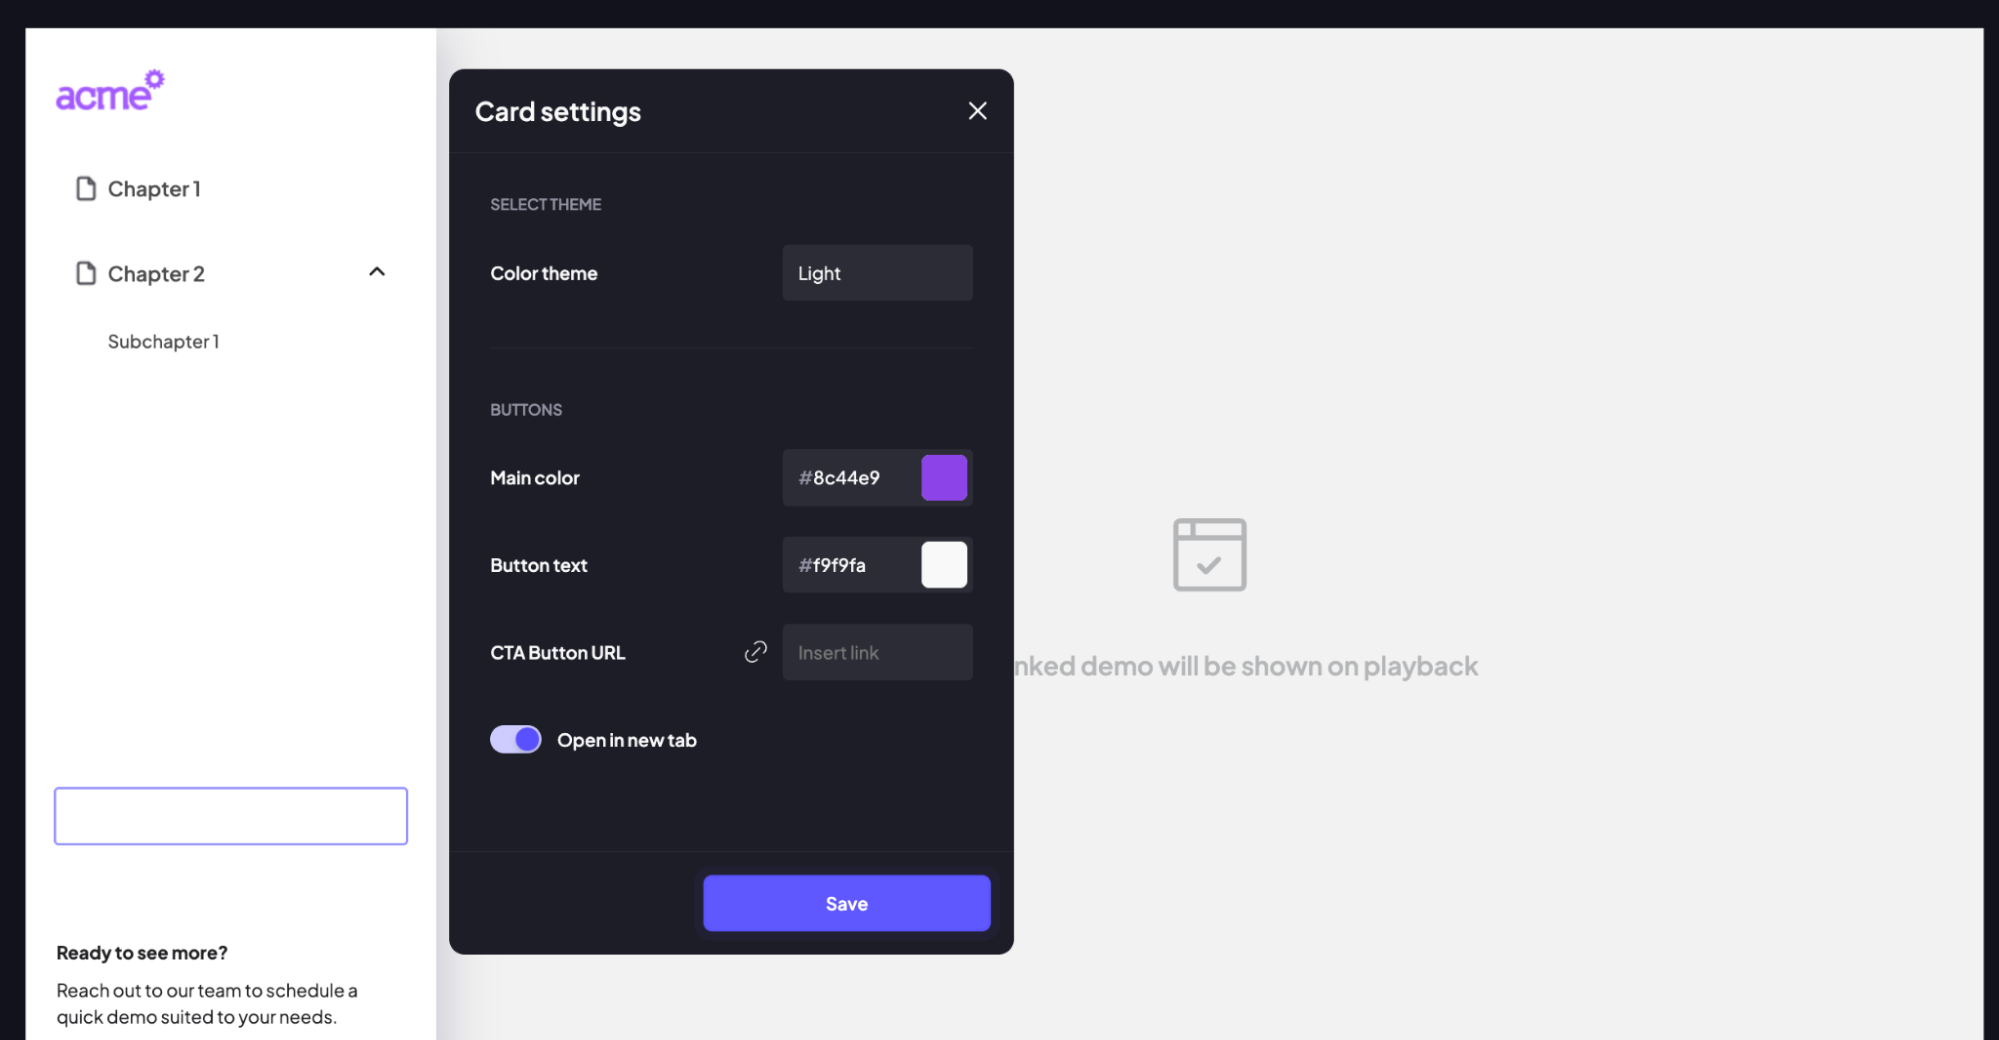
Click on the pencil icon to tailor the look of your shared playlist.
Step 6:
Choose a theme colour to match your brand. Maintain consistency of the main button colour. You can also change the colour of button text. Add a CTA button URL to drive action. Click ‘Save’ to continue.
Step 7:
Click on the Chapter or ‘Sub chapter’ to start assigning screens.
Step 8:
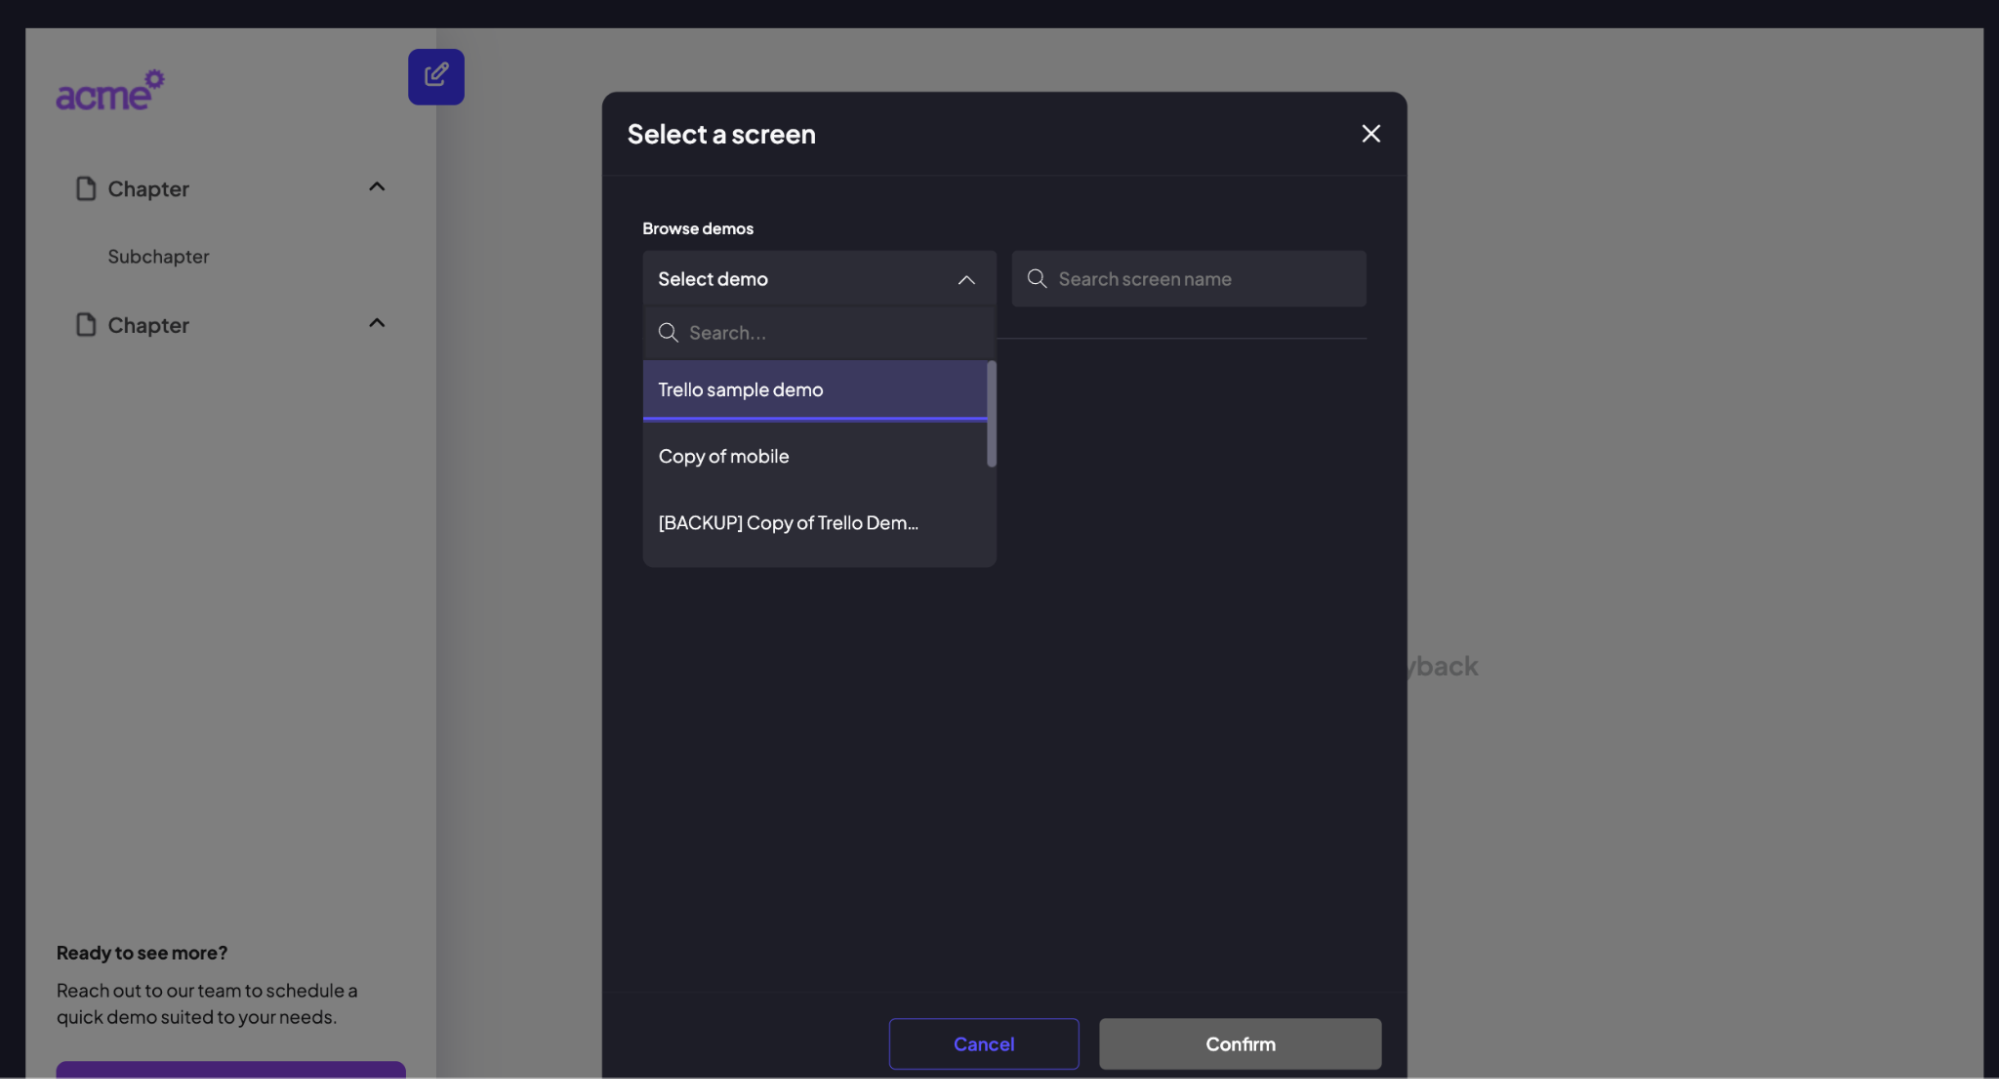
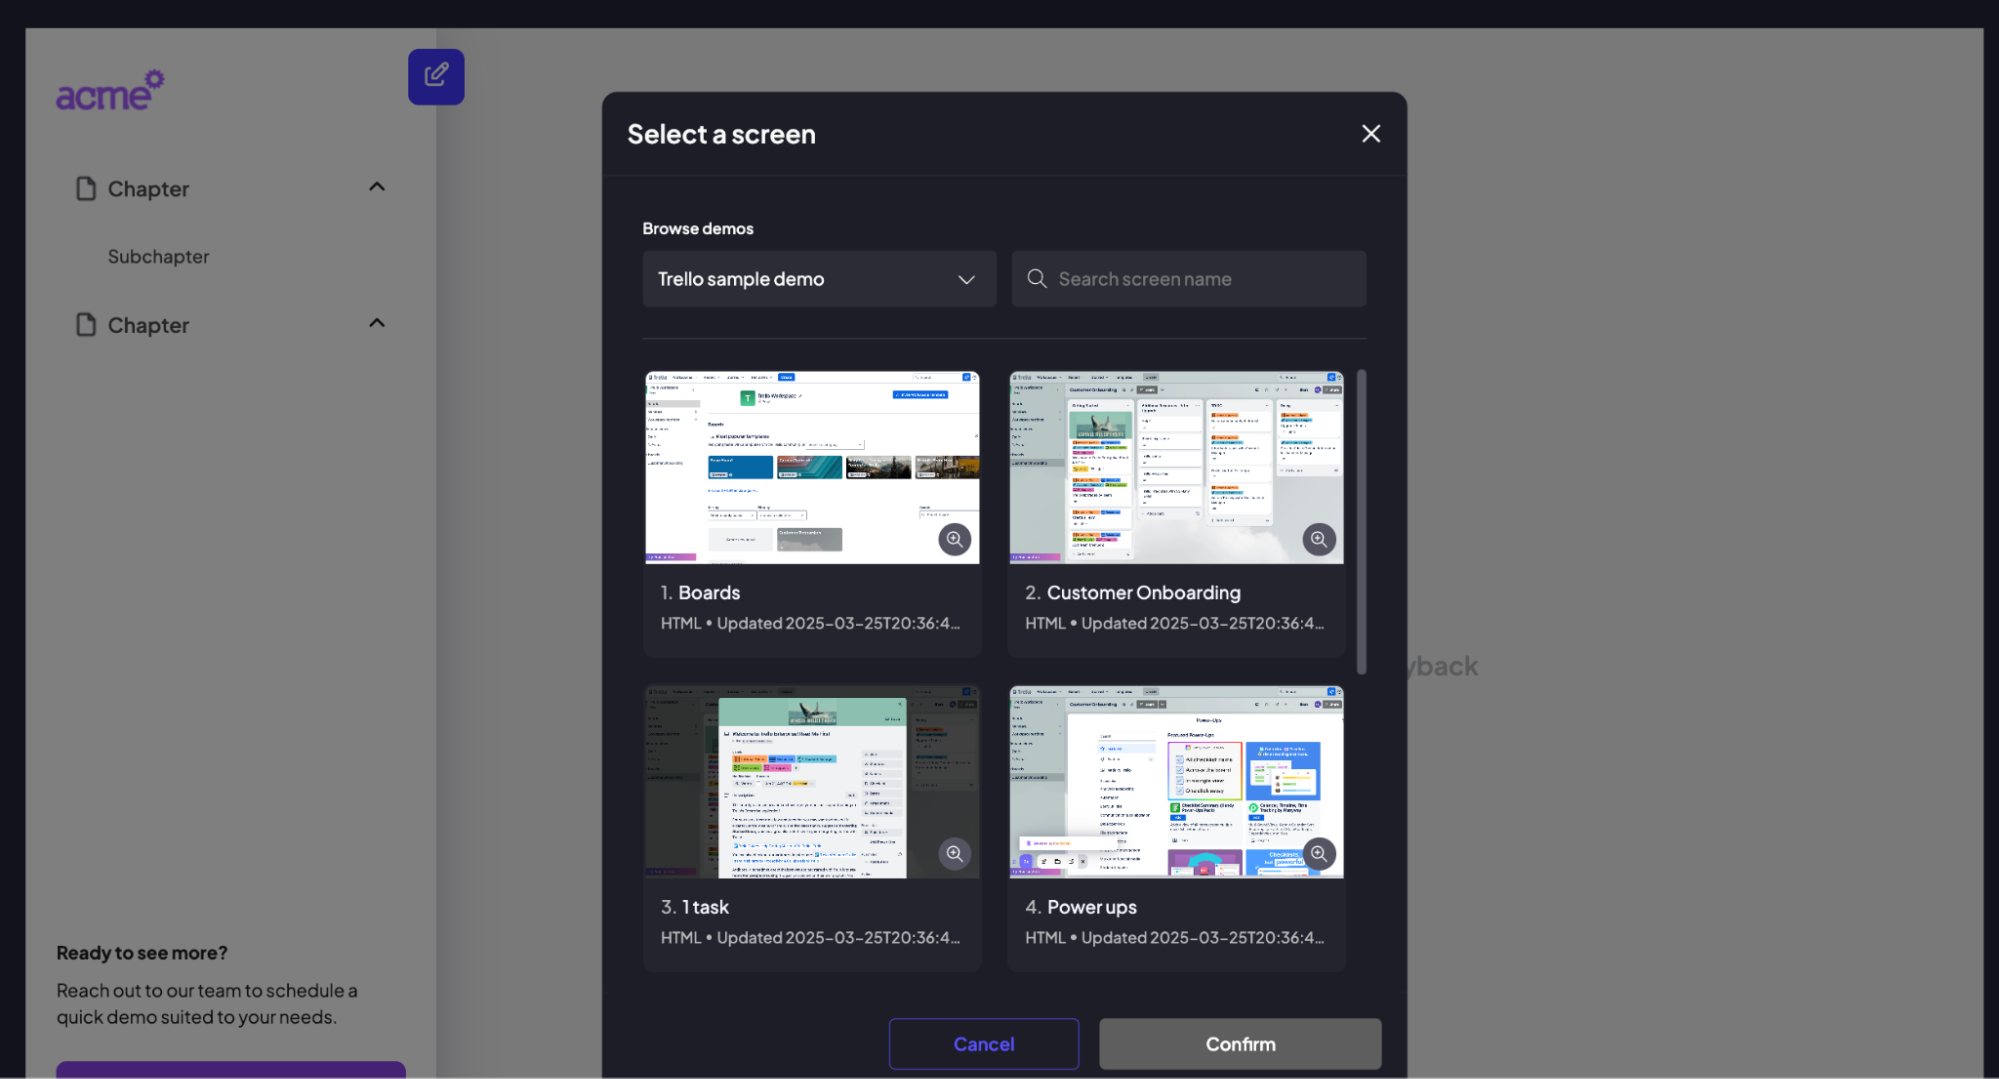
In the popup, choose a demo from the list or search by screen name for faster access.

Step 9:
Choose a demo or pick a screen from the list you’d like to link. Once done, click confirm to proceed.
Step 10:
Click ‘Save’ once you’ve added the required screens. The playlist opens with a structured sidebar. Chapters, subchapters, and screens will be displayed, and viewers can navigate by clicking or following guided order.