Effortlessly kickstart your journey with our beginner-friendly guides!
Let’s look at how you can add a guide to a screen in Tours 2.0
Guides are a great way to give users step-by-step help directly within a demo. Here's a walkthrough on how to create, customize, and manage them.
Step 1
Adding a Guide to Your Screen
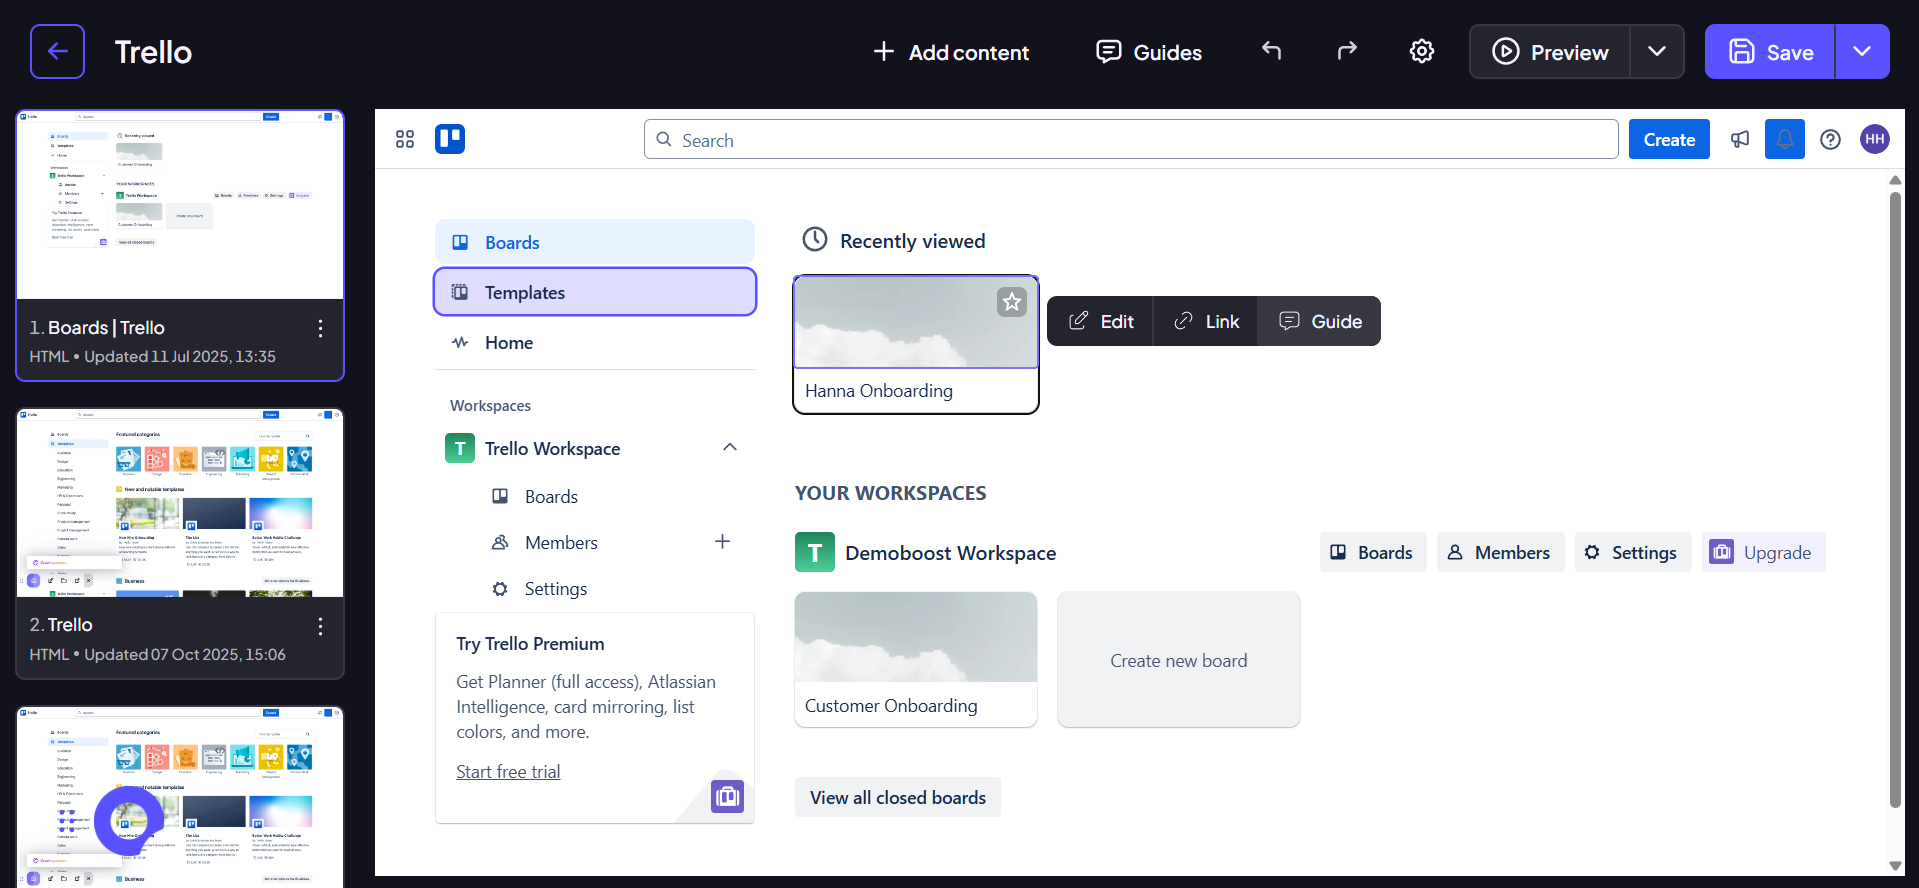
To begin, open a screen in your demo editor. If you want to add a Pointer Guide that points to a specific element, click directly on the element you want to attach the guide to. A small menu will appear.

If you want to add a Post Guide, which is a simple, free-floating text box for general announcements, click the "Guides" button at the top of the editor.

Step 2
Writing and editing your guide
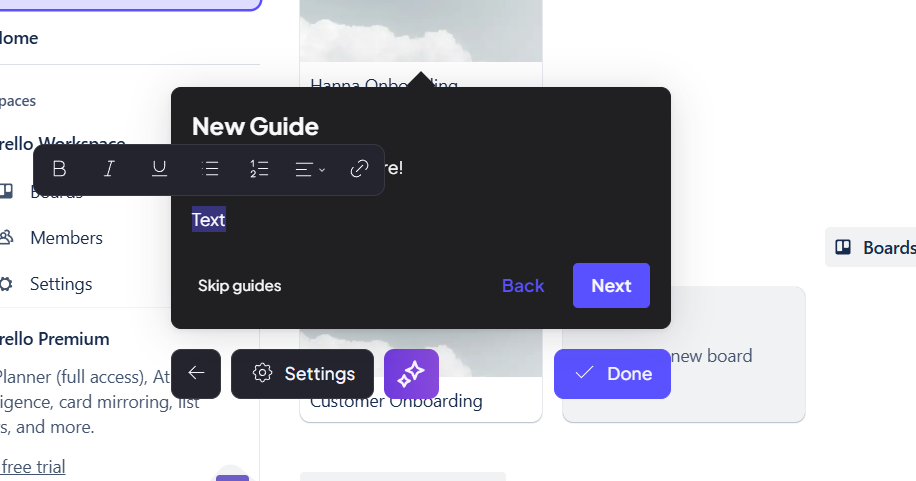
Once a guide is added to your screen, it's ready for content. Click on the guide to open the text editor and then write your headline and body text.
Step 3
As you highlight text, a formatting toolbar will pop up with options to make your text bold, italic, or a link.

When adding a new guide, your work is now automatically saved in real-time. You do not need to manually click the save button.
Step 4
Editing the default guide buttons
Note that as you hover over every button of the guide, you can click on the options menu to
- Hide the button
- Change its target from default, e.g. make it linked to a different screen or an external URL
Additionally you can type inside the button to change its title
Use these features to customize the navigation in your demo guides.
Step 5
Customizing Guide Settings
Click the "Settings" button on the guide's menu to open the customization panel. From here, you have several options.
You can toggle on the Show CTA button to add a button to your guide. Use the Placement dropdown menu to choose where the guide appears relative to its attached element (top, bottom, left, or right) so it doesn't cover anything up. You can also set the guide's Guide Order number to define its place in the sequence of your tour. To help your guide stand out, select a Background overlay like "Dark" or "Blur" to dim the background. Remember to click Save changes to apply your adjustments.

Step 6
Managing Your Guides
To view and organize all the guides on a screen, click the Guides button at the top of the editor and select Manage guides. From the list, you can click any guide to edit it, click and drag them up or down to reorder them in your demo's flow, or simply delete one by selecting Delete from its options and confirming your choice.
