If this editor looks unfamiliar, you're likely using the previous version.
Access the right documentation by clicking on the button.
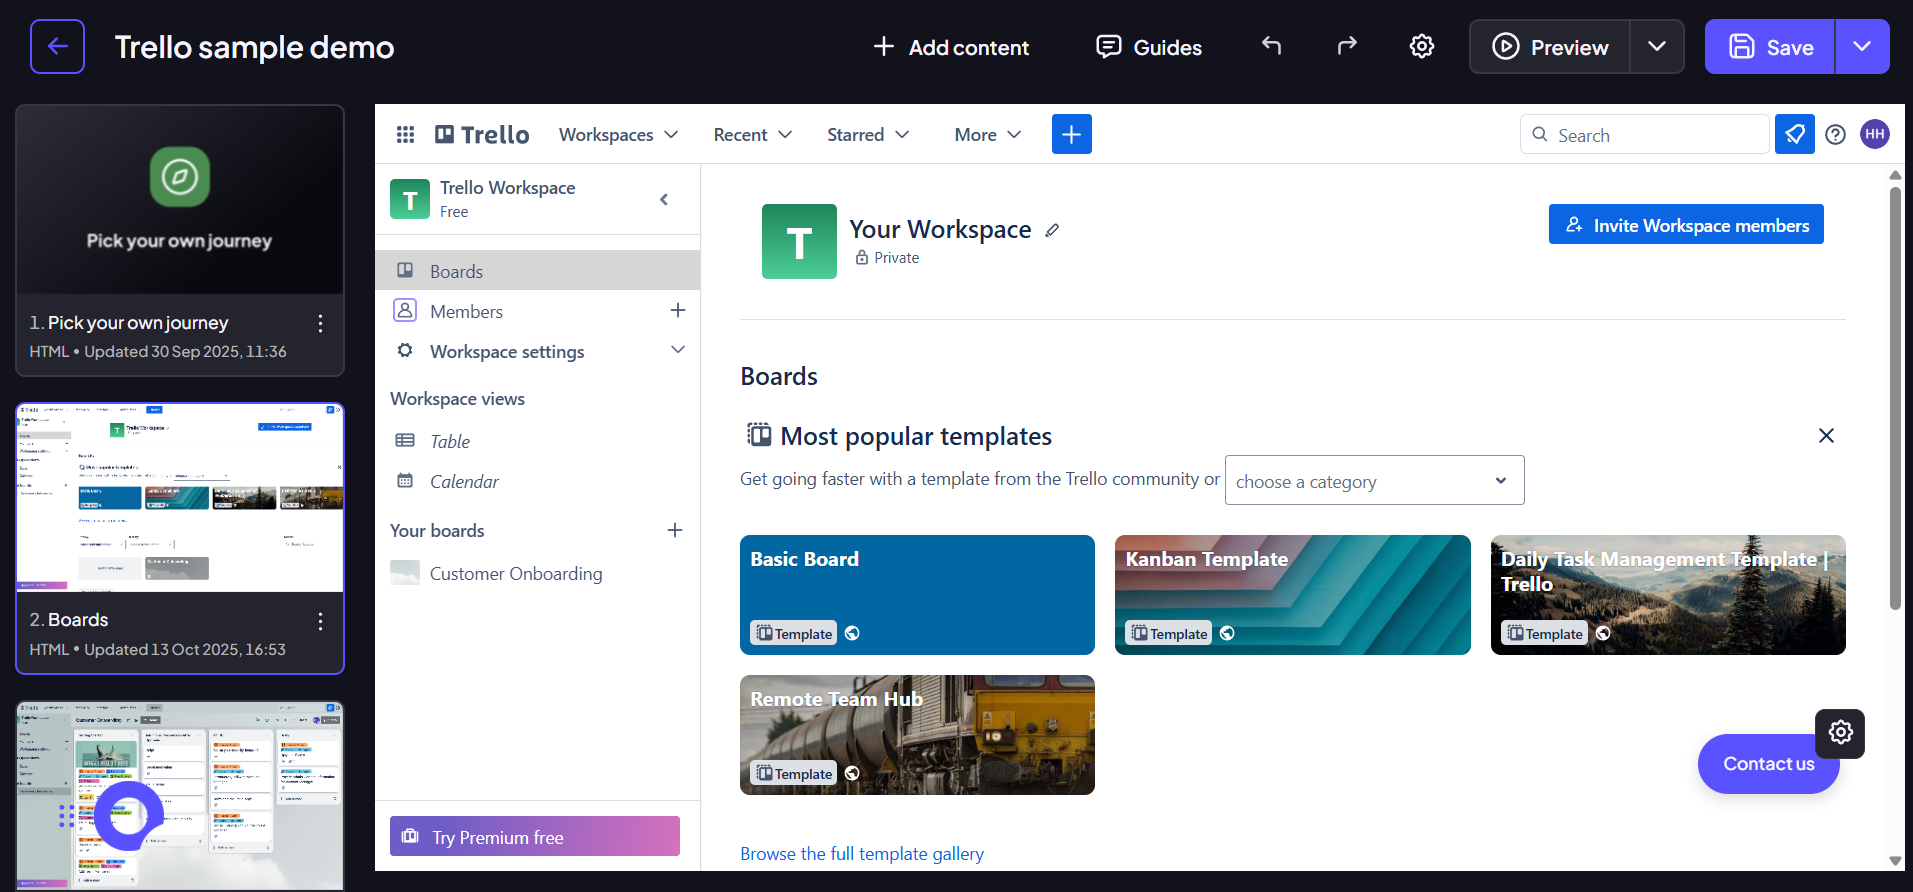
Step 1:
Open a demo and click on a screen to open the editor.
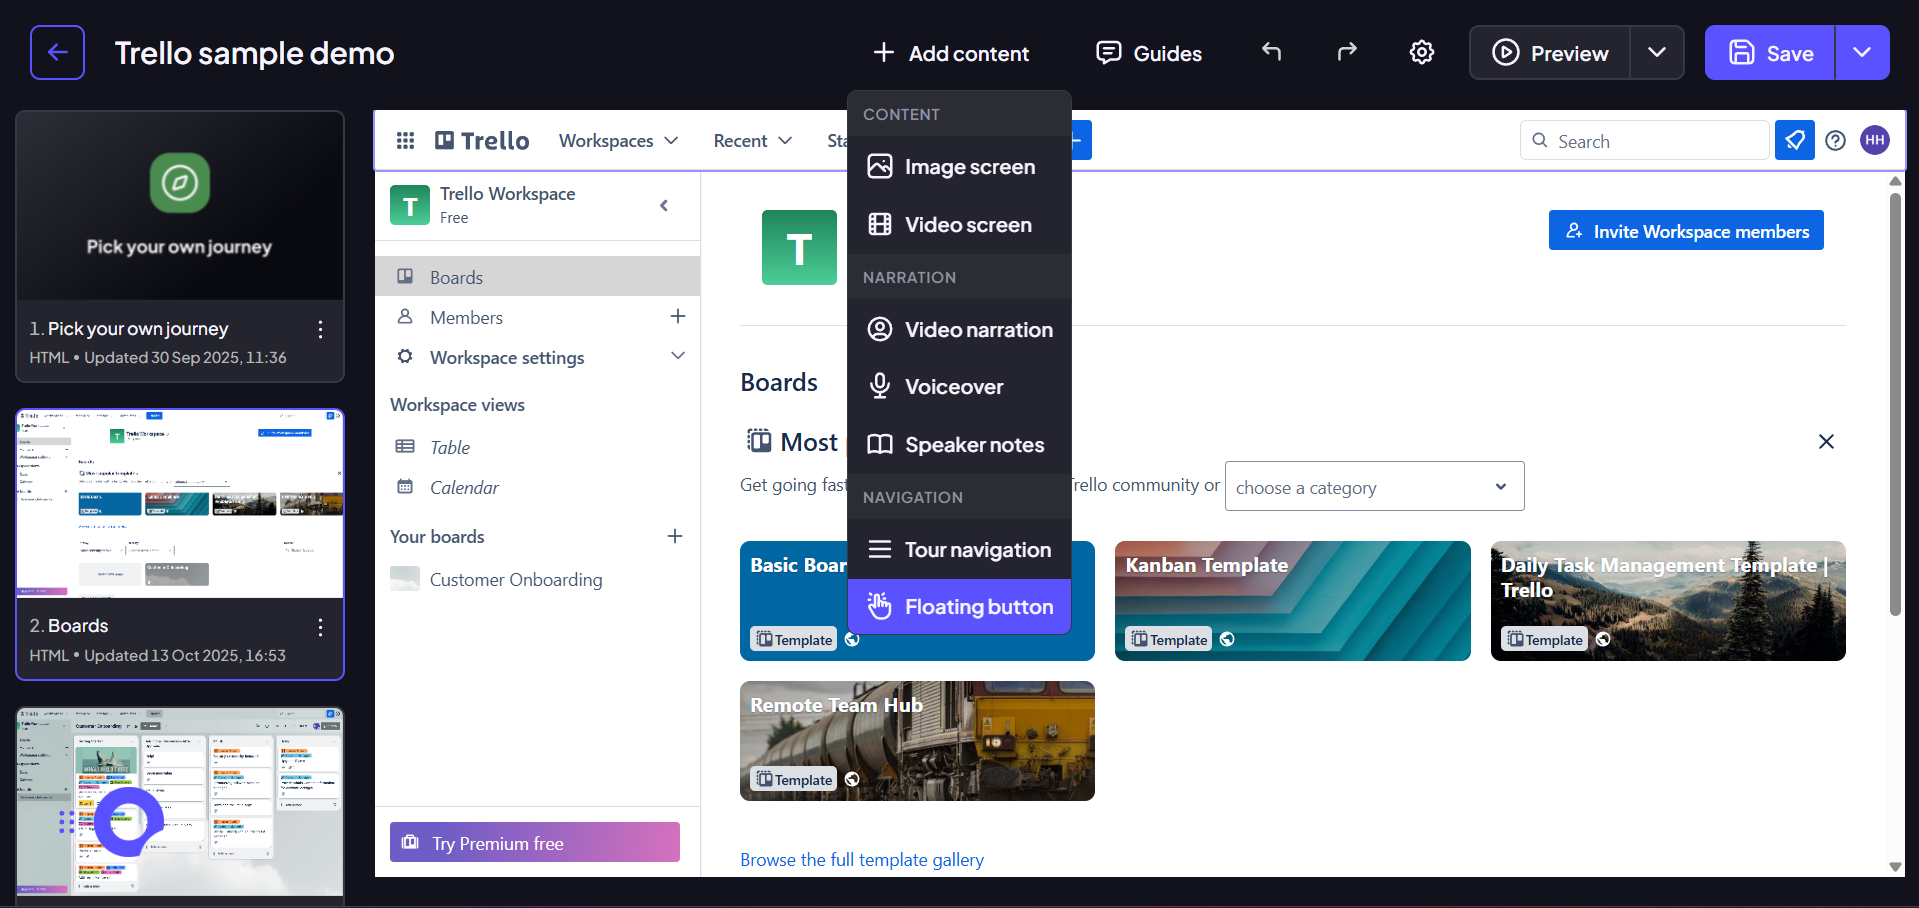
Step 2:
Click the ‘Add content’ button. From the dropdown select ‘Floating button’.
Step 3:
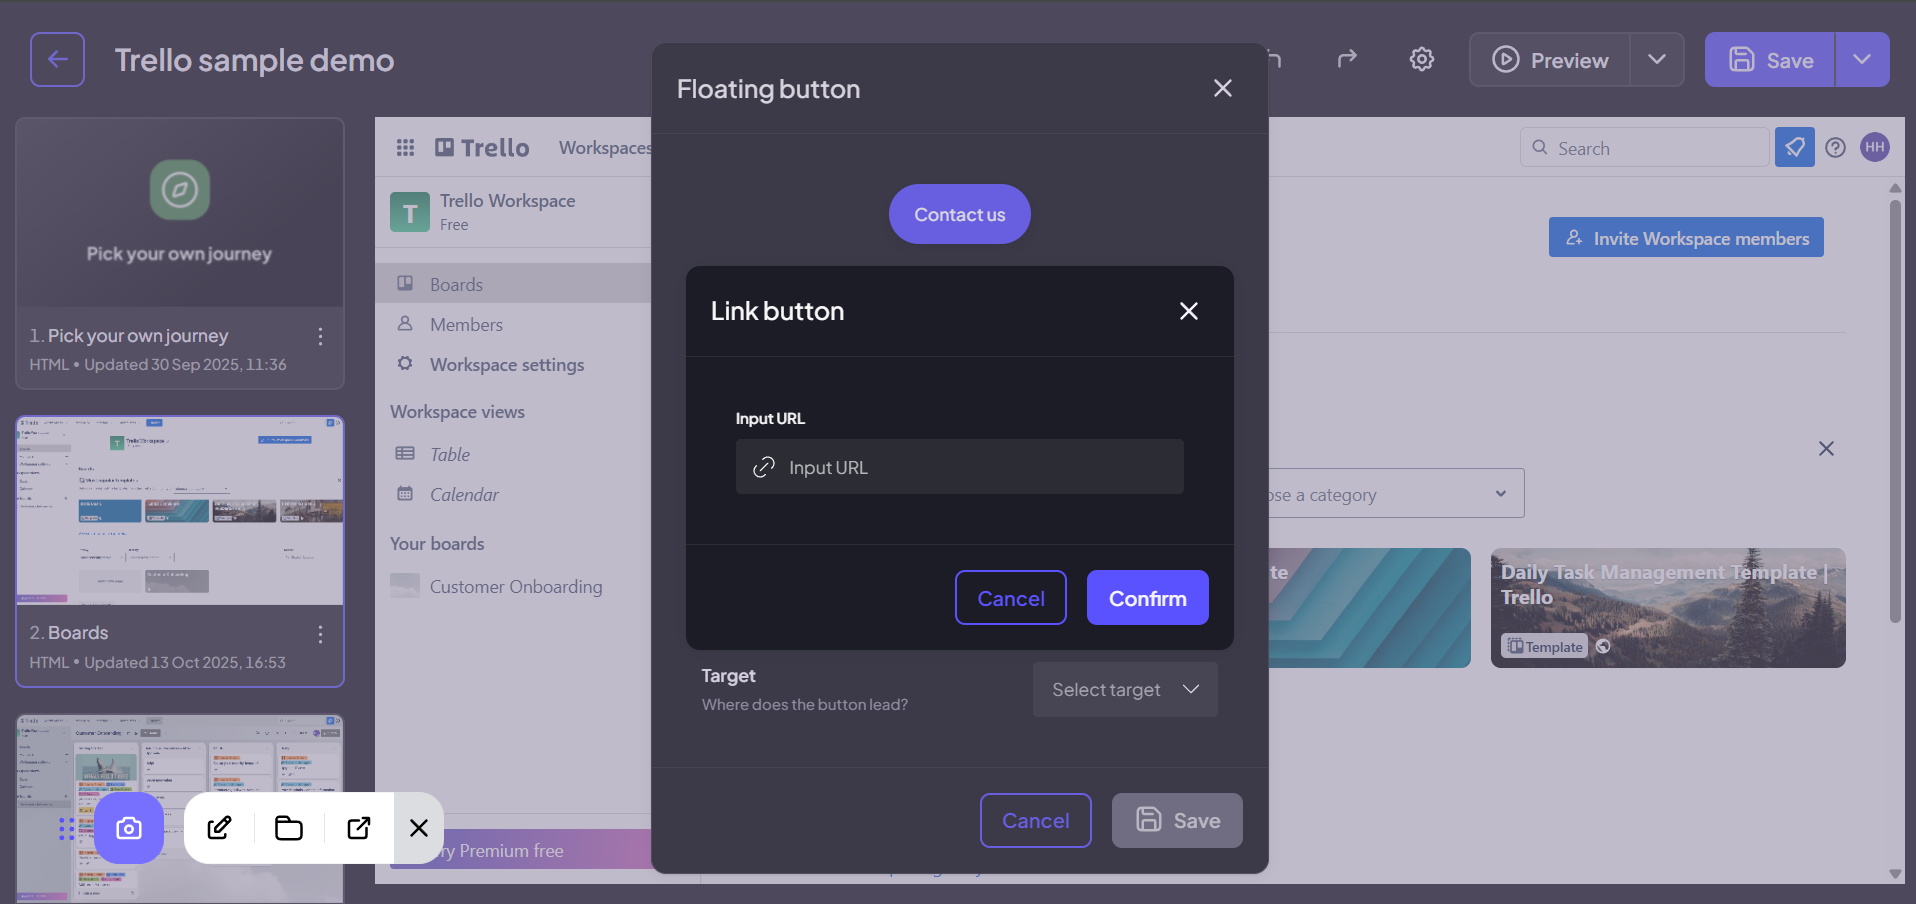
Upon selecting "Floating Button," a comprehensive menu will appear, providing complete control over its appearance and destination. You can customize the button's text and alter its visual style to align with your brand.
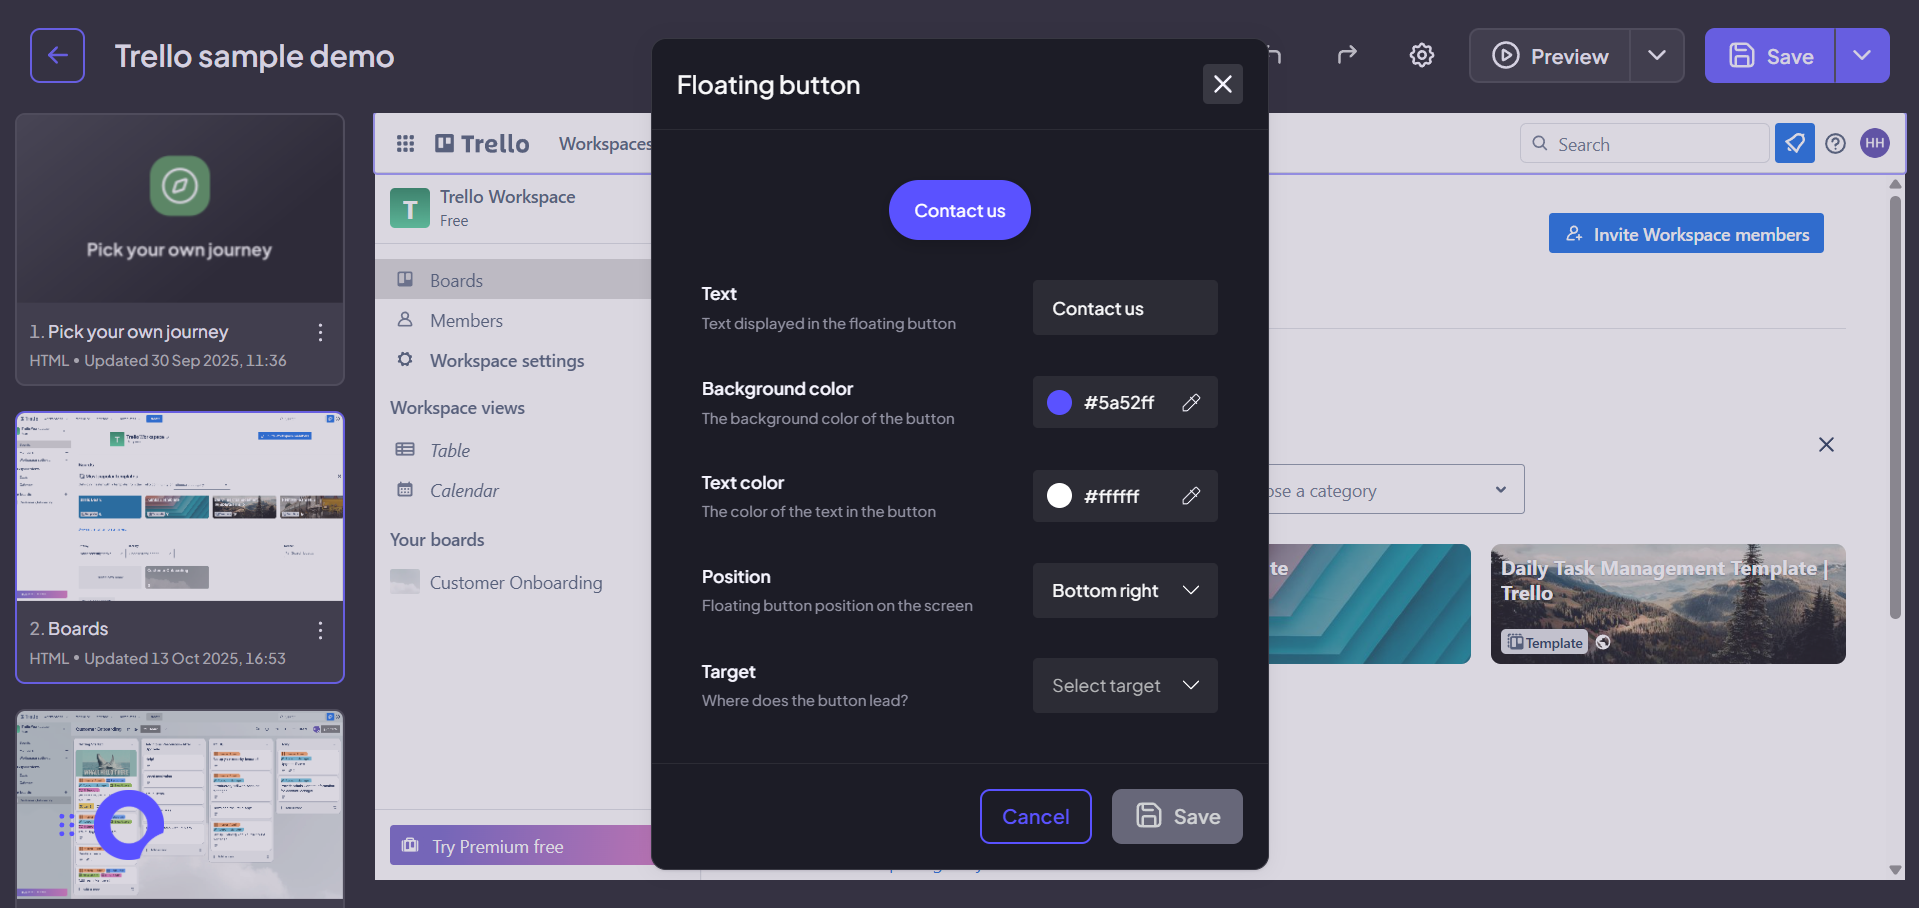
Step 4:
Finally, it's time to choose where your button will lead. In the "Target" dropdown, you can select between two options. External Link is perfect for guiding users to an outside page, like a signup form or your website's pricing page. Alternatively, the Screen option lets you link to any other screen within your current demo, making it easy to create custom navigation paths. For this example, let's choose External Link and enter a URL.
Once you’re finished customizing everything, just click Save.
Step 5:
You’re new CTA button will appear on the screen.