If this editor looks unfamiliar, you're likely using the previous version.
Access the right documentation by clicking on the button.
Step 1
To begin organizing your assets, navigate to your demo library and click the ‘Create new’ button. From the dropdown menu, select ‘Create new folder.’ Enter a clear and descriptive name for your new folder and click Create.

Step 2
Your library uses a folder tree structure. Once inside a folder, you have the ability to create subfolders, and the subfolders within those. This nested arrangement allows for detailed organization (e.g., sorting by client, sales stage, etc.)
Step 3
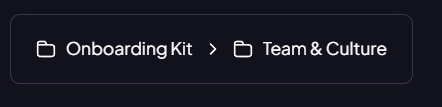
To ensure you always know where you are within the folder tree, the full path is displayed at the top of the interface. The visual cue helps you maintain context, even in deeply nested subfolders.
Step 4
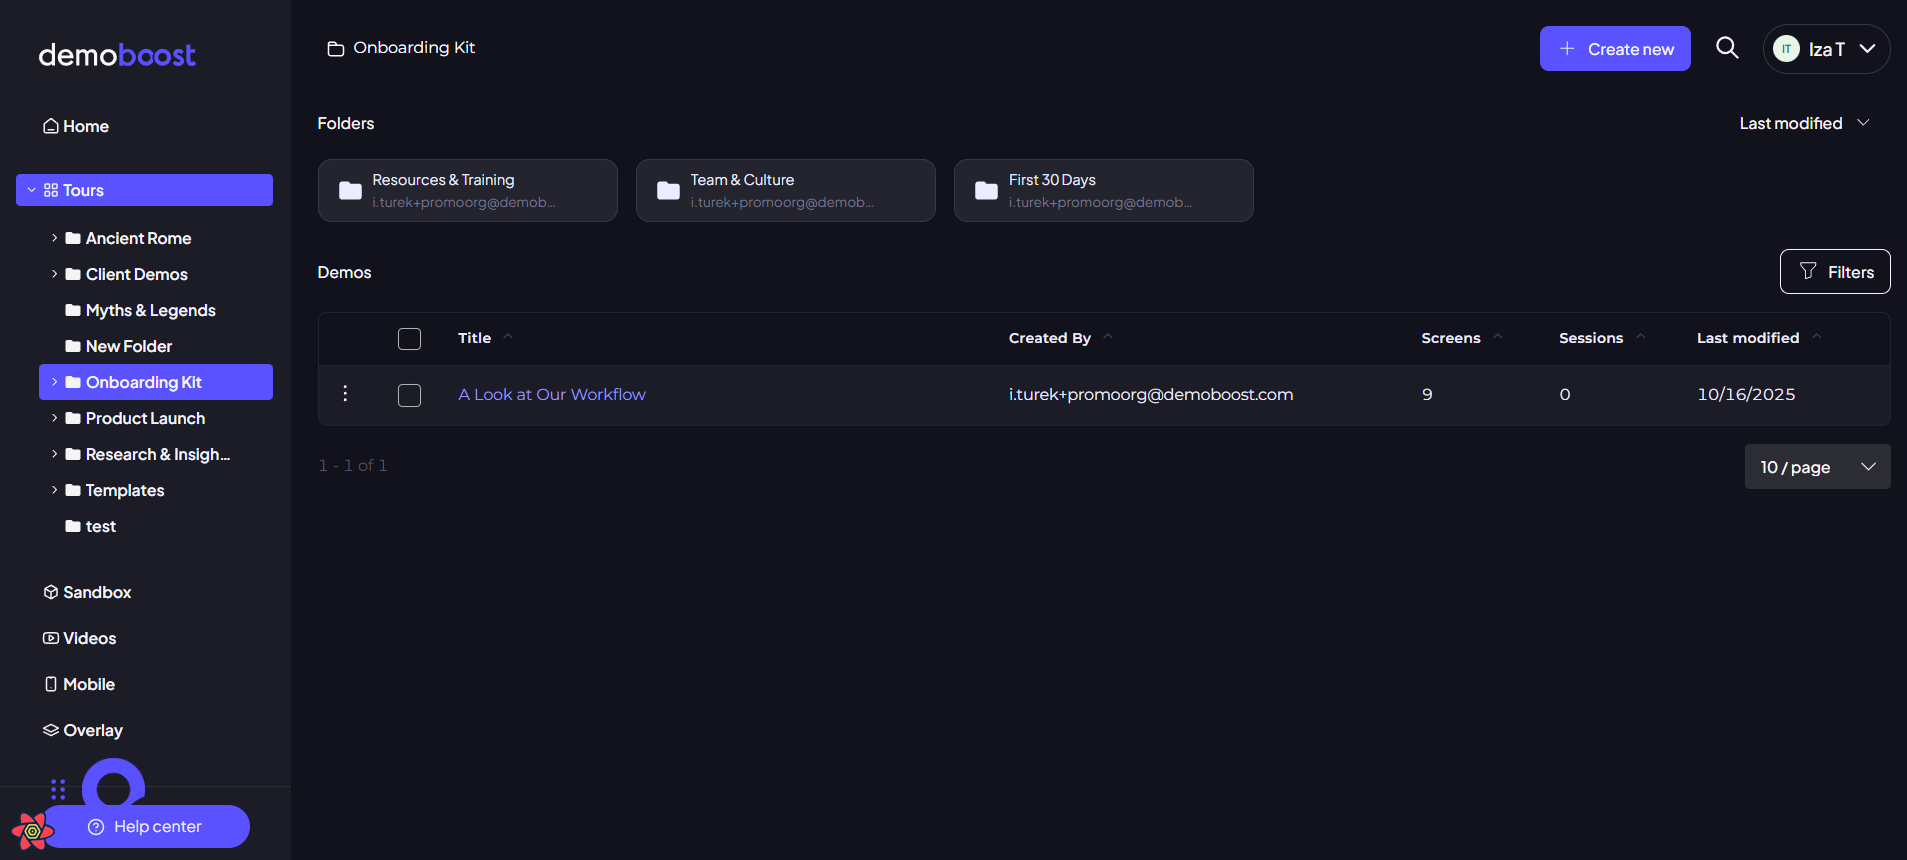
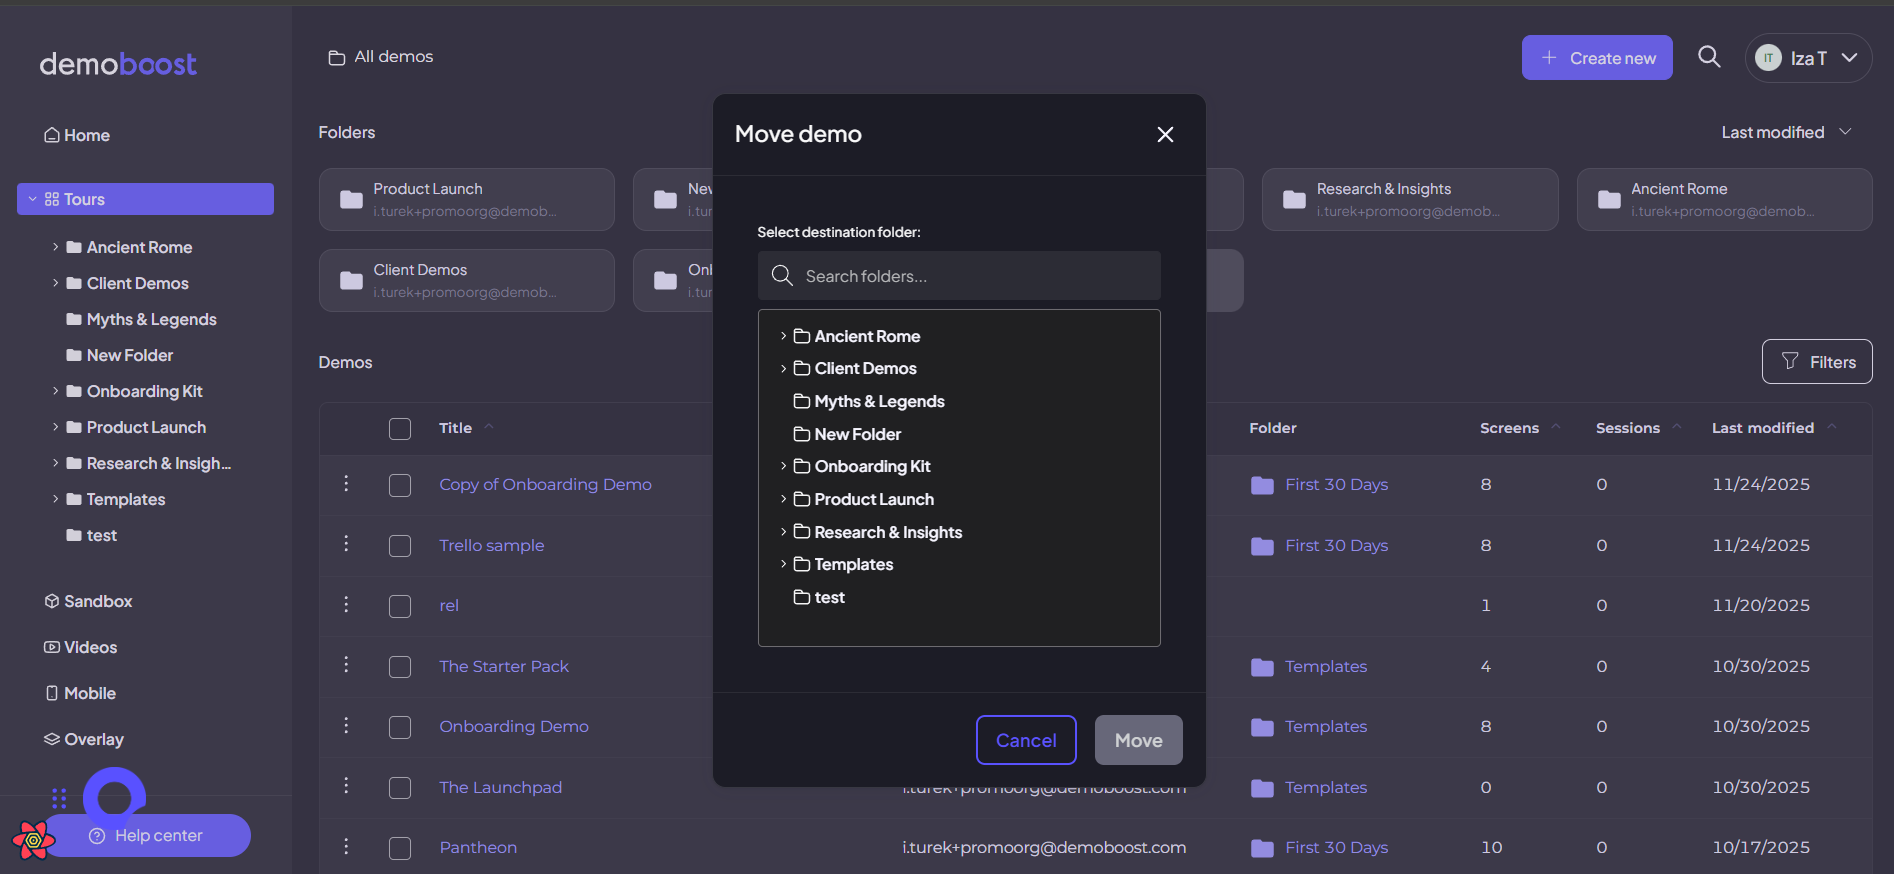
If you want to move a single demo, click the three dots button next to your demo. You can also select multiple demos at the same time and move them all together. To do this, tick the boxes next to the demos you want to move. The modal will show. Select the folder you want to move your demos to, then click Move again to confirm the transfer.
Now, you can see the folder where your demo belongs, right next to it in the demo library view.

Step 5
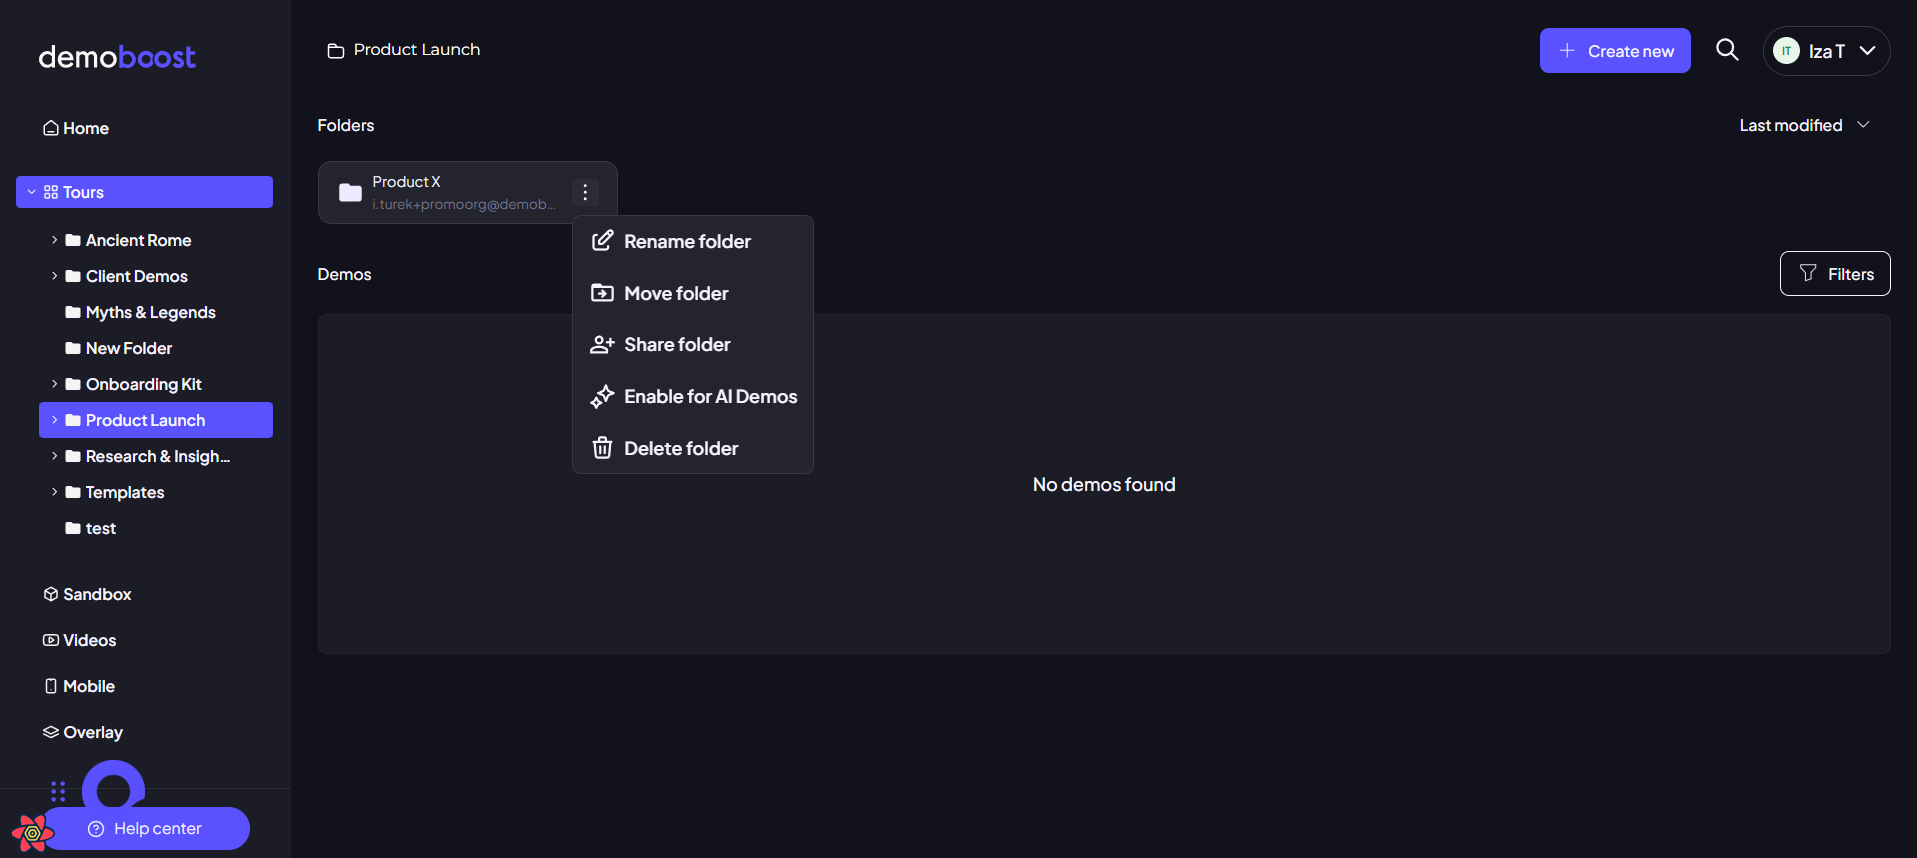
To move an entire folder, including all its contents and subfolders, locate the folder and click the three dots icon next to its name to open the options menu. From the dropdown menu, choose the ‘Move folder’ option. Select the new parent folder you want to move the entire structure into, and then click the final Move button. The entire structure is instantly transferred.

Step 6
Hovering your cursor over any folder reveals a small management menu, giving you complete control. From here, you can Rename the folder, Move it to a new location, Share the folder wit your team, Enable for AI Demos to let the system use its contents, or Delete the folder. Be aware that deleting the folder will permanently delete all contents within it.
Step 7
To quickly view the contents of a folder, click the chevron (the little arrow) next to its name. This will expand the view, sliding out to show you the contents inside. You can use the same action to open nested subfolders.

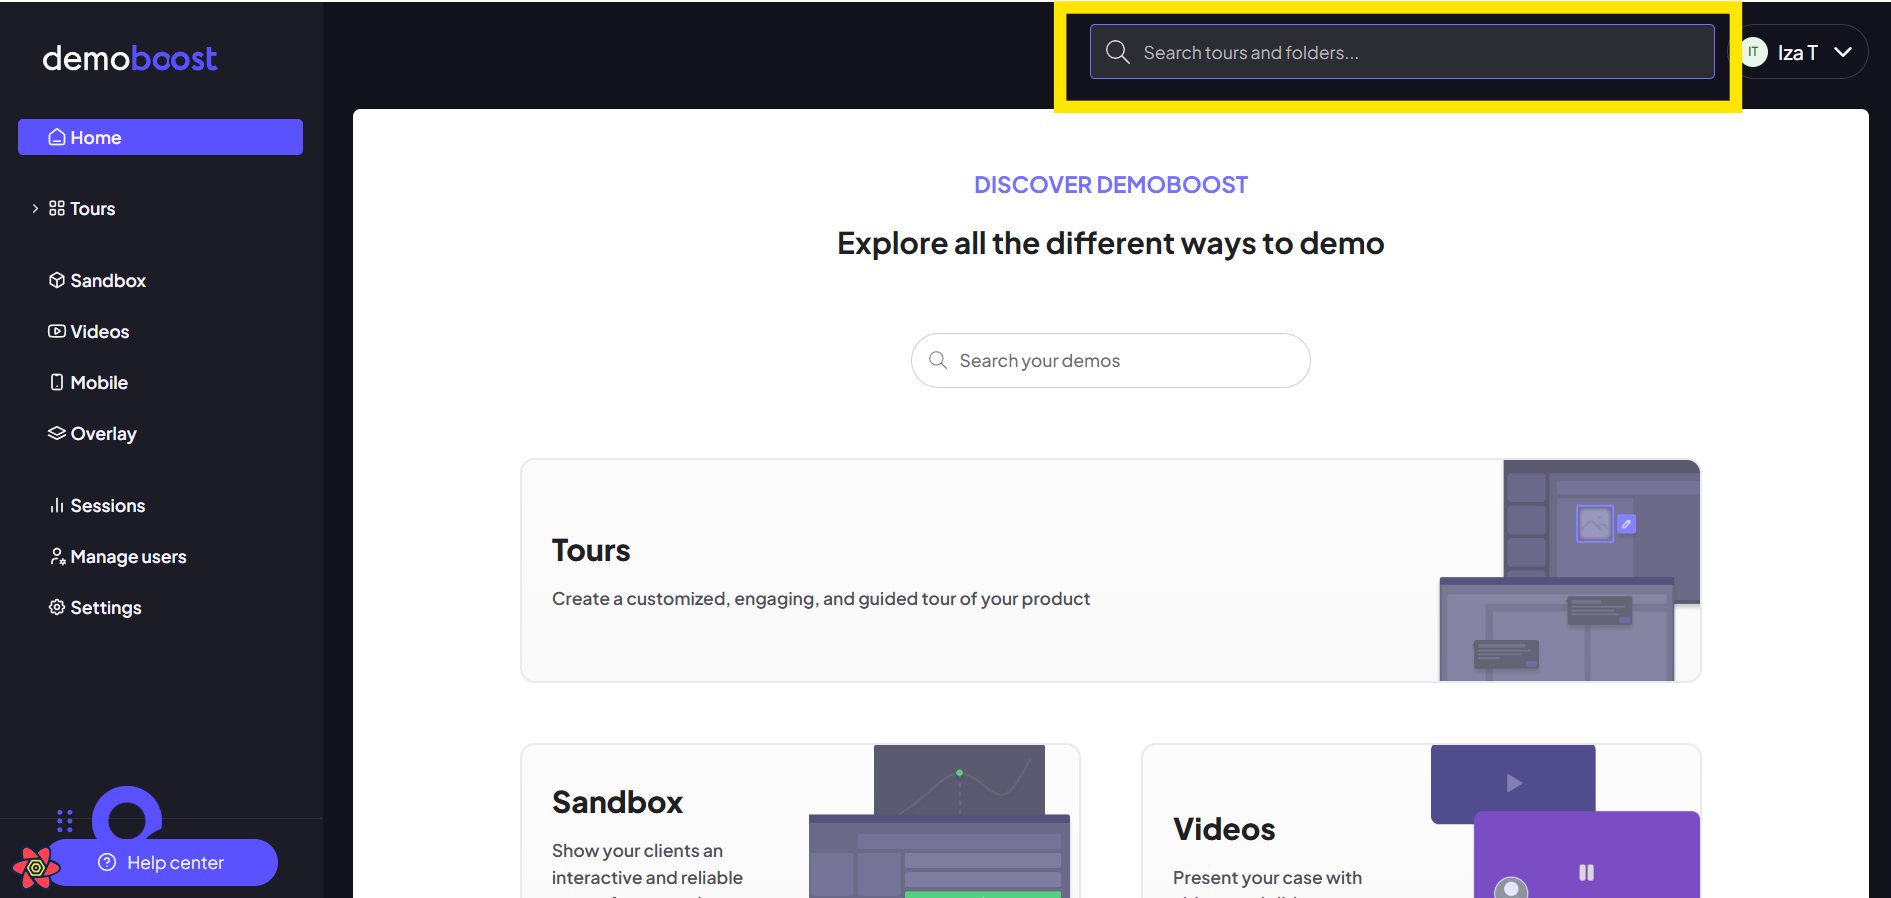
Step 8
You can quickly find any demo or folder from any place on the platform using the Global Search function. Click the search icon, type the name of the asset you’re looking for, and the platform will instantly display the results.
Step 9
For team efficiency, we recommend maintaining a simple but effective folder structure: dedicate One folder for demo templates and One folder for each user. This allows users to easily copy templates into their personal folders, enabling customization without impacting the master asset.