If this editor looks unfamiliar, you're likely using the previous version.
Access the right documentation by clicking on the button.
Effortlessly kickstart your journey with our beginner-friendly guides!
This feature will allow you to adapt your product tour to the language preference of any user - without having to manually translate everything.
Step 1:
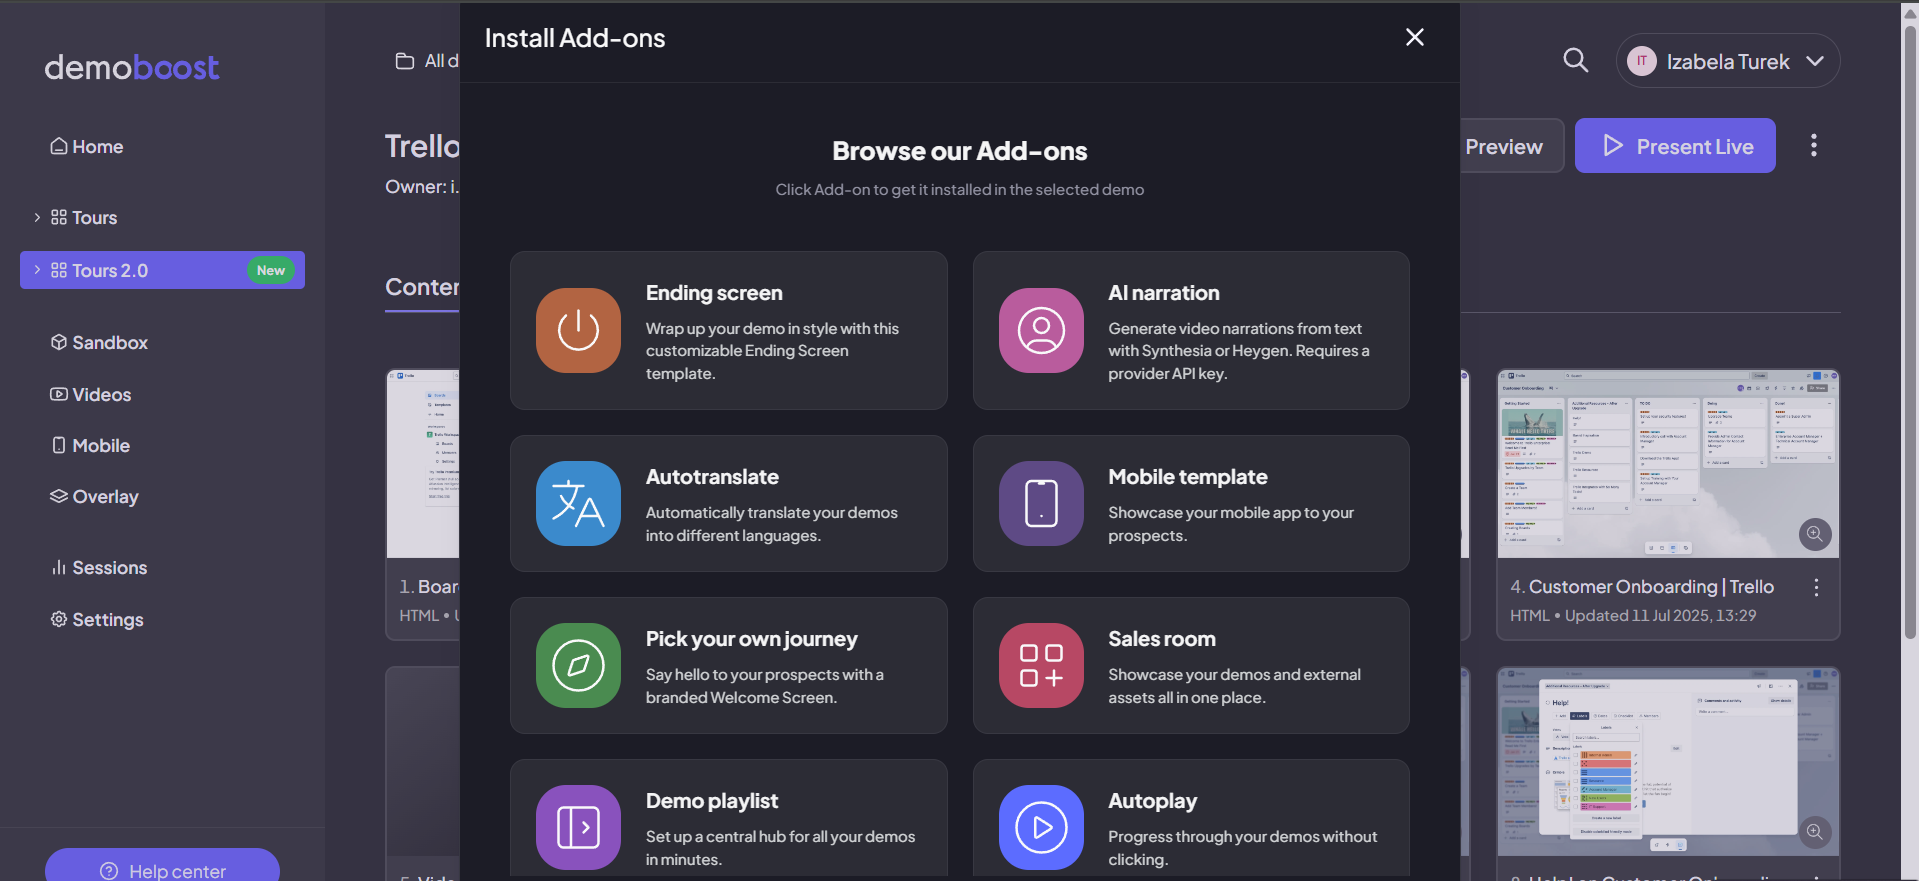
As with all add-ons, you will find them in the "Add-ons" section.Choose the feature you want, and click to install.
Step 2:
Open a screen in the editor. Click to access autotranslate settings.Choose Autotranslate.

Step 3:
Set up auto-translate. Define whether you want to auto-translate your screens,or your guides.Specify the language that will be used by default.You can also specify the default language in the demo URL by using the language code. Save when you're done.
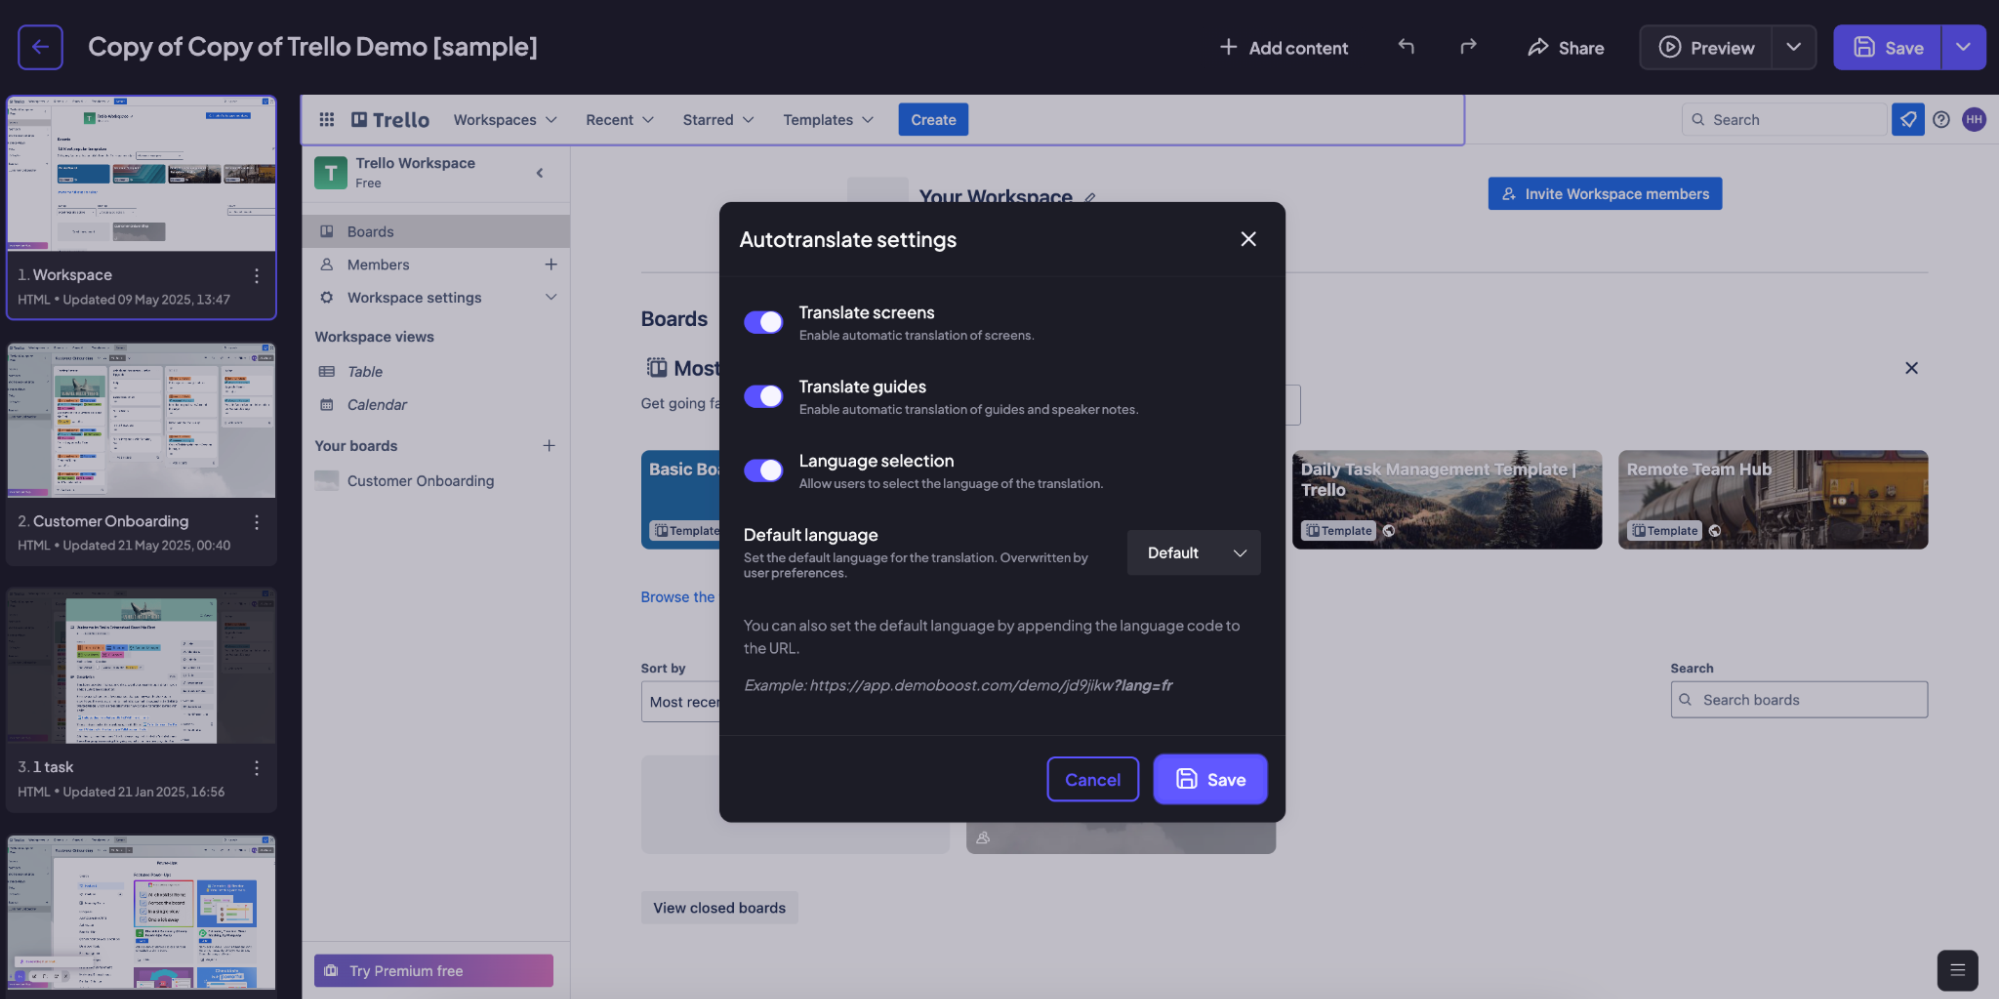
A common setup for the auto-translate settings is:
- to have your screens and guides translated,
- setting the language to default,
- letting the viewer choose the language.
Step 4:
You now have granular control over auto-translate. Instead of an all-or-nothing setting, you can enable or disable auto-translation on specific elements. This allows you to refine your localization efforts, keeping some content in its original language while translating other parts.

Step 5:
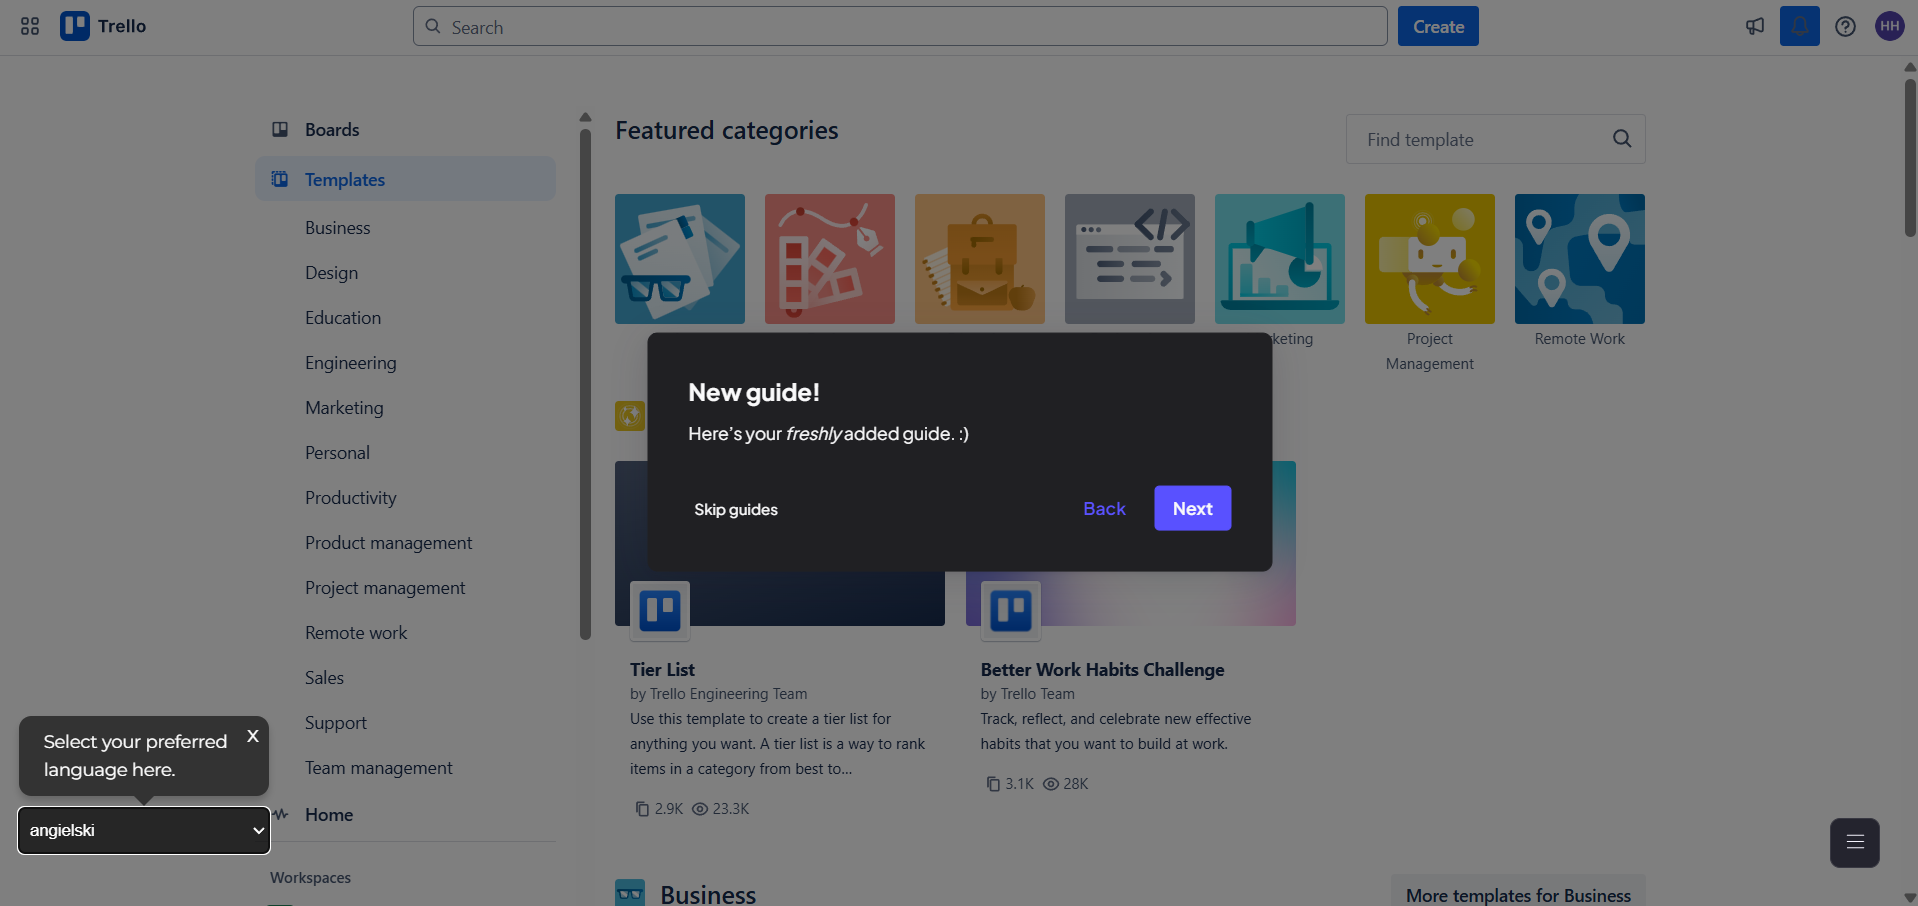
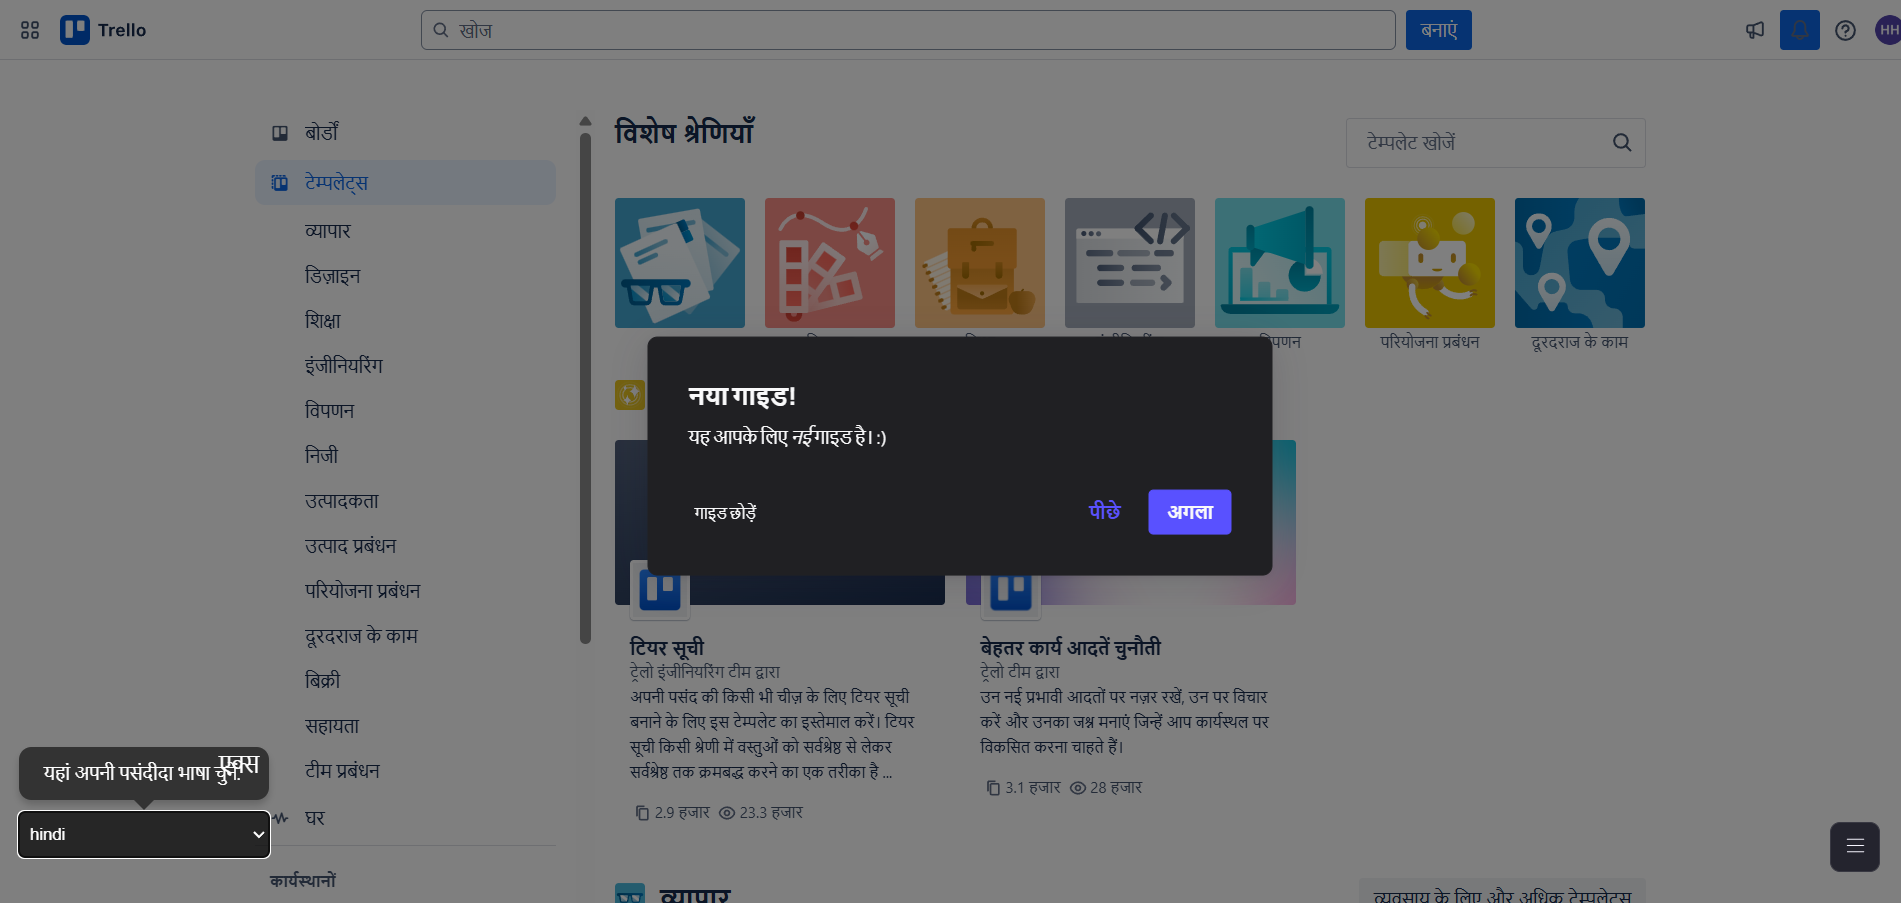
Another useful option is making a duplicate of your demo, setting a new language there as default and removing language selection, thus making an easy translated version of our original demo.
When needed, use the sharing settings to make sure the navigation toolbar is visible or for on-demand demos, for easier access to translation.