If this editor looks unfamiliar, you're likely using the previous version.
Access the right documentation by clicking on the button.
Step 1:
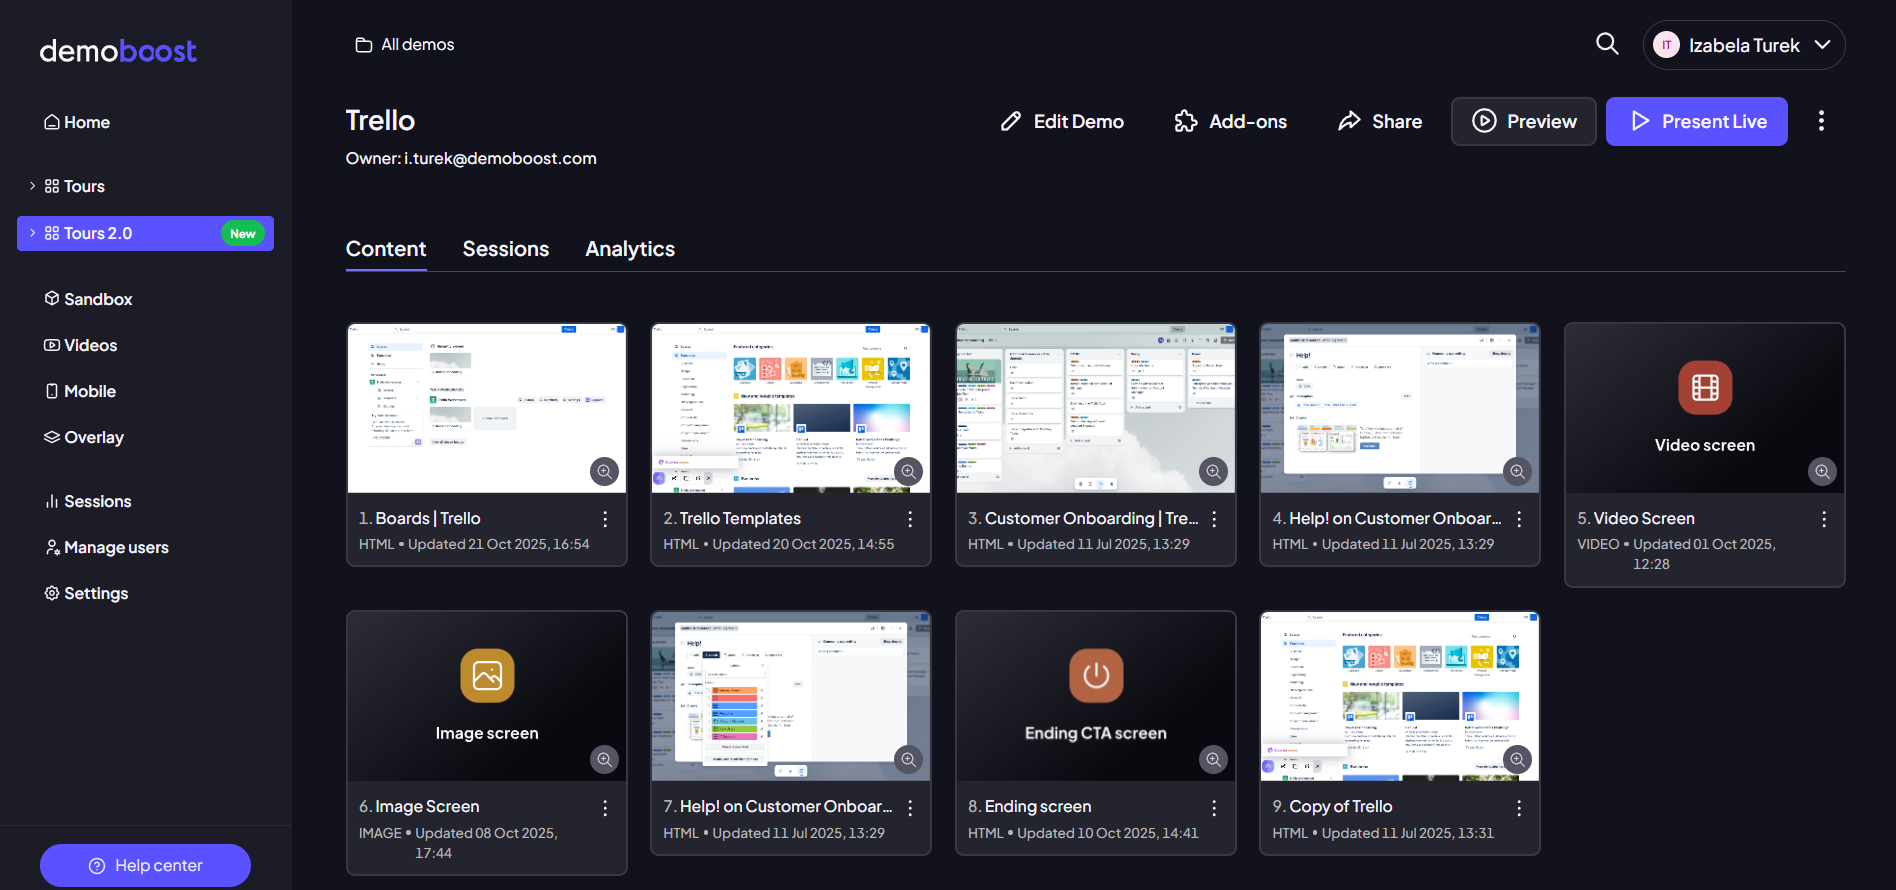
To begin making modifications, open your demo and click on the screen you wish to edit. This action automatically opens the editor, allowing you to interact directly with the elements on the screen.
Step 2:
Once in the editor, you can make structural and content changes instantly:
Editing Textual Elements: Simply click on any text block that you want to change. A rich text editor will appear, allowing you to directly edit the content, change its color, or adjust the styling, such as making it bold or italic.
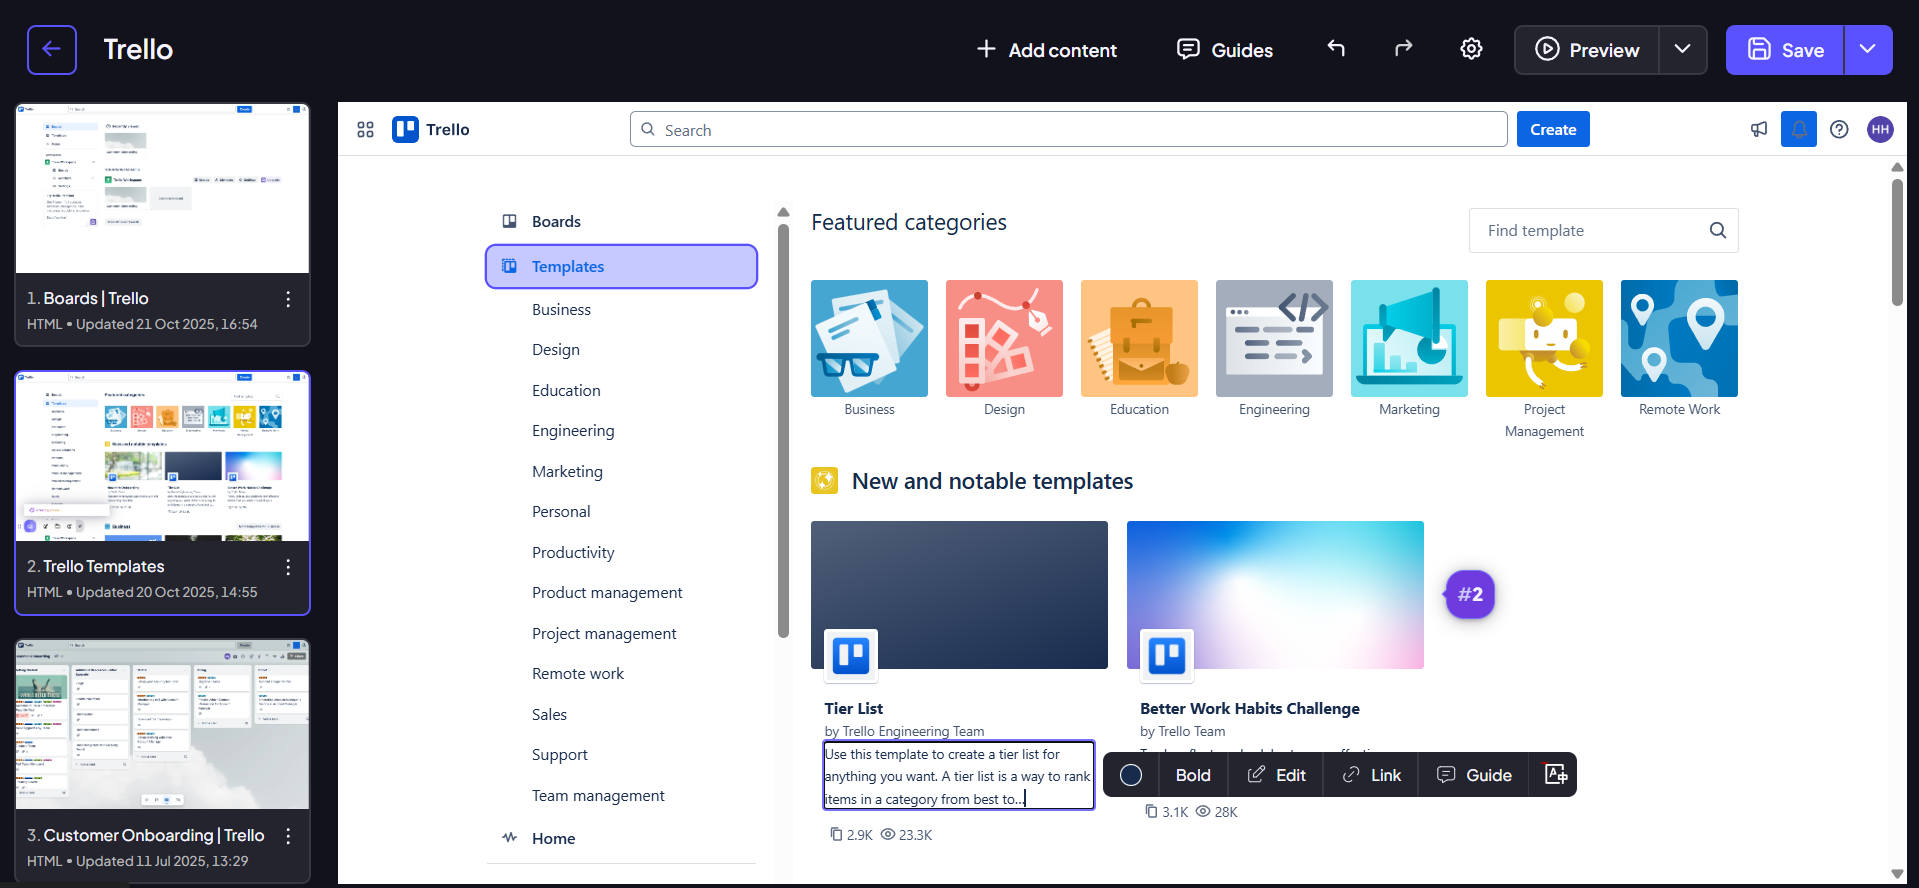
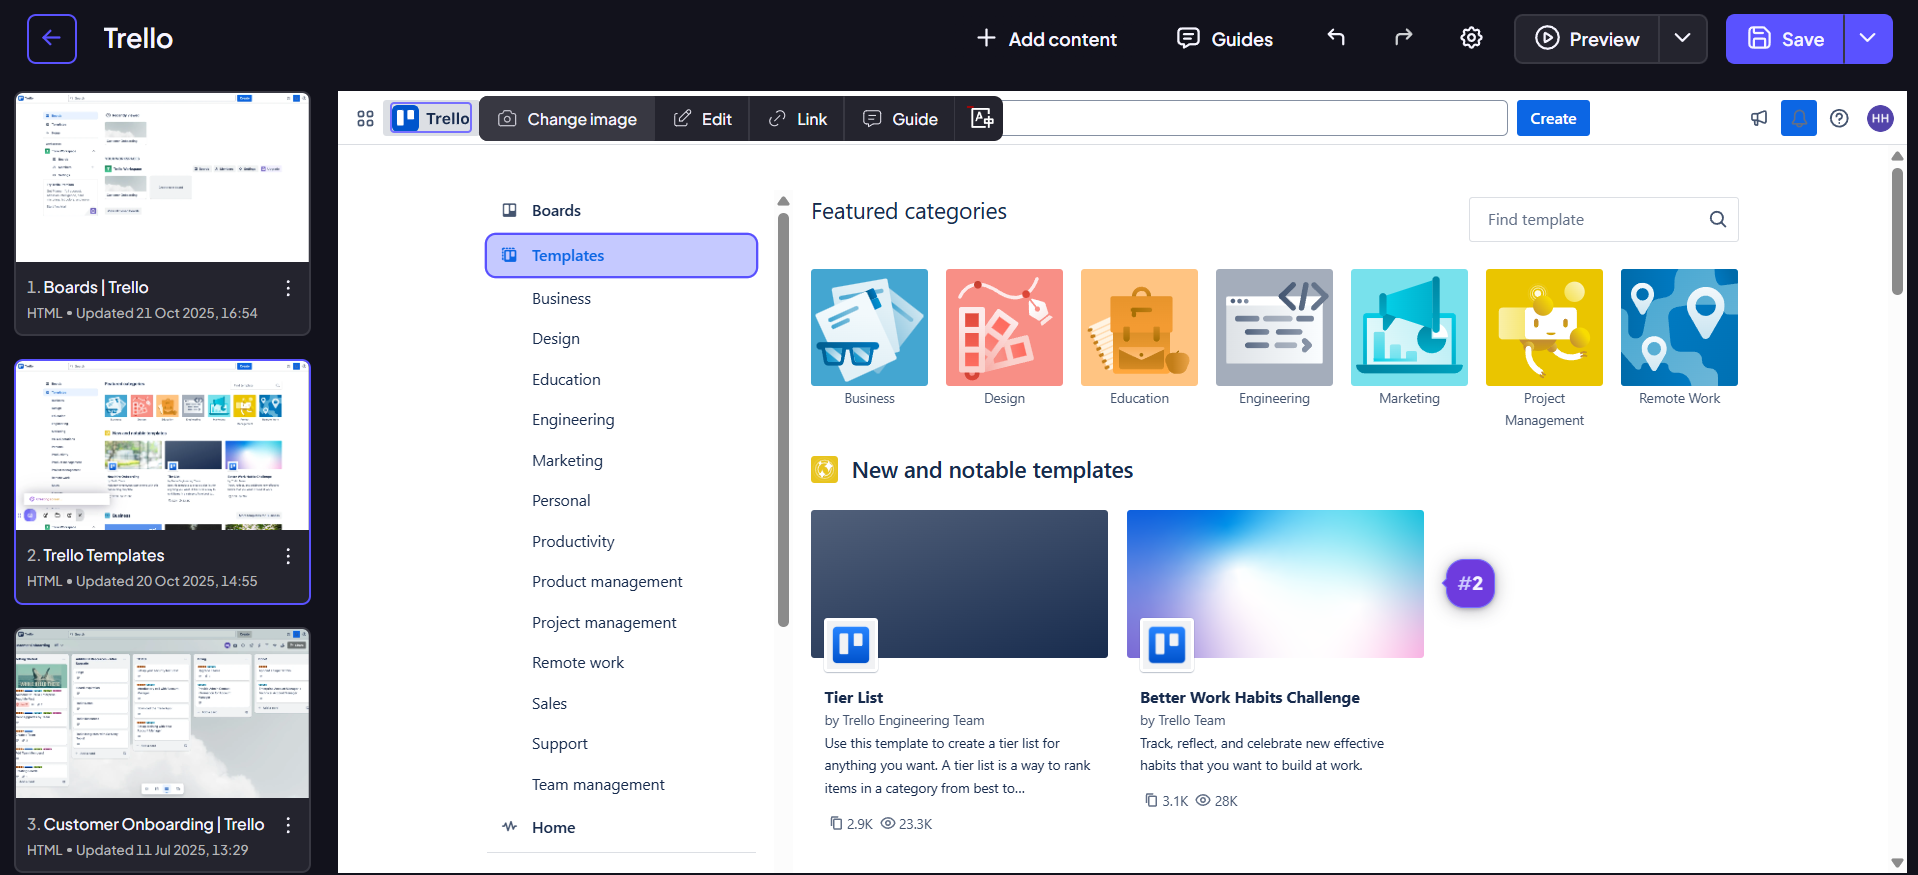
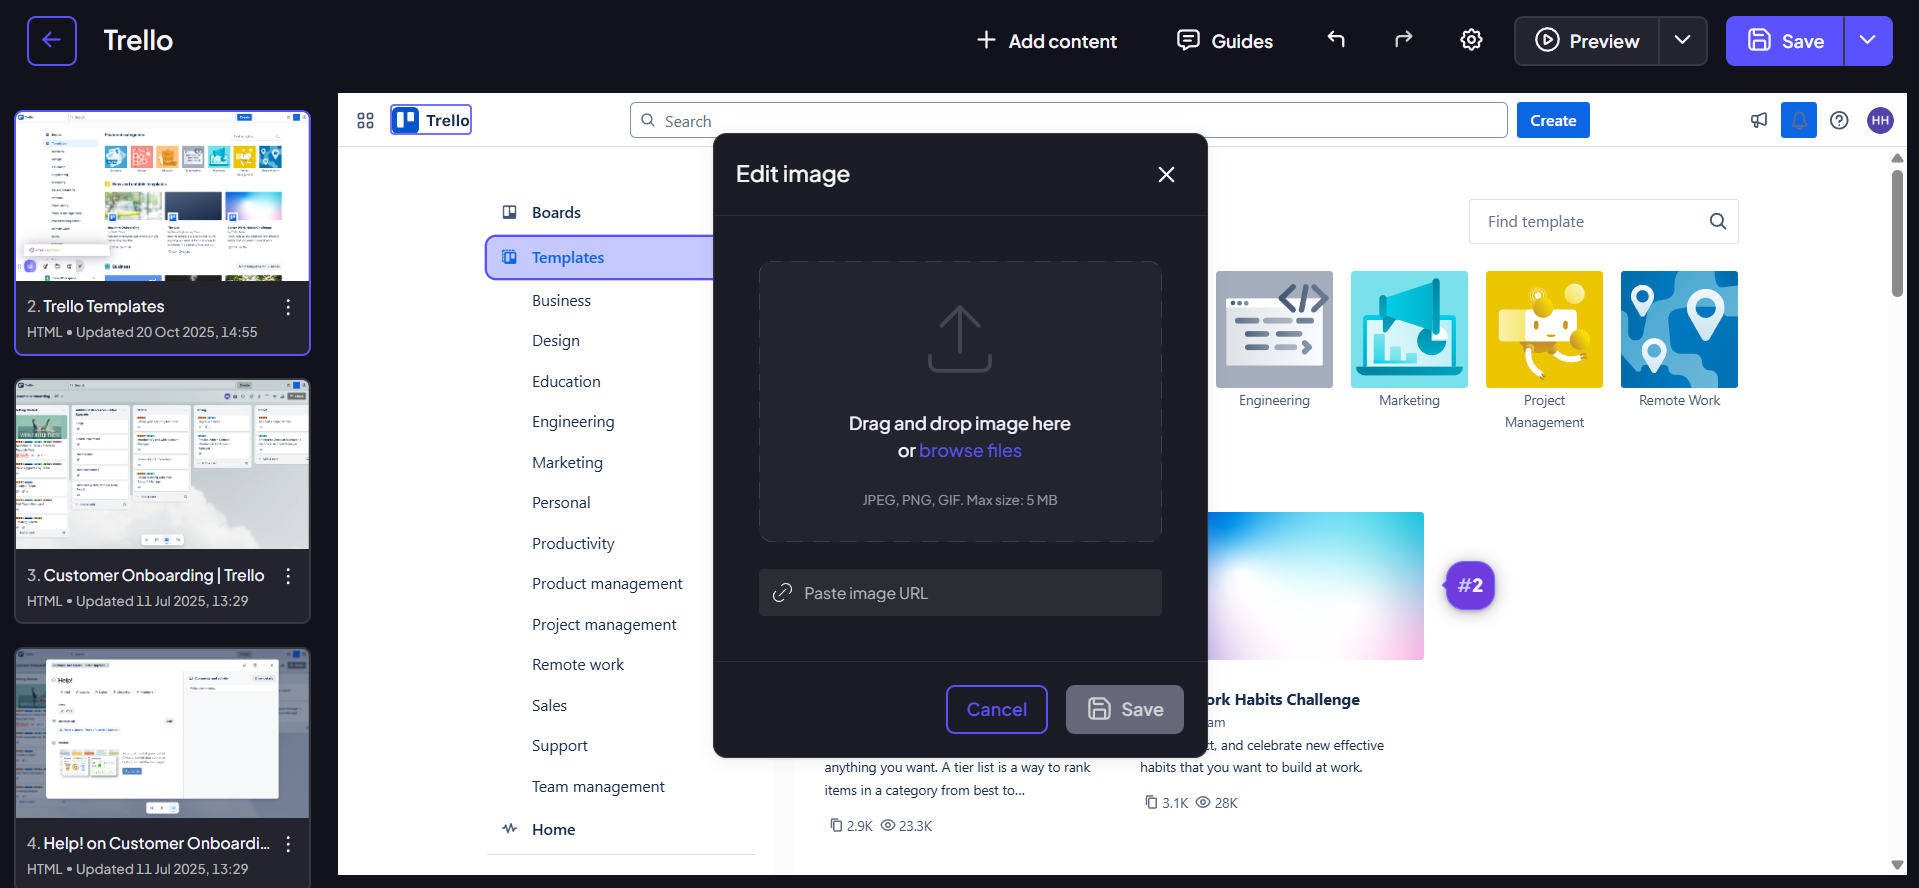
Replacing Images: To swap out a visual element, click directly on the image you wish to replace. A popup will appear, giving you several options: you can drag and drop a new image file, upload one from a specific folder, or paste a direct image URL. Once the new image is uploaded, you can fine-tune its appearance by adjusting how it fills the designated space.
Step 3:
For presenting polished and relevant content, you often need to remove unnecessary or sensitive elements from the screen. These functions are accessed via simple, dedicated buttons within the editing options when an element is selected:
Hiding an Element: To completely remove a component from the view, such as removing irrelevant advertisements or navigation bars, simply select the element and click the 'Hide' button. This action makes the element invisible to the viewer, ensuring a cleaner, more focused demo experience.
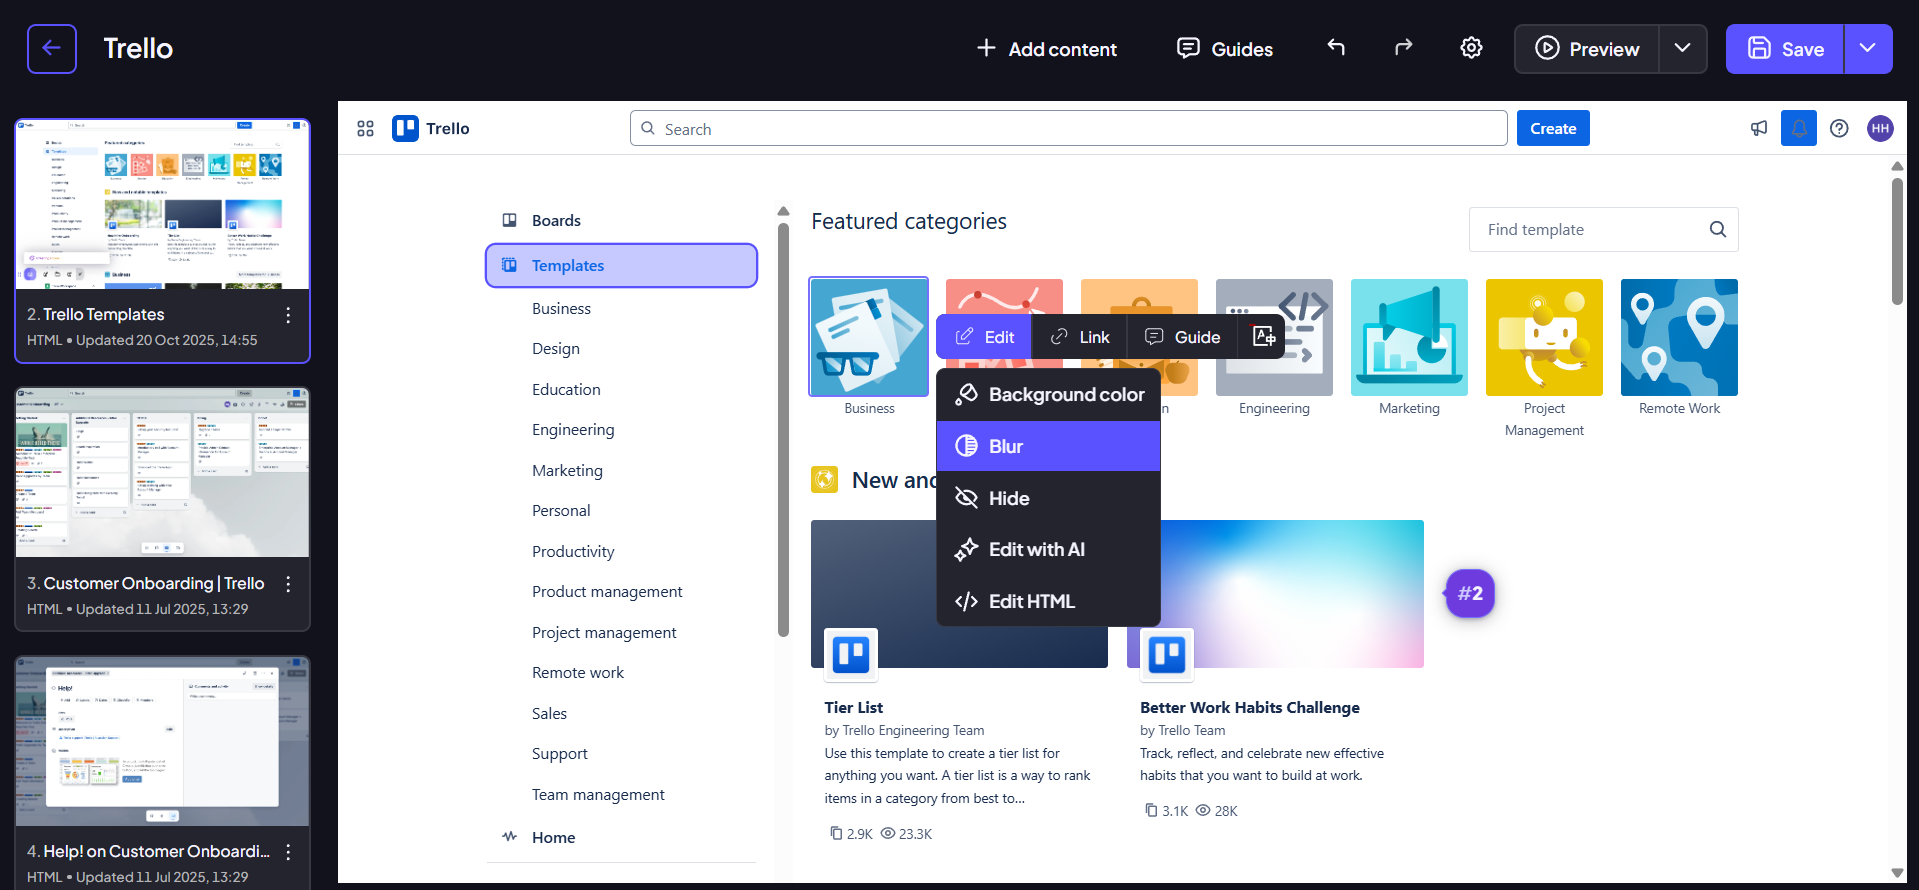
Blurring Sensitive Information: If you need to obscure private or proprietary data—such as customer names, dollar figures, or account numbers—while still preserving the overall structure of the screen, select the element and click the 'Blur' button. The element will instantly be blurred, effectively masking the sensitive information without deleting the underlying component.
Step 4:
Once all your edits and modifications are complete, be sure to save the screen to apply your changes across the demo.