If this editor looks unfamiliar, you're likely using the previous version.
Access the right documentation by clicking on the button.
Step 1:
Start by selecting a demo from your library. Click "Edit demo" or any screen of your demo to start editing the demo.

Step 2:
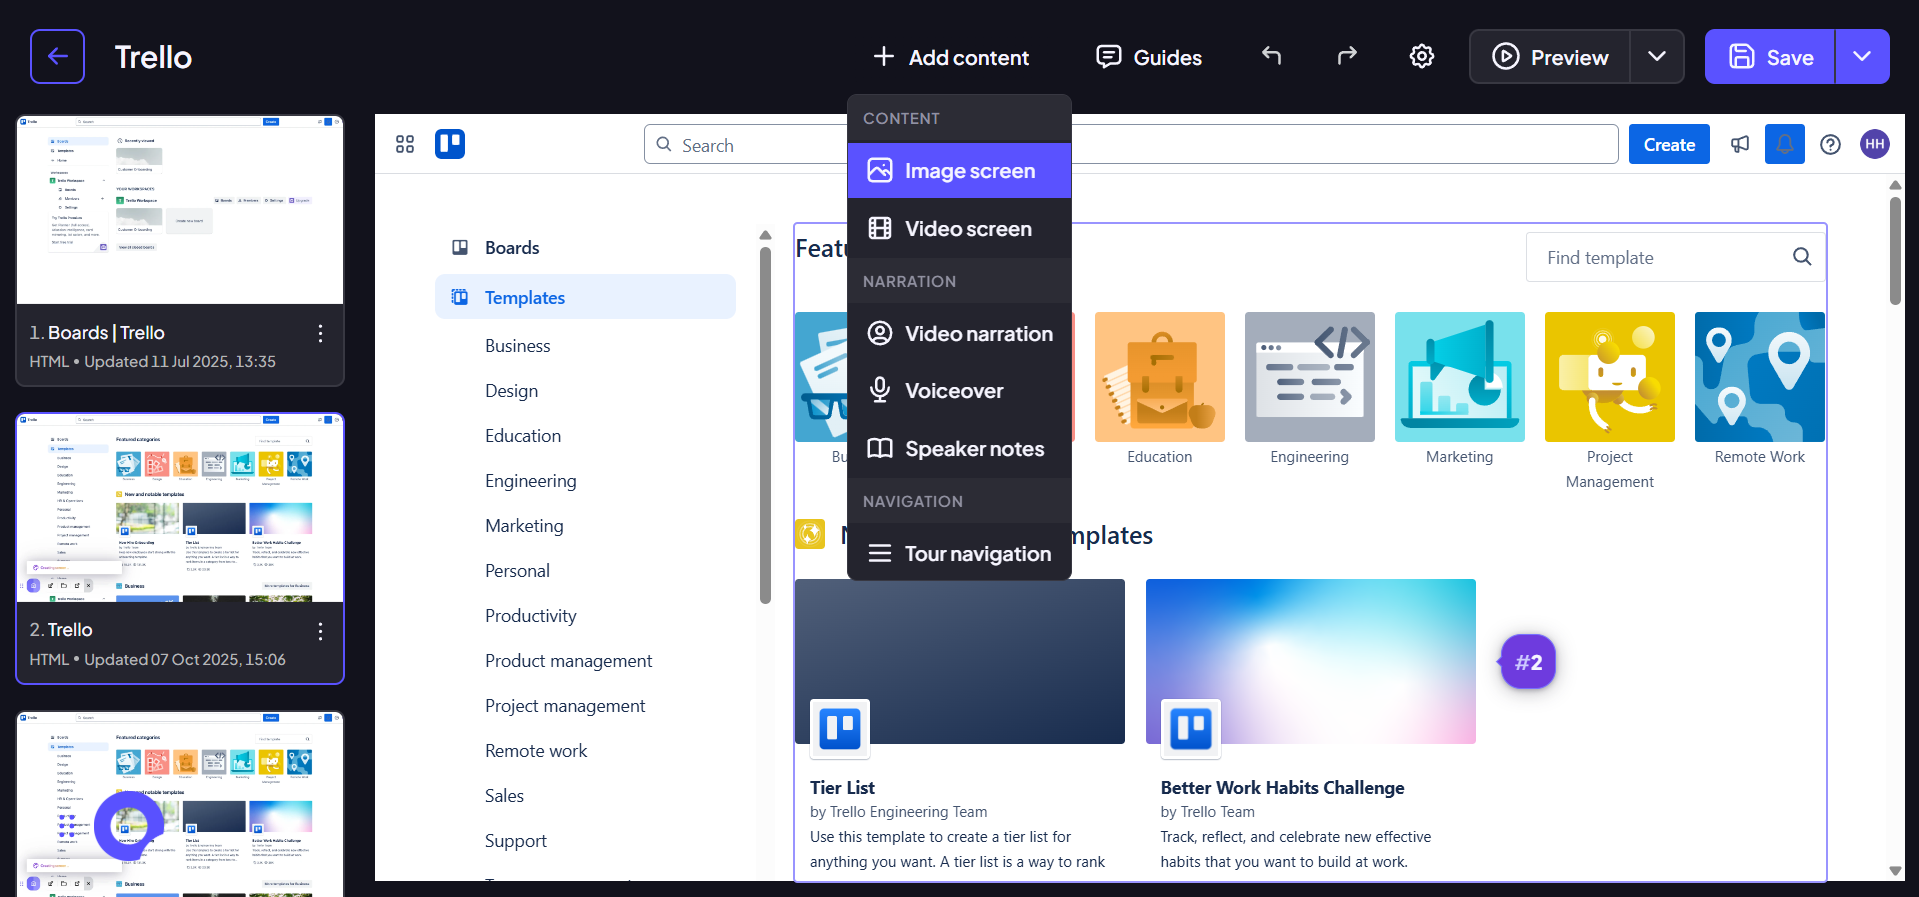
To add an image, select "Add content" and then "Image screen."
Step 3:
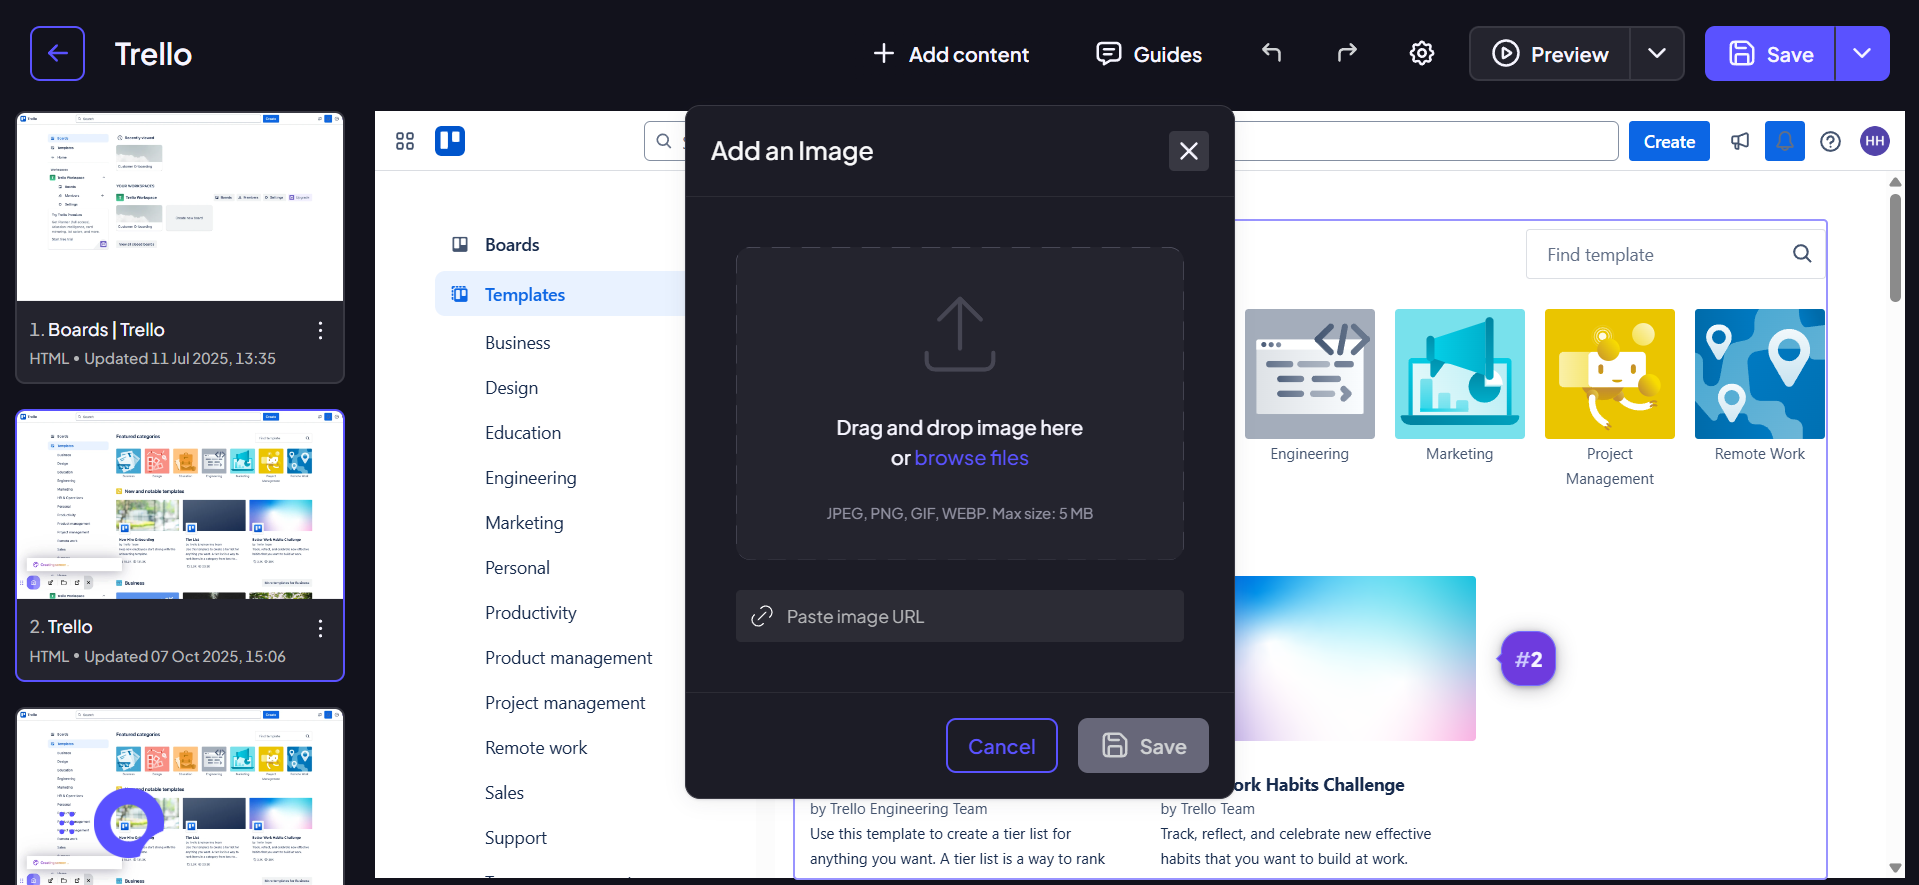
Upload a picture from your device or paste an image URL. Click Save after uploading to continue.
For best results, especially when adding slides to demos, ensure the picture quality is high.
Step 4:
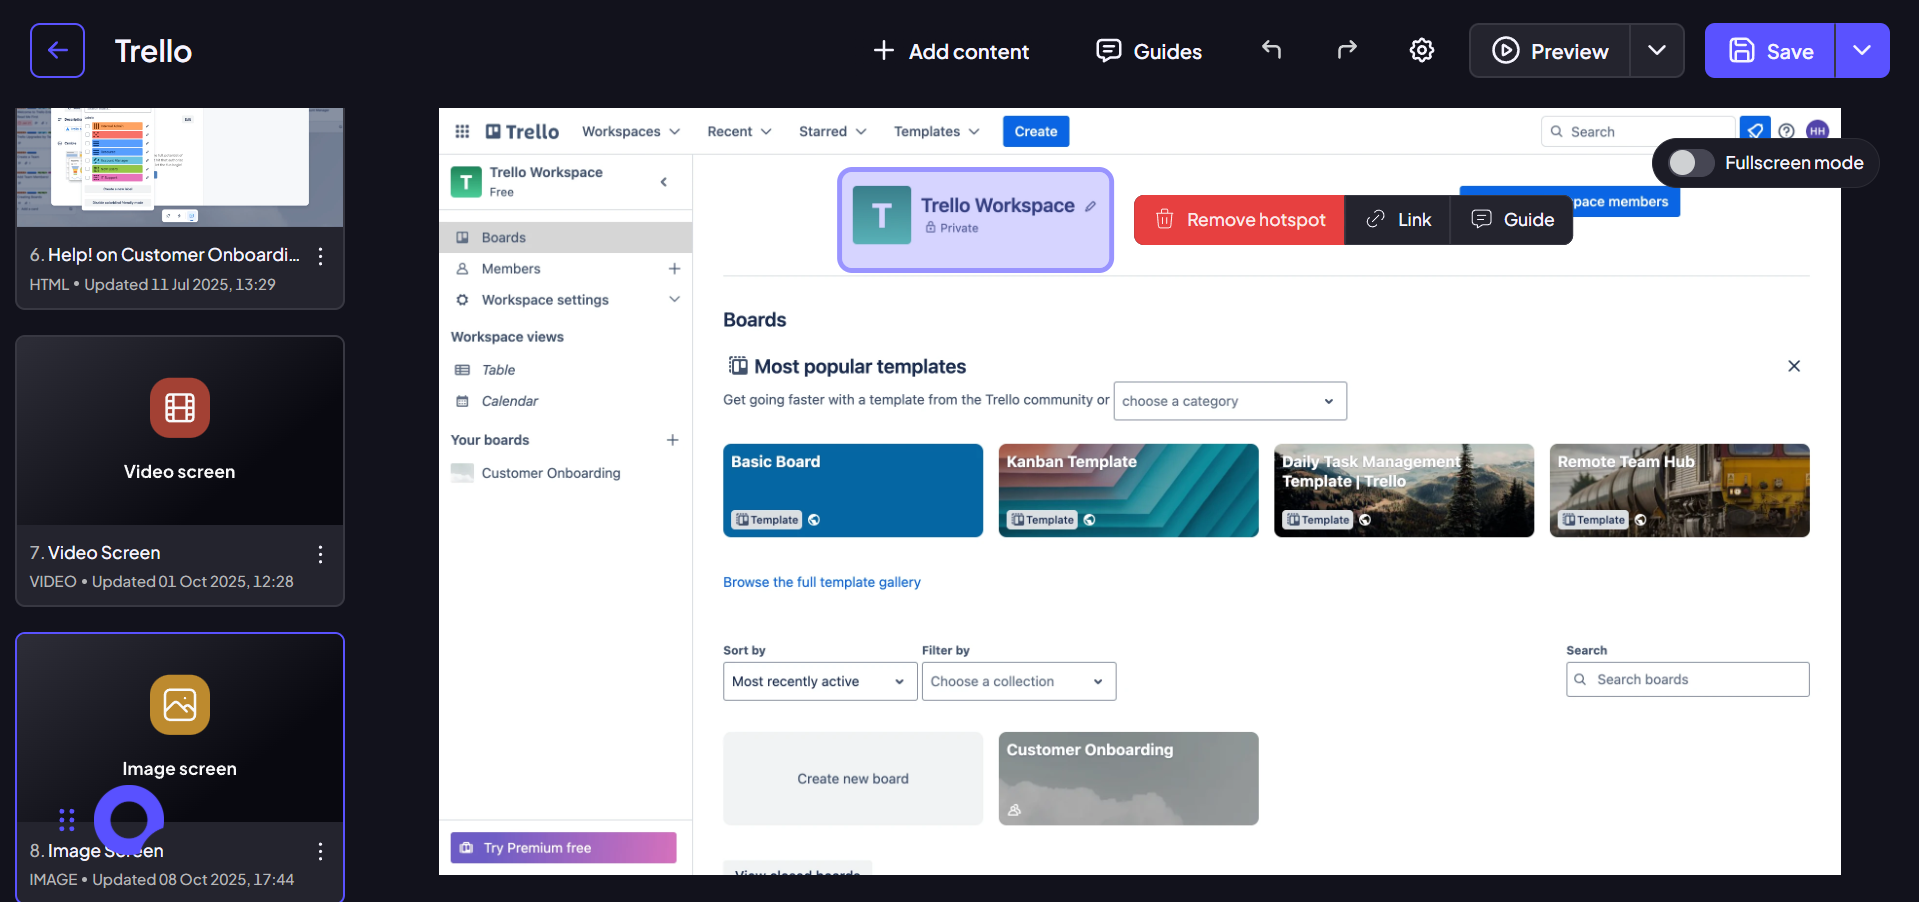
To ensure your image provides a completely immersive experience without distractions, you can enable Fullscreen Mode. This feature is particularly useful for displaying mockups, high-resolution product shots, or concept art.
To activate it, locate the toggle option positioned at the bottom right corner of your image screen preview.

Step 5:
Once your image is placed, you can transform static visuals into interactive learning opportunities by adding Hotspots. Hotspots are invisible zones that allow you to anchor guides, text, or variables to specific areas of your image screen.
To create a Hotspot, simply double-click anywhere on the image. A new, resizeable area will appear, which you can then move and resize to precisely cover the element or area of interest within your visual. Once a Hotspot is positioned, it behaves like any standard on-screen element from a captured screen: you can attach guides, link it to other screens, or use it to trigger custom actions, transforming your image into a navigable, informative step.
Step 6
What's left now is to drag this screen to the right place. Use it to add a customer testimonial, brand video, or product roadmap, whatever works better for your purpose.