If this editor looks unfamiliar, you're likely using the previous version.
Access the right documentation by clicking on the button.
We'll go over linking a specific element of your screen to another screen in your demo - to simulate the clickable buttons in your real product.
Step 1: Once you have captured the screens, click on one of the screens to open the editor.
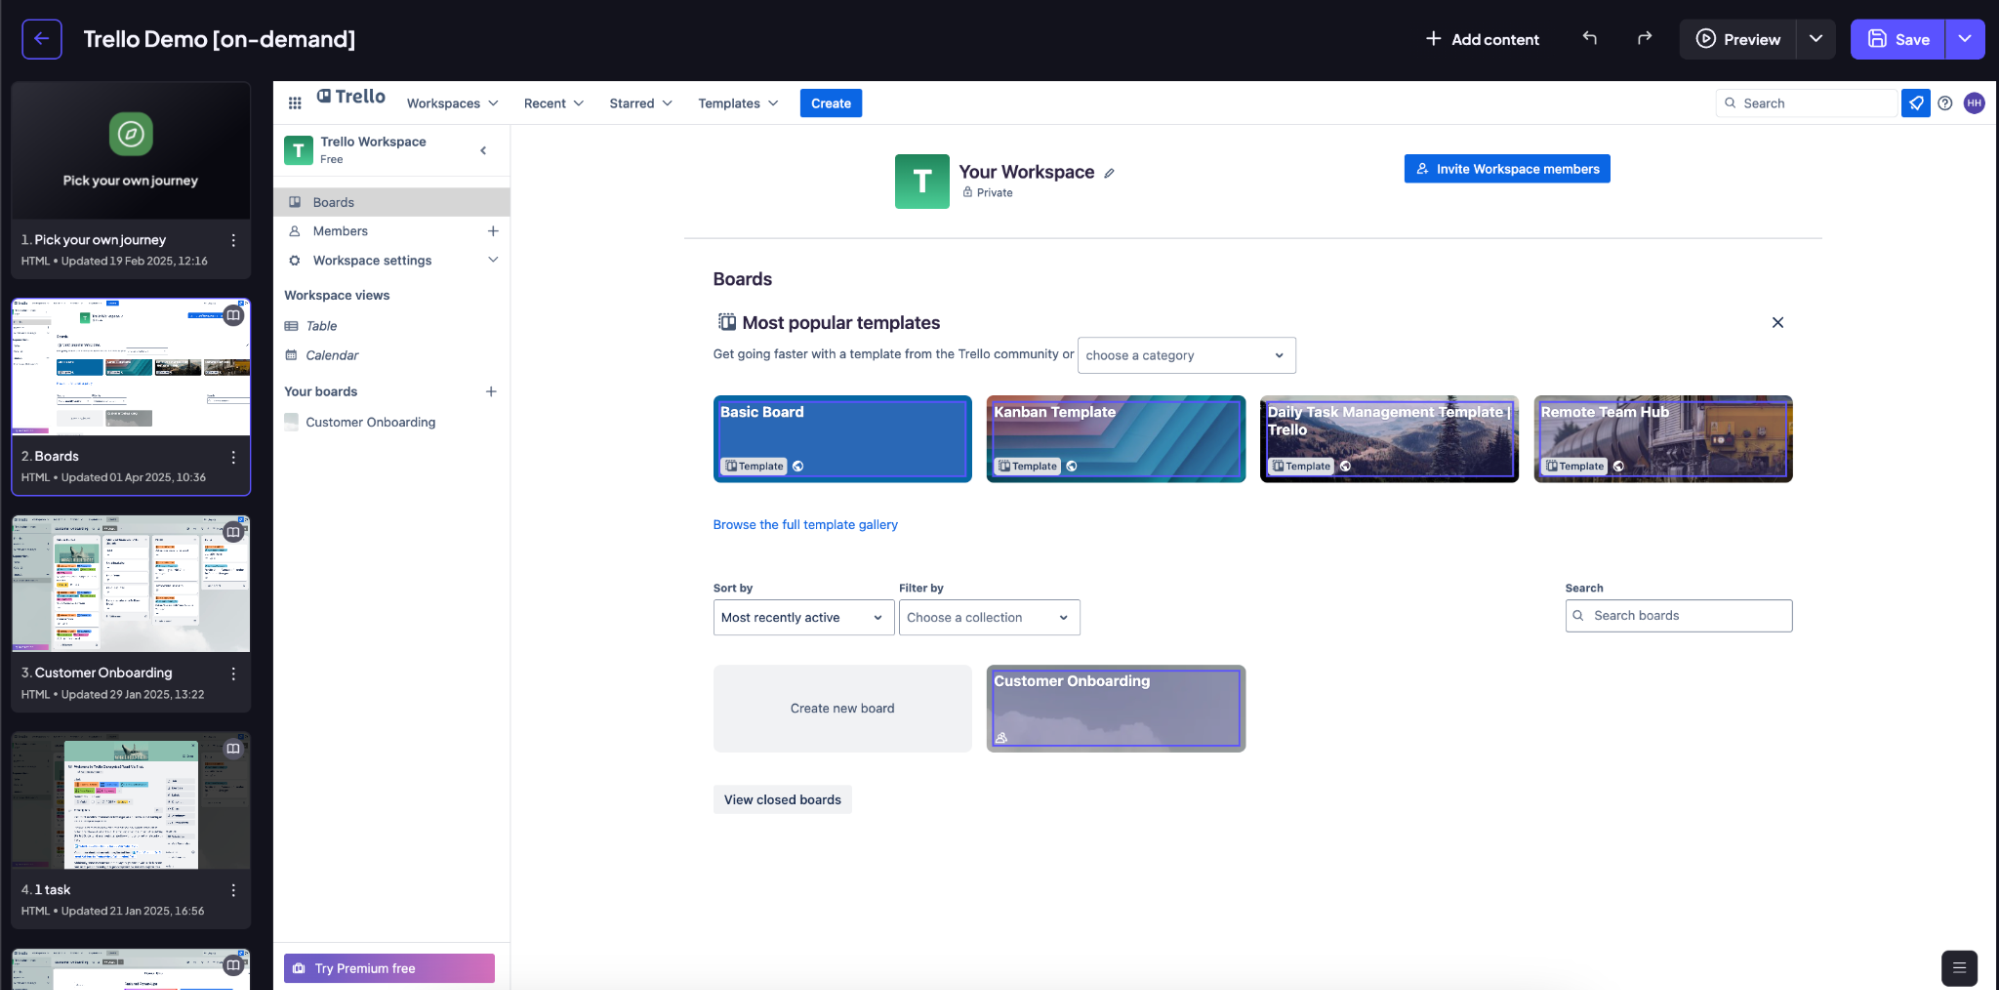
Step 2: Let's say you want to link an element to another screen. To do that, you start by clicking on the element in question. Clicking on the element opens a small menu, where you can choose option to add a link.

Step 3: From the popup that appears, type in the name of the screen you want to link to the element, Or hover over the 🔎 icon to take a quick preview of the screen from the list.
Click on the screen you want to link.
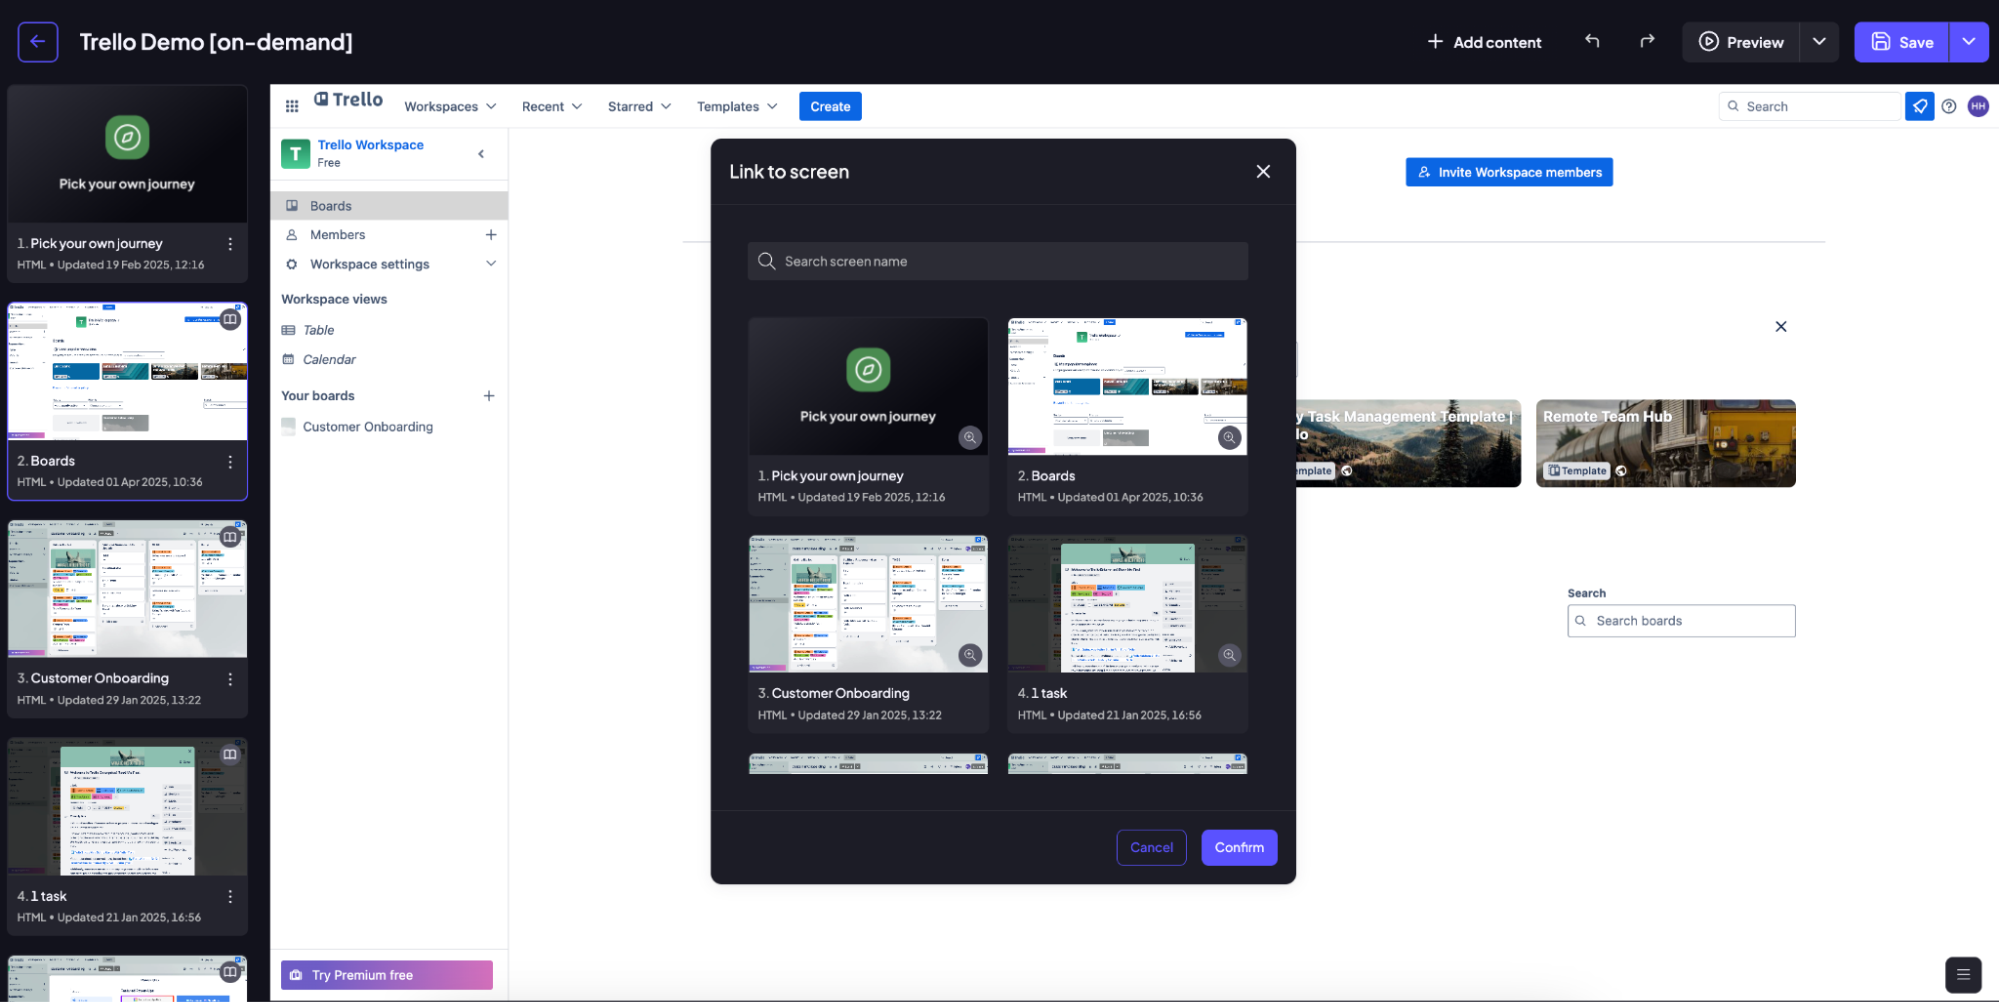
Step 4: After selecting the screen, click the ‘Confirm’button.
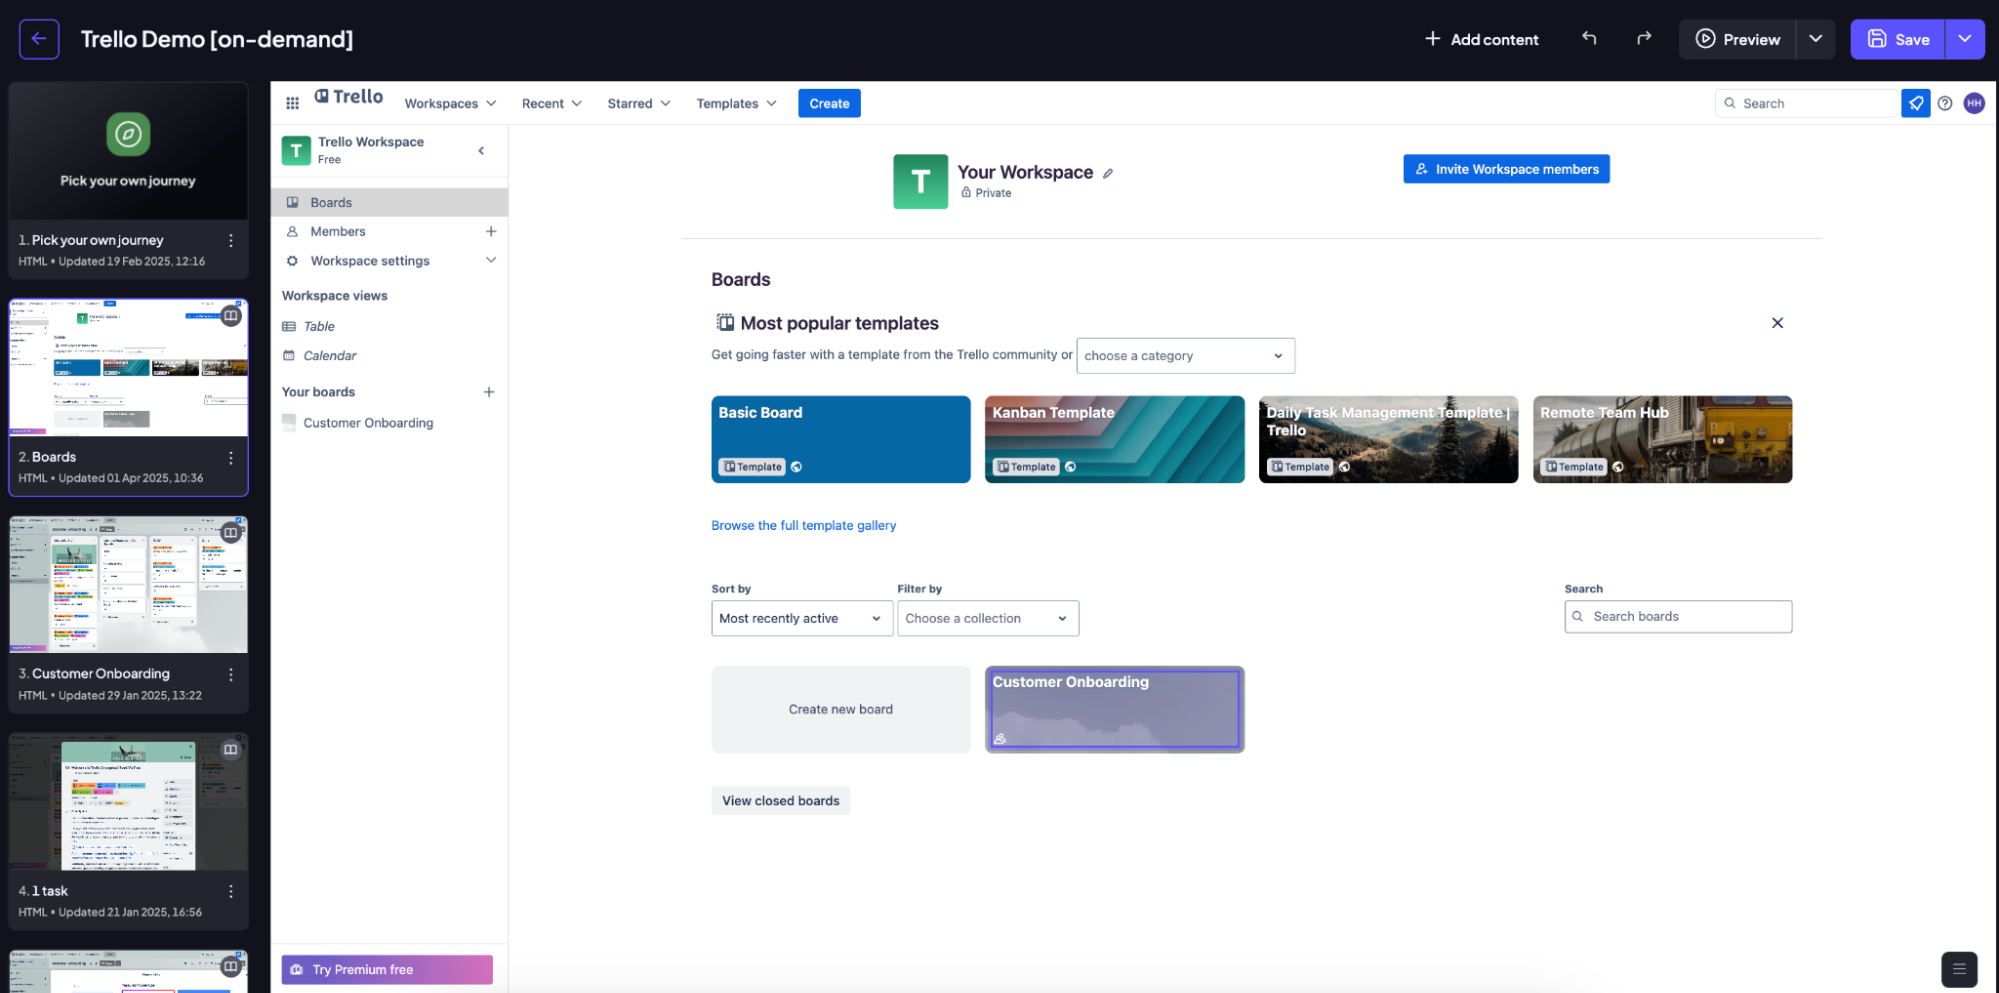
Step 5: Once the link has been added, the element will be highlighted in purple. If you click on it again, you'll be able to edit the link as you like. When linking a screen to an element, your change is now automatically saved in real-time. You do not need to manually click the save button.
Note: If you are using Multicapture, you can let the platform do the heavy lifting for you by enabling Autolinking.
- Simply click on the Autolinking button before you begin your capture session.
- Every time you click a link or button to navigate to a new page, the system remembers exactly where you clicked.
- Once your capture is finished, the platform automatically creates the links between those screens, so you don't have to map them manually.
