If this editor looks unfamiliar, you're likely using the previous version.
Access the right documentation by clicking on the button.
The custom theme feature allows you to define colors, fonts, and styles once, ensuring every demo your team creates is instantly on-brand.
This guide details the administrative process for creating, customizing, and applying a new branded theme to your demos.
Step 1:
To begin, navigate to any demo's details screen and click the "Edit demo" button to enter the editor interface.
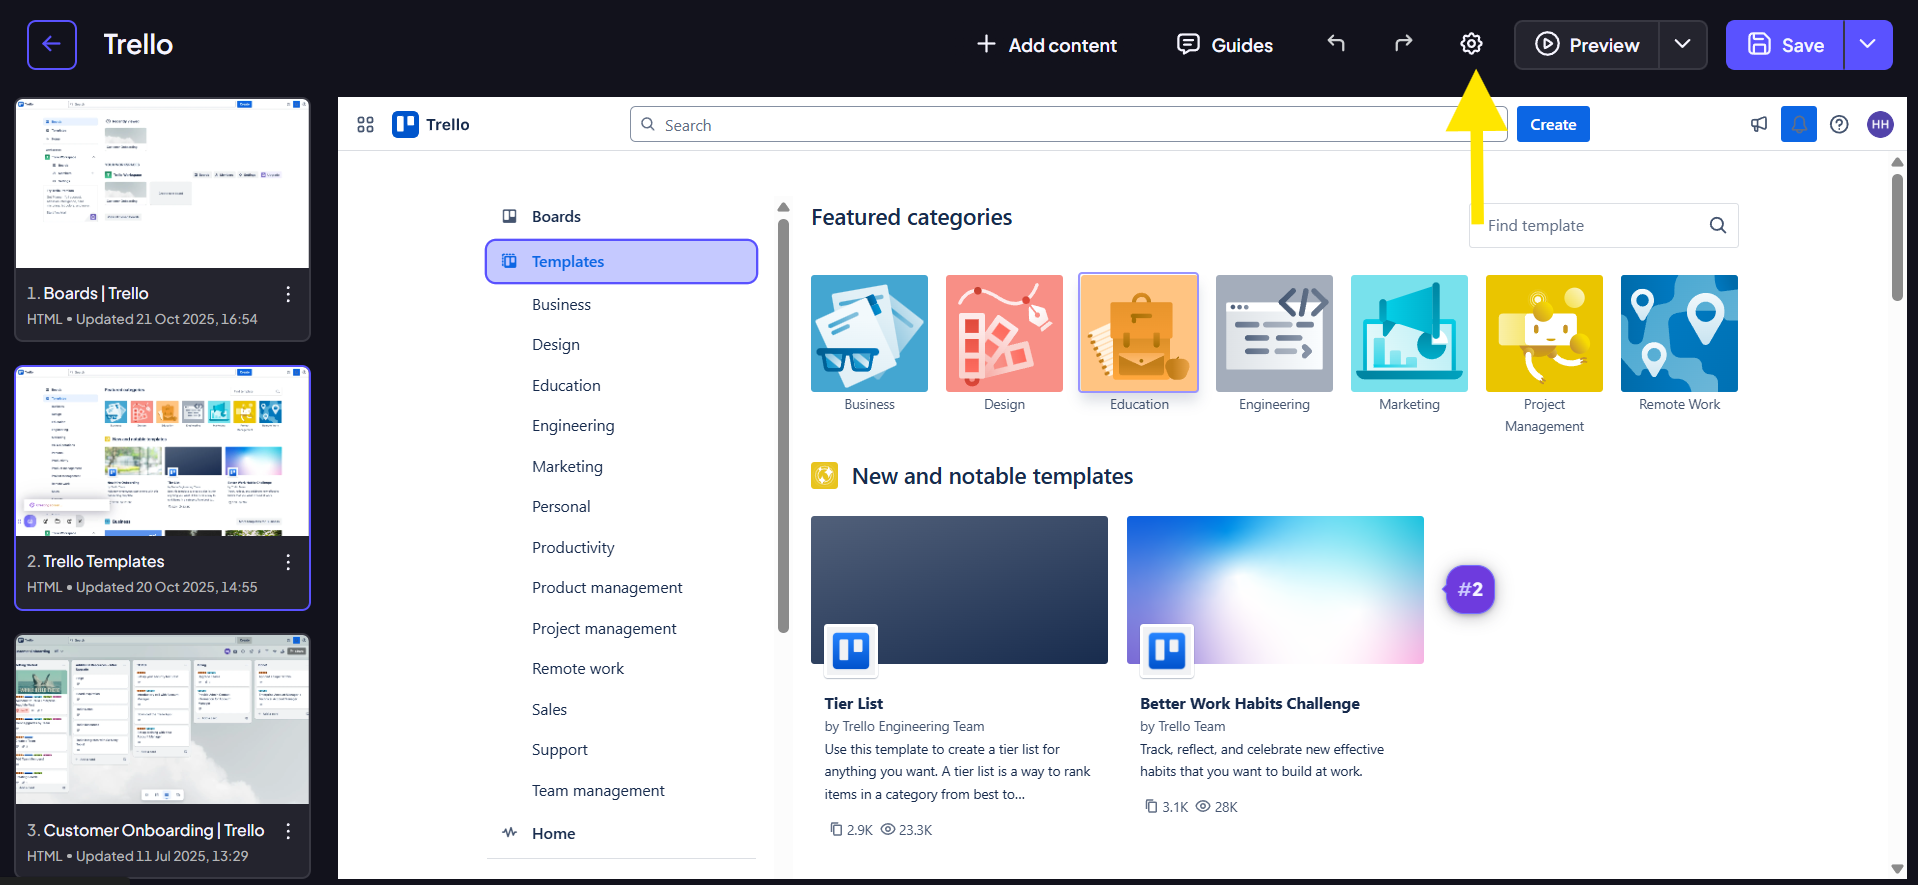
Step 2:
Once inside the editor, locate and click the settings icon. This opens the primary configuration options for your demo.
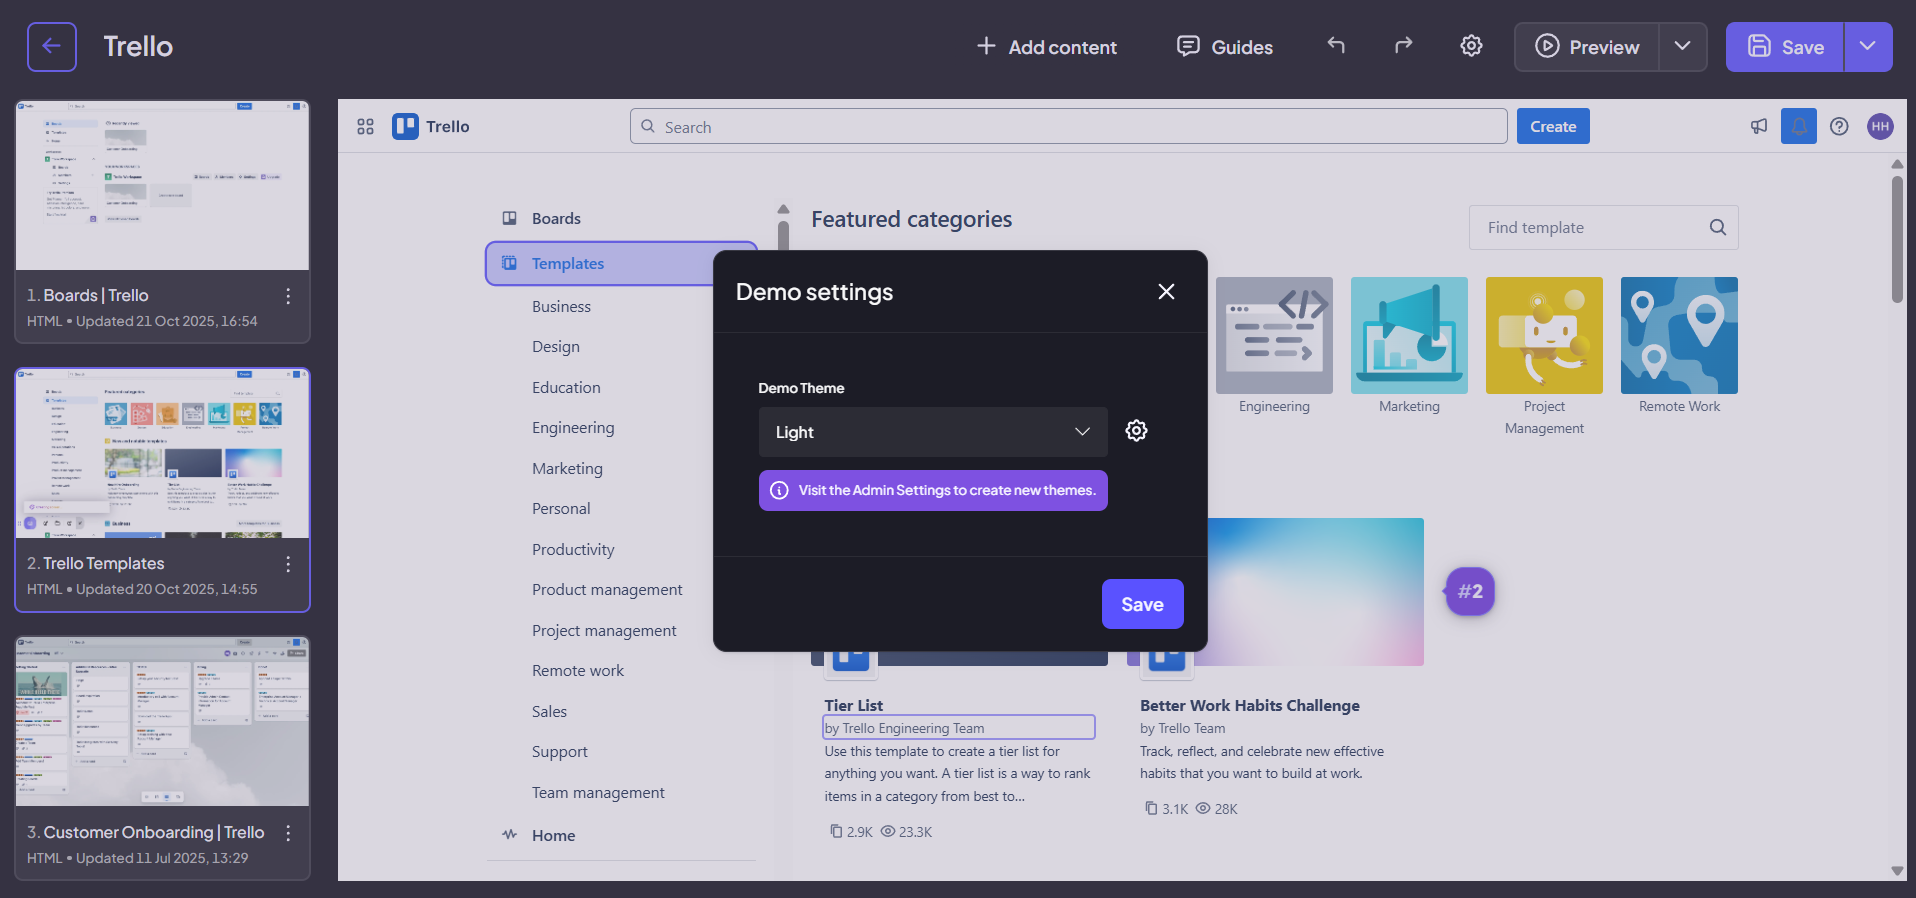
Step 3:
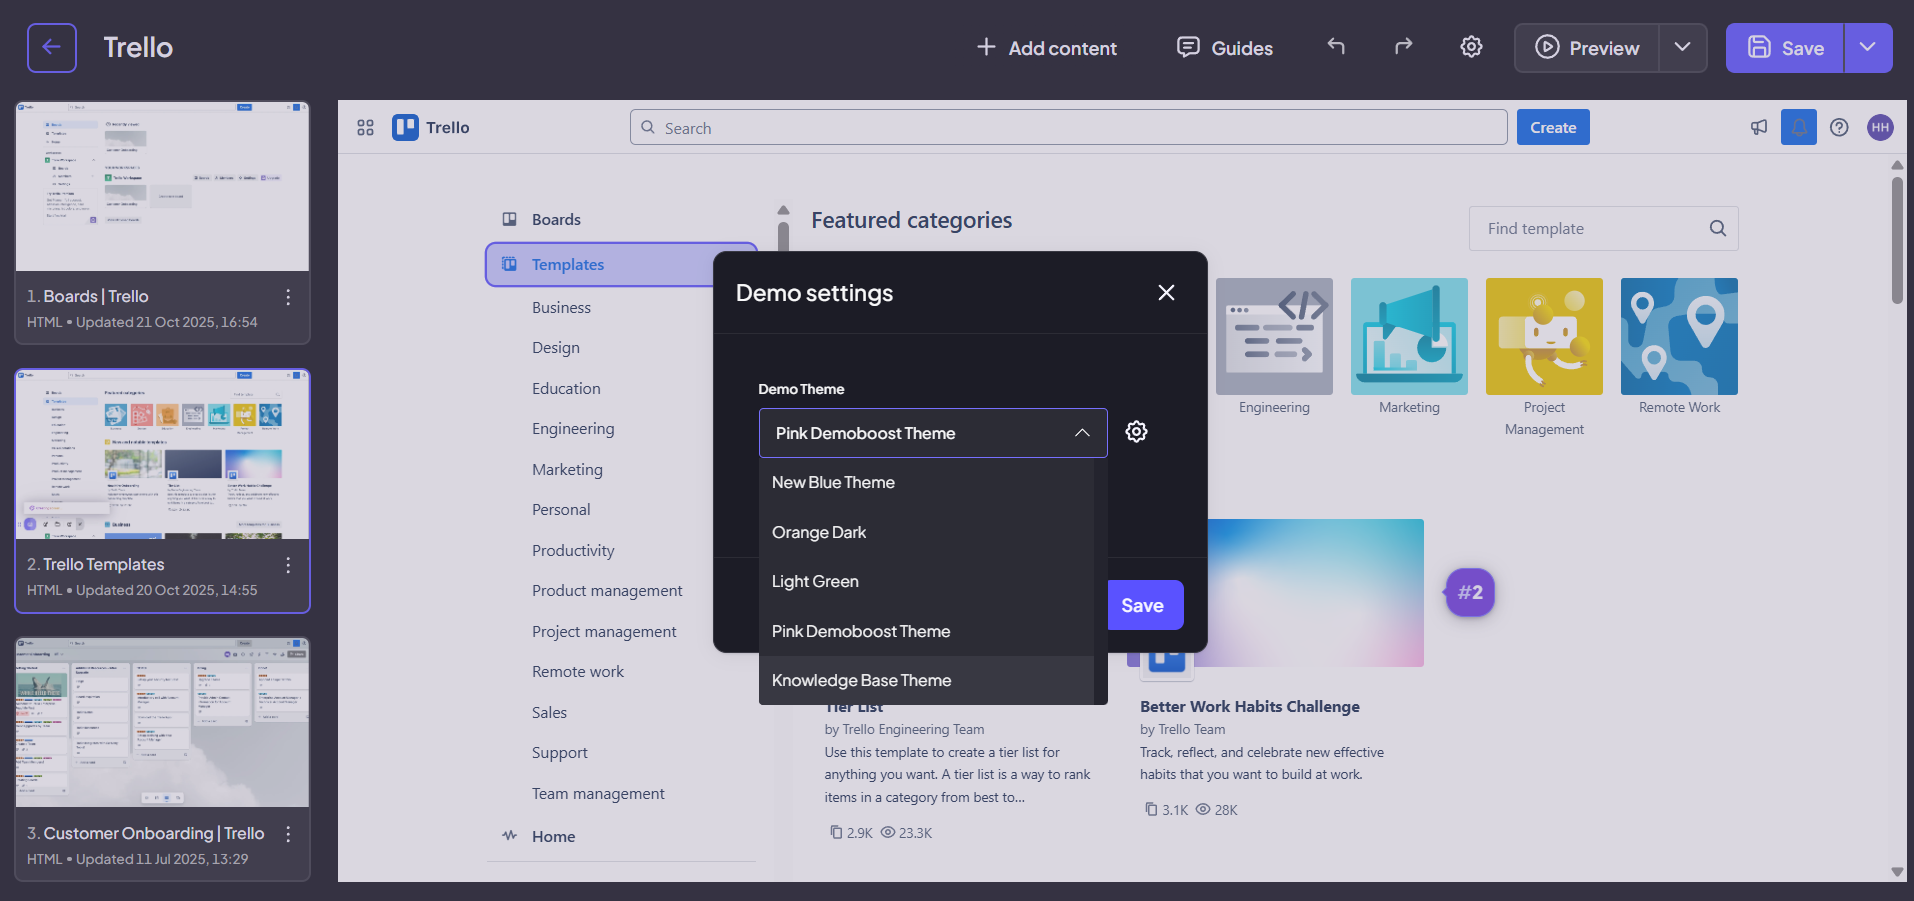
A modal will appear, displaying theme options. To create or modify themes, you must click the secondary settings icon within this modal.
Note: Only users with Admin Org privileges can access and make changes within this theme customization menu.
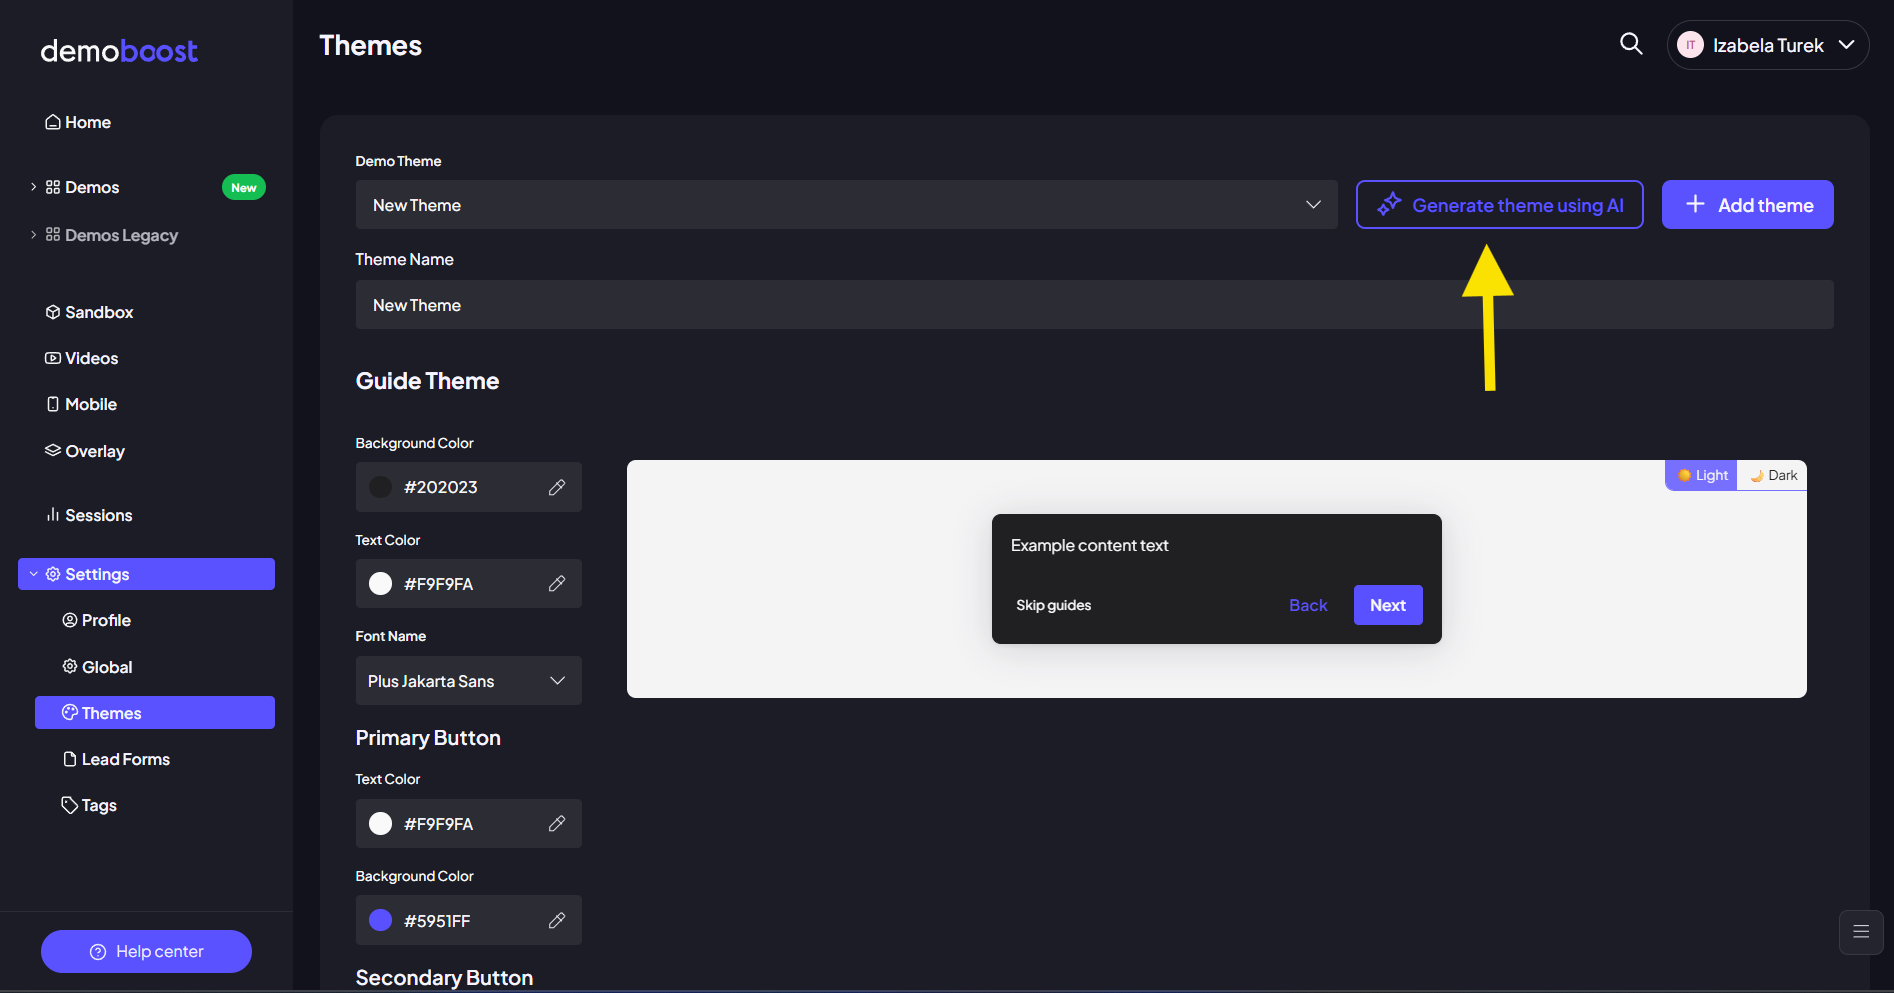
Step 4:
In the Themes tab you'll find the customization menu, where you can create and manage themes for your demos
To create a new theme, click “Add Theme”.
For a faster setup, select “Generate Theme Using AI”.
- Click “Generate Theme Using AI”.
- Upload a screenshot from your\your client's website, brand guidelines or other branded materials.
- Wait a few seconds while DemoBoost analyzes the image and generates a matching color palette.
- Enter a name for the theme and click “Save”.
If you’d like to customize the result you’ve got or you prefer to create a theme manually, all customization options remain available within the theme editor. The menu provides the controls needed to customize your theme's branding, including colors and visual elements.
The following sections describe each customization option and the steps required to configure a theme manually.
Step 5:
Within this menu, you can customize the primary, secondary, and background colors that will define the overall look of your demo.

Step 6:
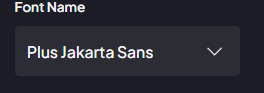
You have the ability to choose the specific typography that will be used for all text within your demo.
Step 7:
Move to the buttons section to customize the appearance of all interactive buttons within the demo, setting their color, size, and style.

Step 8:
Next, customize the styling for all clickable links used across your demo. This ensures links are visually recognizable while still adhering to your brand's aesthetic.

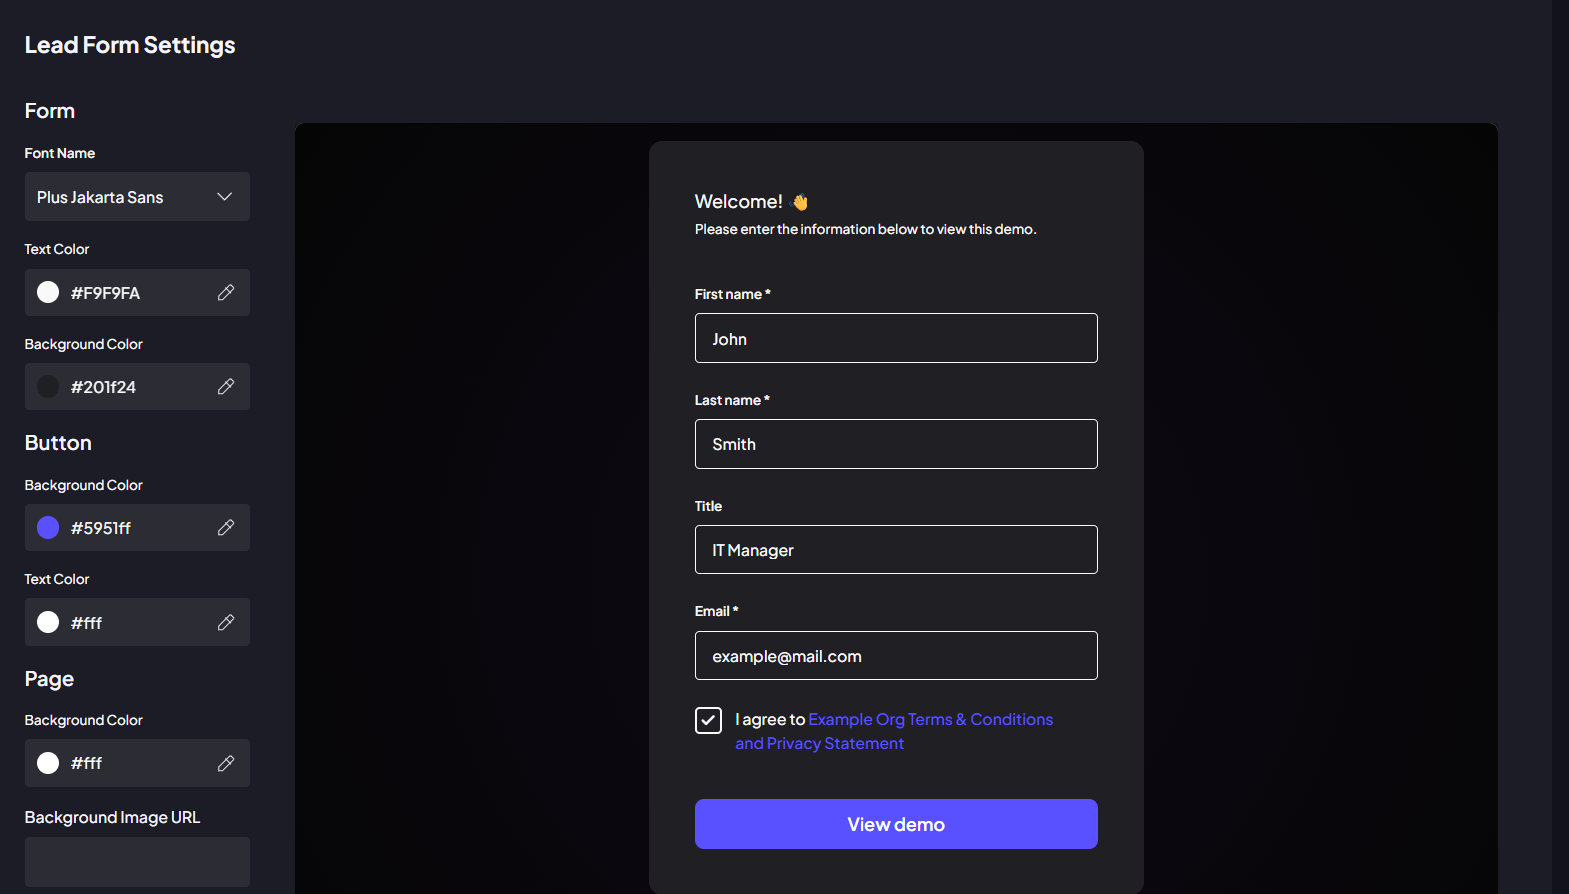
Step 9:
If your organization utilizes lead generation, use the lead form customization area. Adjust its colors and styling to ensure the form is seamlessly integrated with the rest of the demo's theme.
Step 10:
Once all customizations are complete, click the Save changes button. Give your new theme a clear, descriptive name.
Step 11:
After saving, you will return to the initial theme selection modal. Choose your newly created theme from the list to apply it instantly to the current demo you are editing.
Step 12:
The demo will immediately refresh with your custom settings. You can now visually confirm that your custom colors, fonts, and styles have been successfully applied.
