If this editor looks unfamiliar, you're likely using the previous version.
Access the right documentation by clicking on the button.
Dynamic Playlists allow you to create personalized, high-intent demo experiences. By using the Playlist Menu, you let prospects tell you exactly what matters to them, turning your demo into a discovery powerhouse that syncs directly with your CRM.
Step 1:
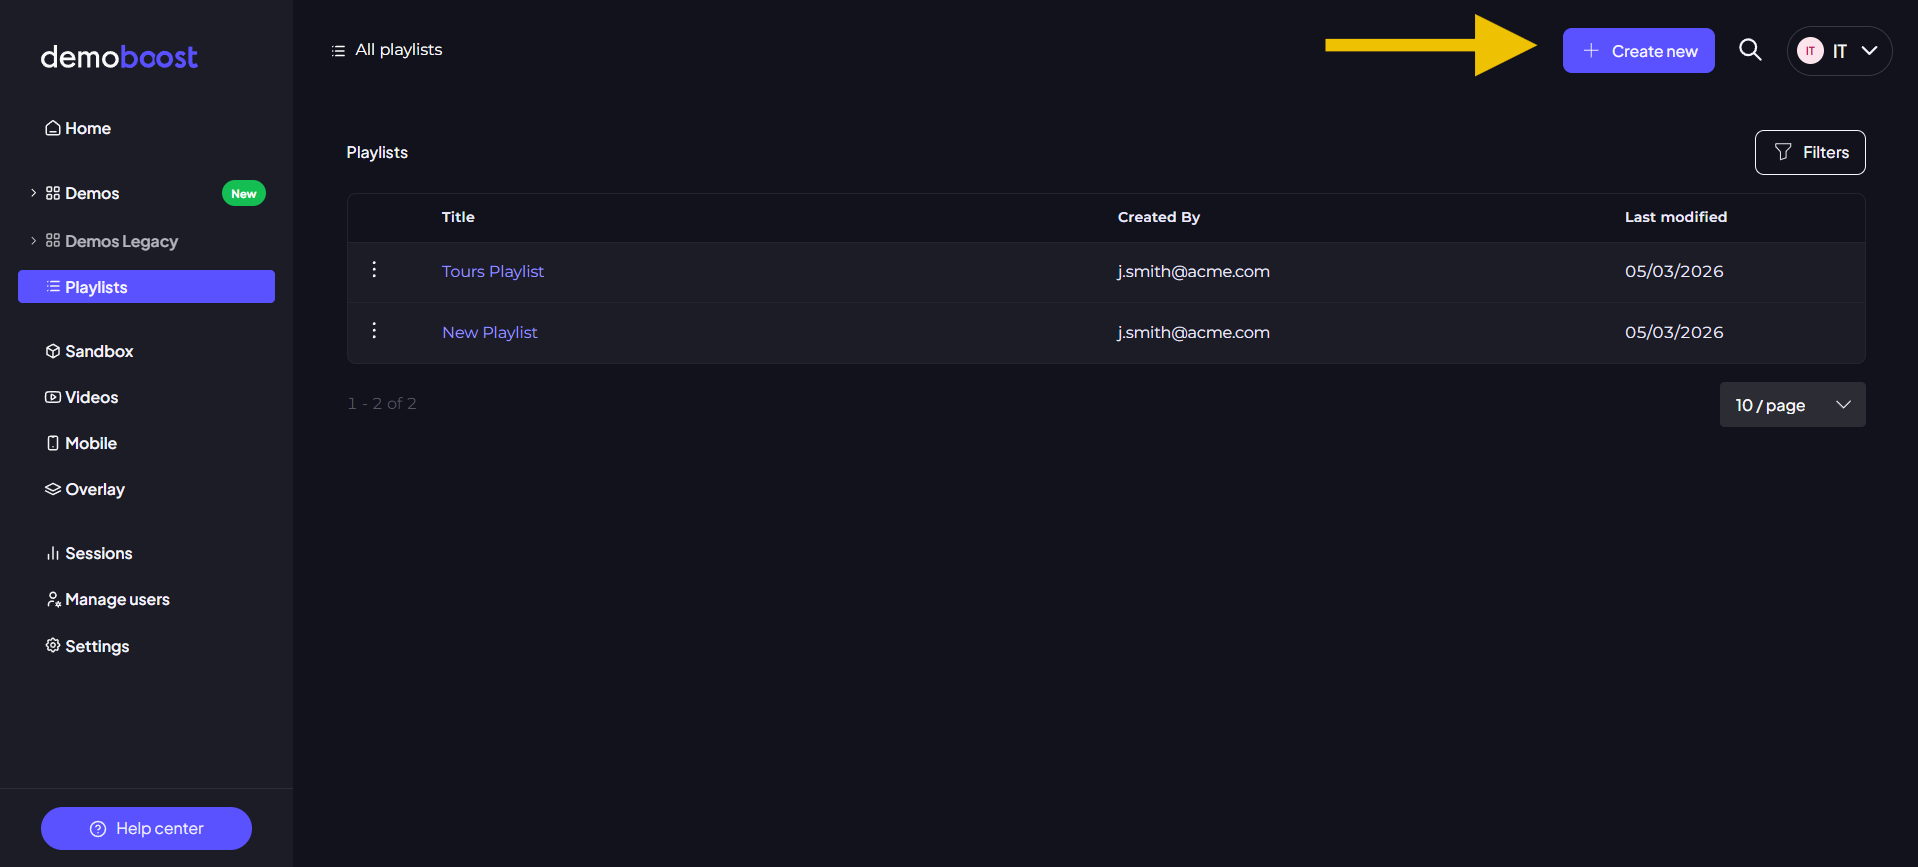
Log in to your dashboard and navigate to the Playlists tab on the left-hand sidebar.
Step 2:
Click the Create New button. Your new playlist will appear instantly in the list.
Step 3:
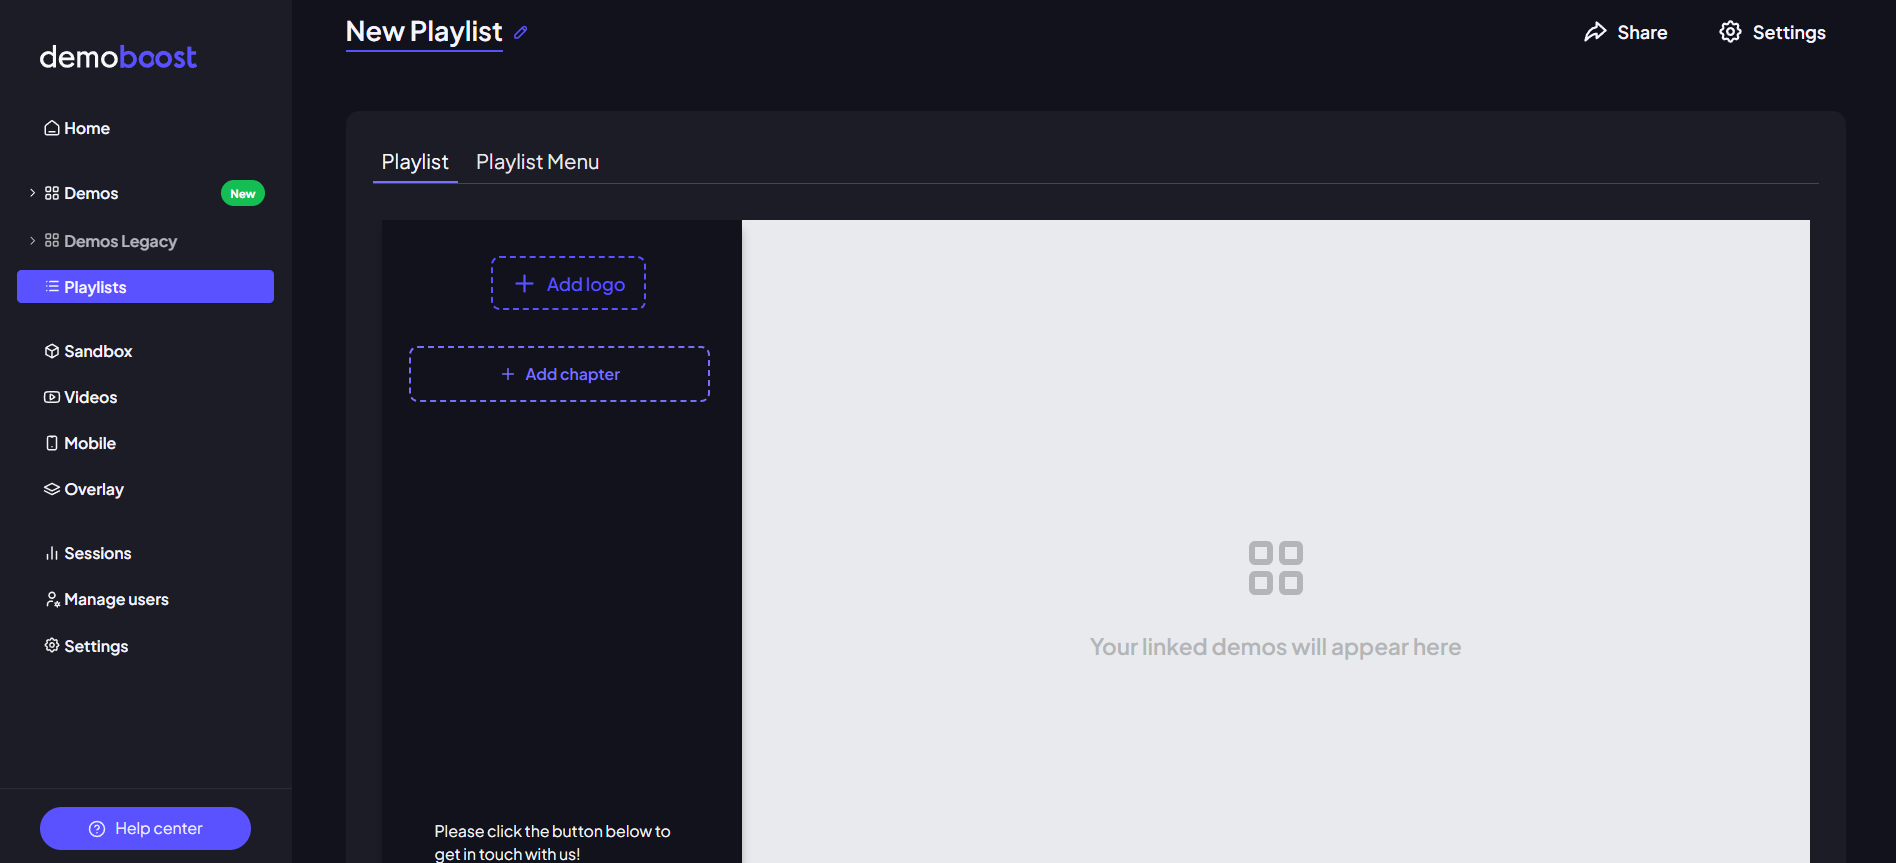
Click on your new playlist to open the editor. At the top, you can rename the playlist to stay organized (e.g., by prospect name or use case).
Step 4:
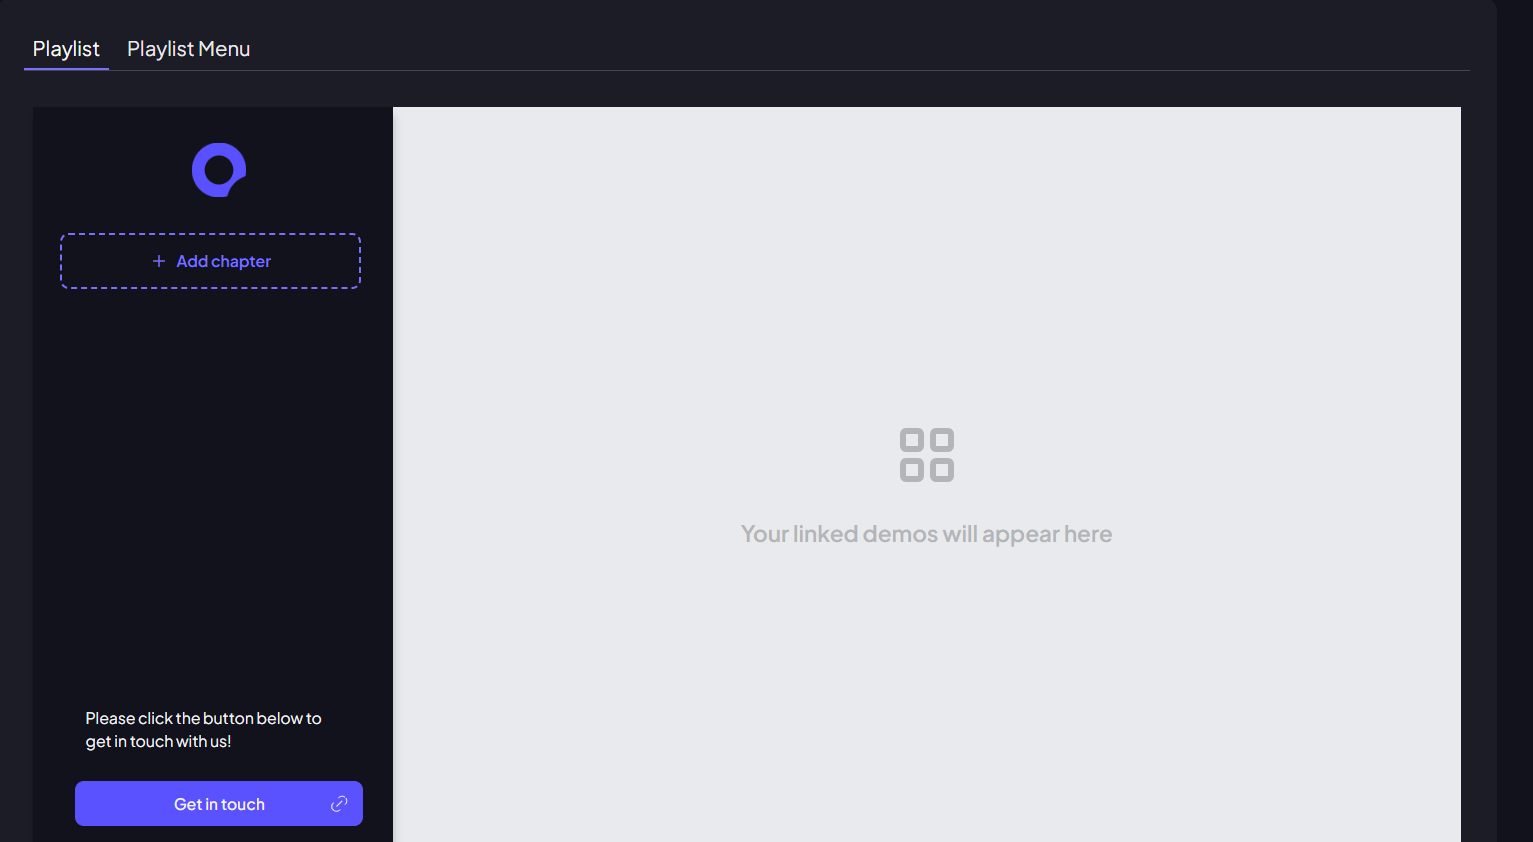
Personalize the experience by adding a logo. This makes the demo feel like a bespoke, "white-glove" consultation for your viewer.
How to Build a Dynamic Playlist
Step 5:
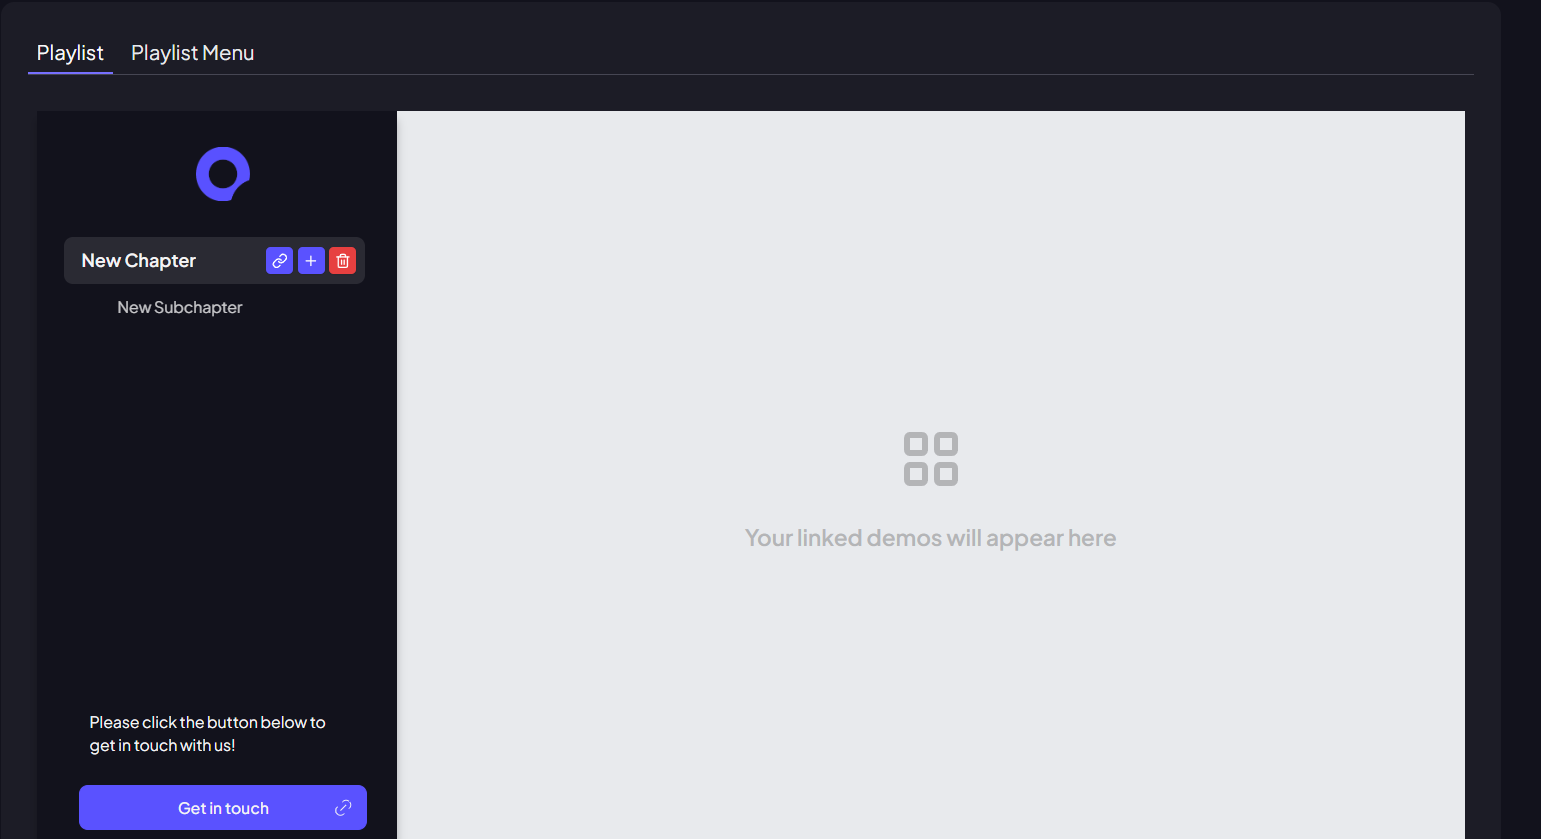
Click Add a New Chapter to define your main topics. You can also click Add Subchapter for more complex products to keep your navigation clean.
Step 6:
Link your content - select the demo from your library that you want to assign to this chapter. Once you've selected a demo, you'll see an additional option to choose the starting screen. Leave it empty if you'd like the demo to begin from the first screen.
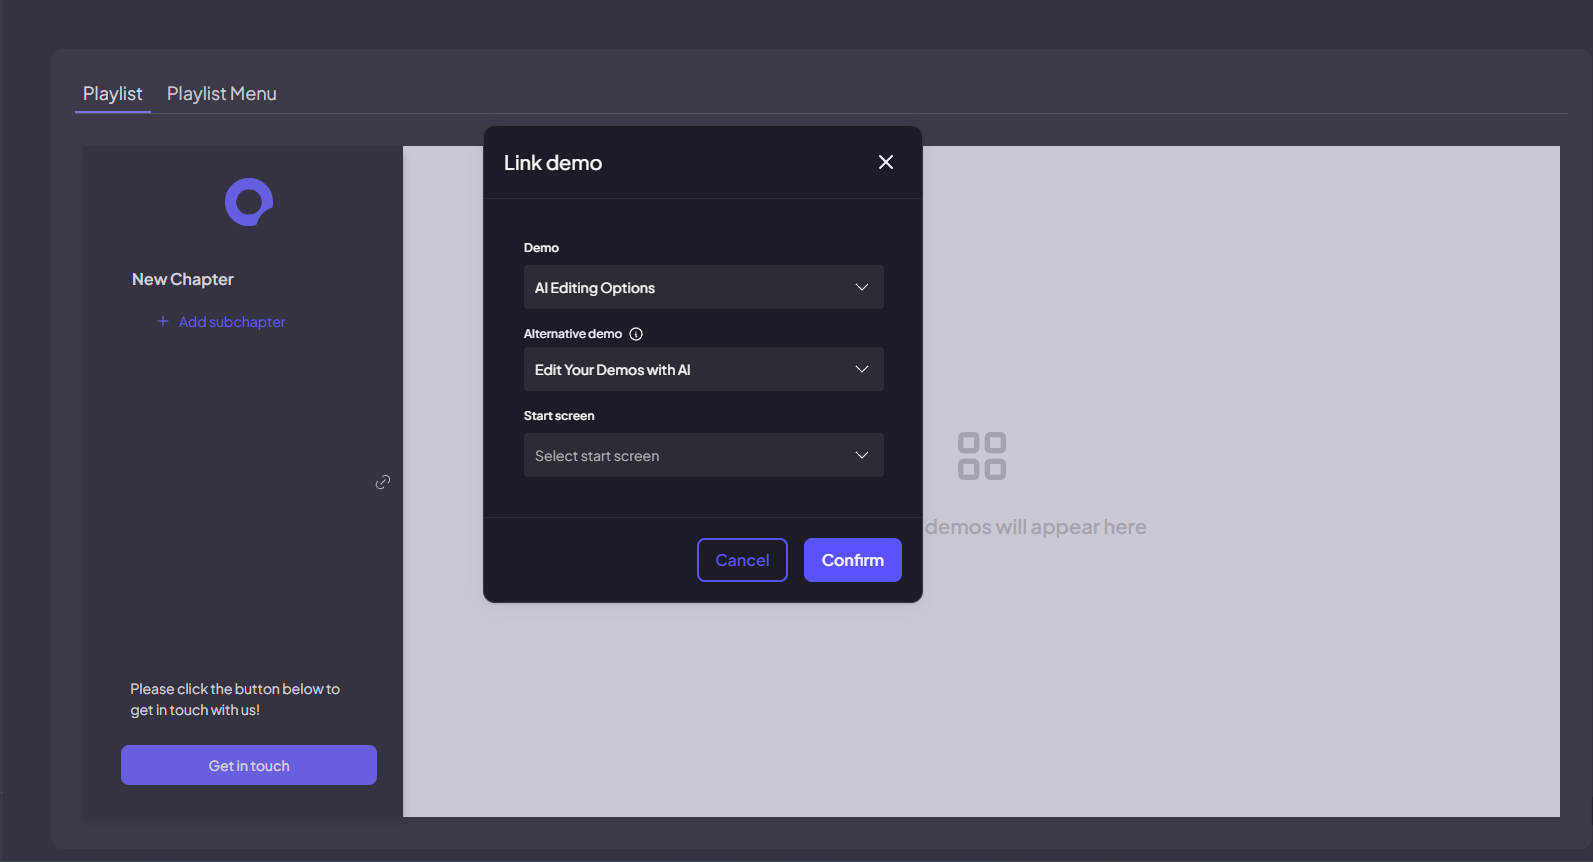
Note: In the chapter settings, you can also link an Alternative Demo. If a viewer marks a topic as Nice-to-have in the Playlist Menu, Demoboost will automatically play this shorter version instead, helping you deliver a more personalized demo experience.
Step 7:
Add your Call to Action (CTA). Provide a link to your booking calendar or website. This gives your prospect a clear next step the moment they finish viewing.
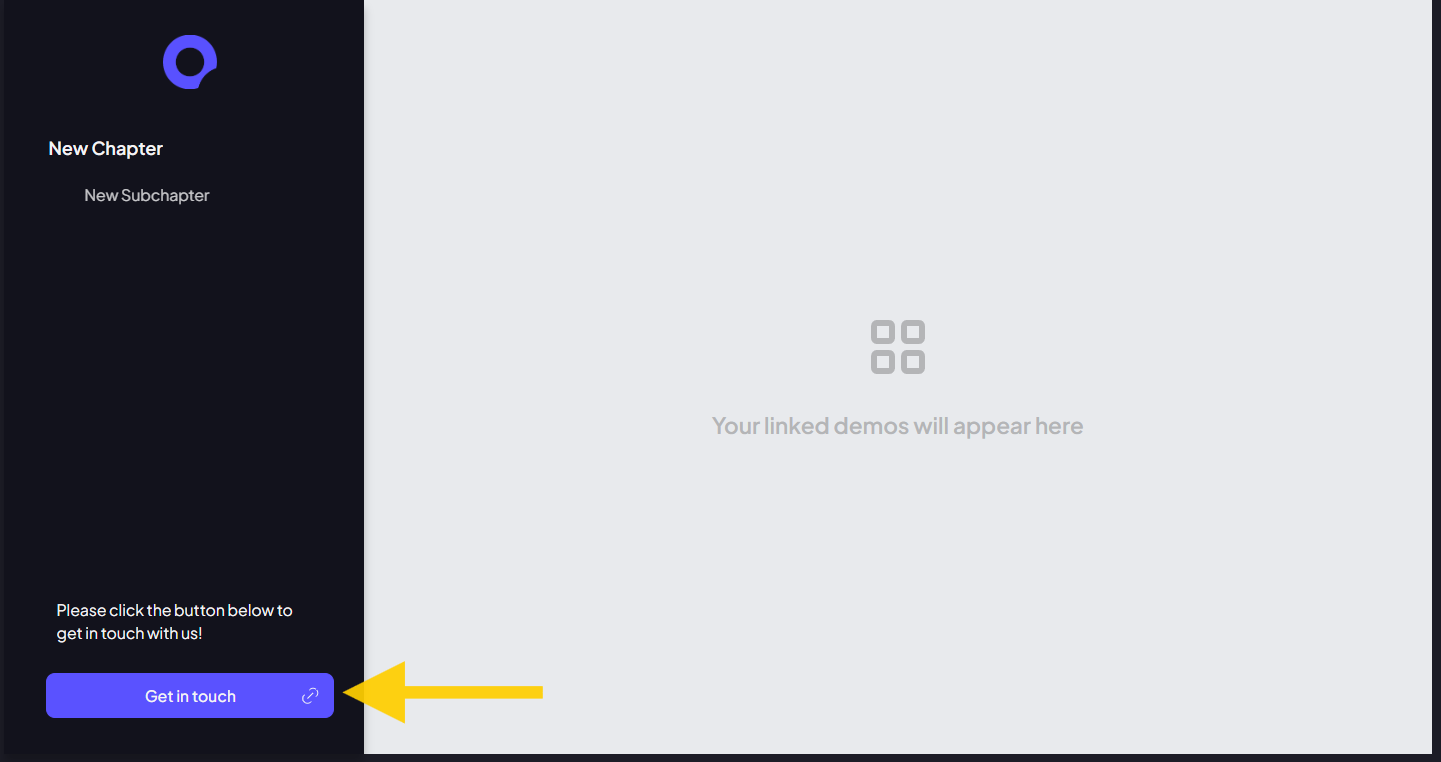
Step 8:
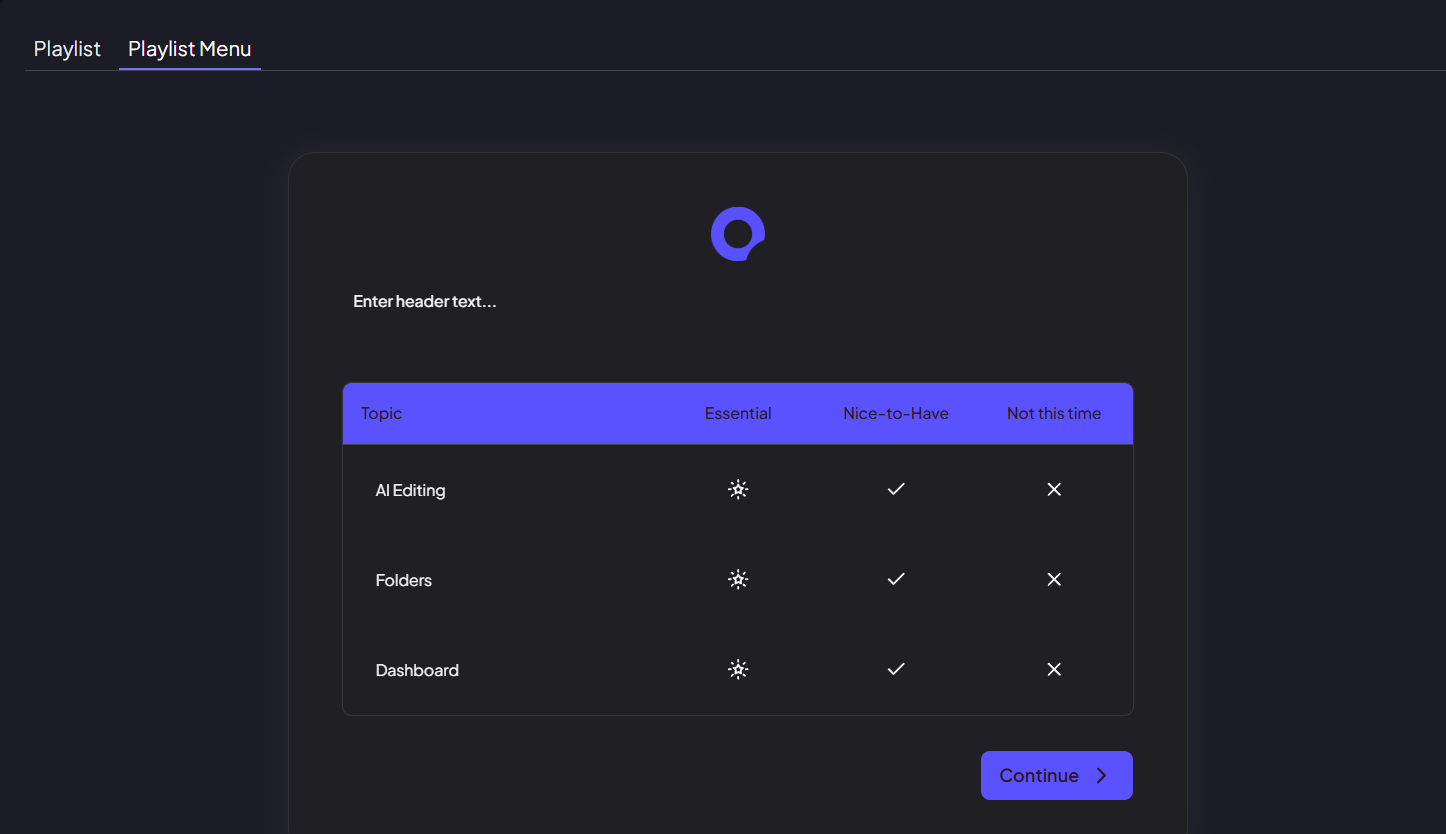
Click on the Playlist Menu tab. This is where you decide which chapters your viewers can prioritize. Enabling this turns your demo into a discovery tool that captures buyer intent.
Step 9:
Craft a Welcome Note. Since the Playlist Menu is the first thing your prospect sees, use this space to explain that you’ve tailored this demo to focus specifically on their priorities.
Step 10:
Click Settings to customize the visual theme and lead form. You can choose whether to show the lead form before the playlist or let the viewer dive straight into the menu.
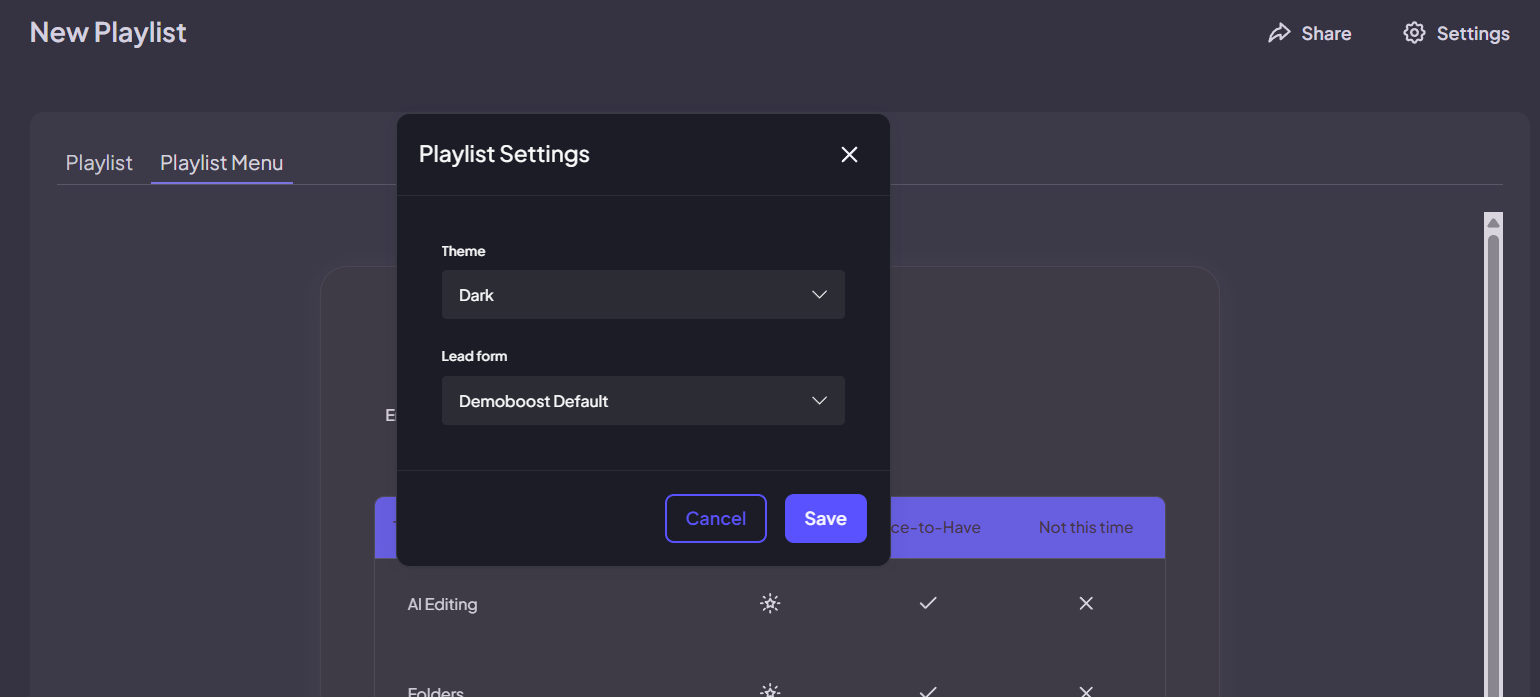
Step 11:
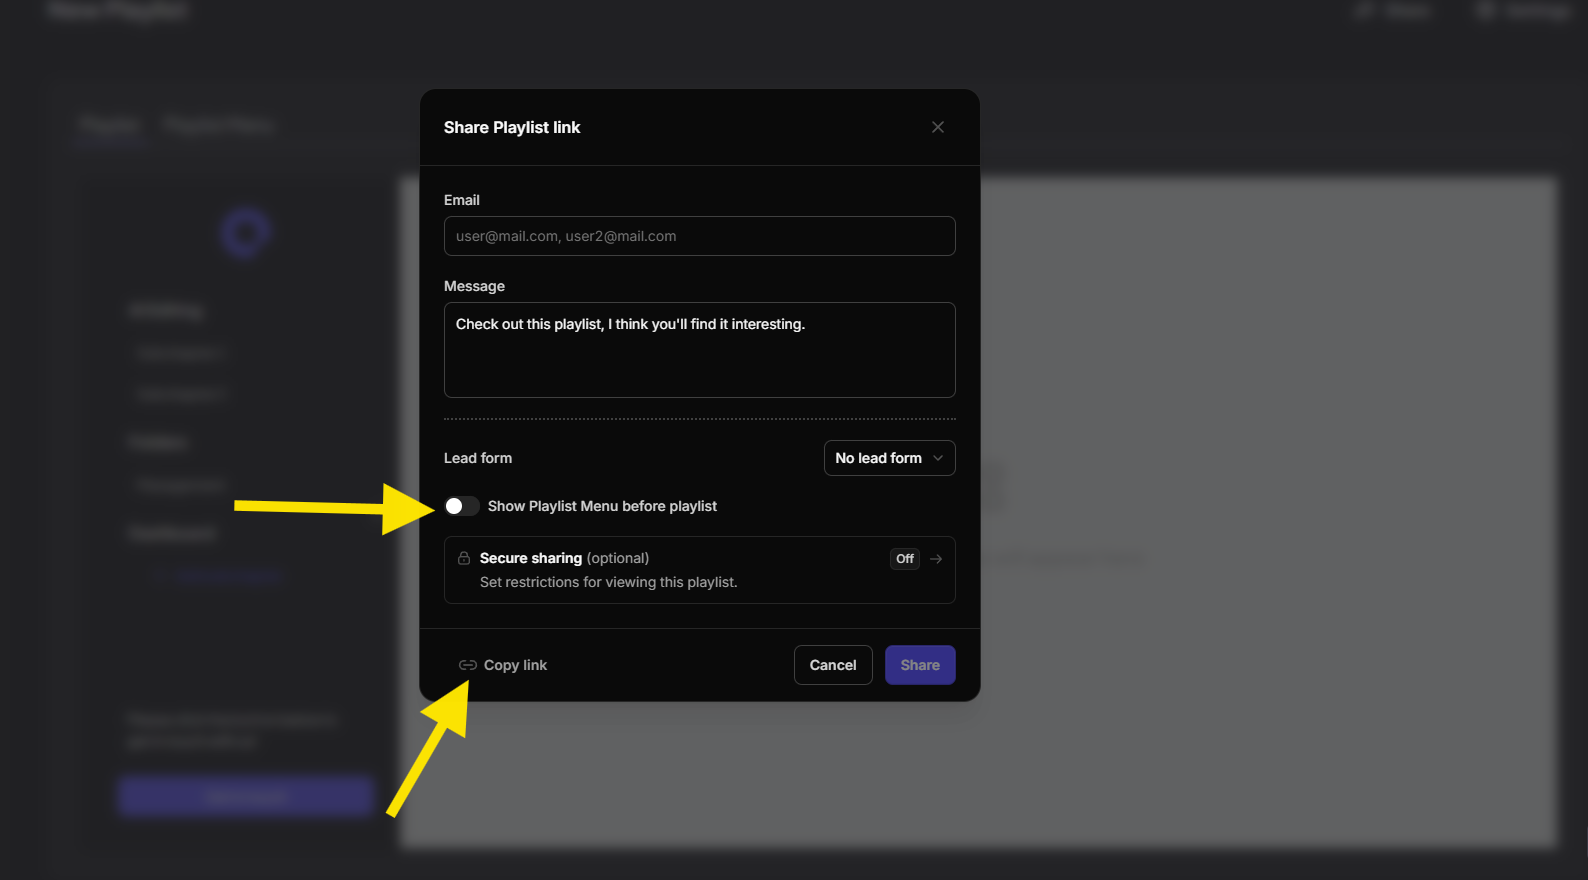
Click Share to set the Lead Form and any Secure Sharing options. In the sharing modal, you can also enable or disable the Playlist Menu depending on your use case.
Once everything is set up, copy the shareable link to experience your live Dynamic Playlist from the prospect's perspective.
Want to learn more about secure sharing options? Check out the dedicated article by the link.